How to send timesheets from RosterElf to Xero
This article explains the process of sending payroll data from RosterElf to Xero. By following these steps, you’ll experience seamless data transfer without manual uploads, saving time and reducing errors. You’ll also learn how to confirm and review your payroll information for accuracy. This integration helps make payroll processing more efficient.
1. Access the payroll tab
This section covers how to access the payroll tab in your RosterElf account to start the process of transferring payroll data to Xero.
1.1. Steps:
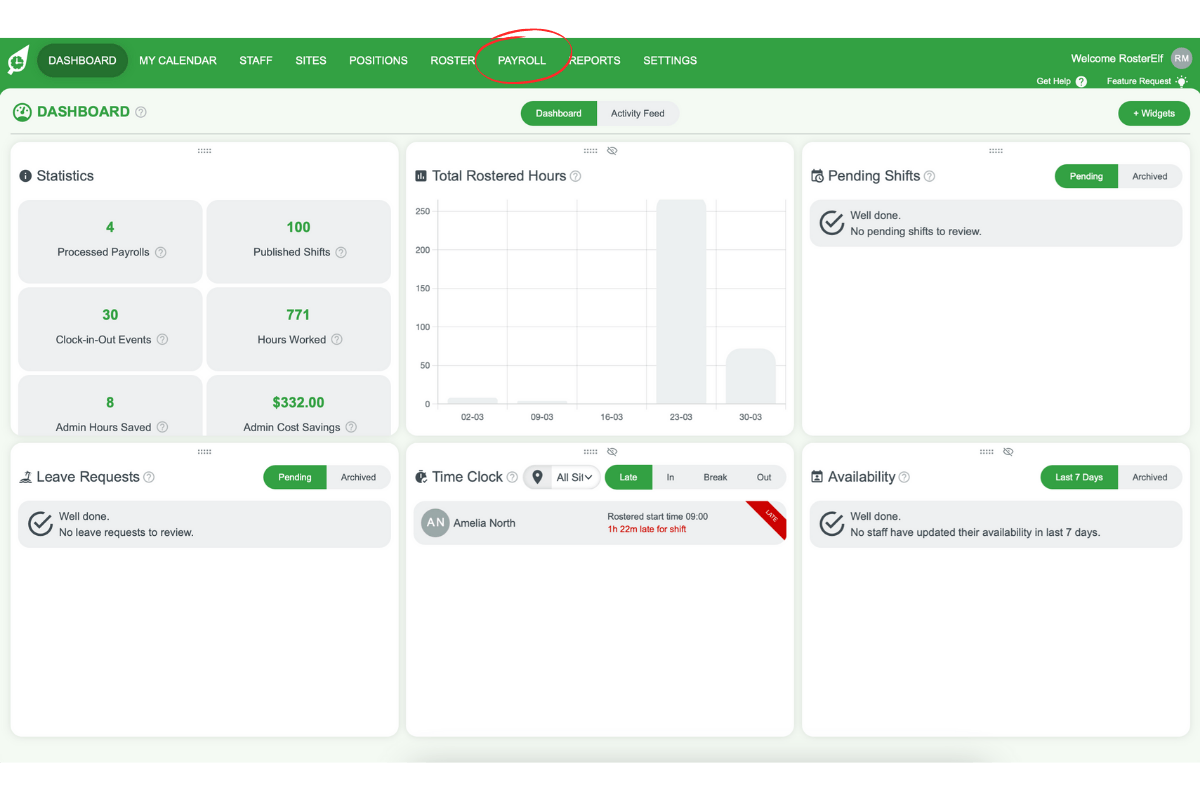
• 1.1.1: Log in to your RosterElf account.
• 1.1.2: Click on the Payroll tab located in the top menu.
2. Send approved shifts to Xero
Here, you’ll learn how to send approved shifts from RosterElf to Xero, ensuring your payroll data is transferred accurately.
2.1. Steps:
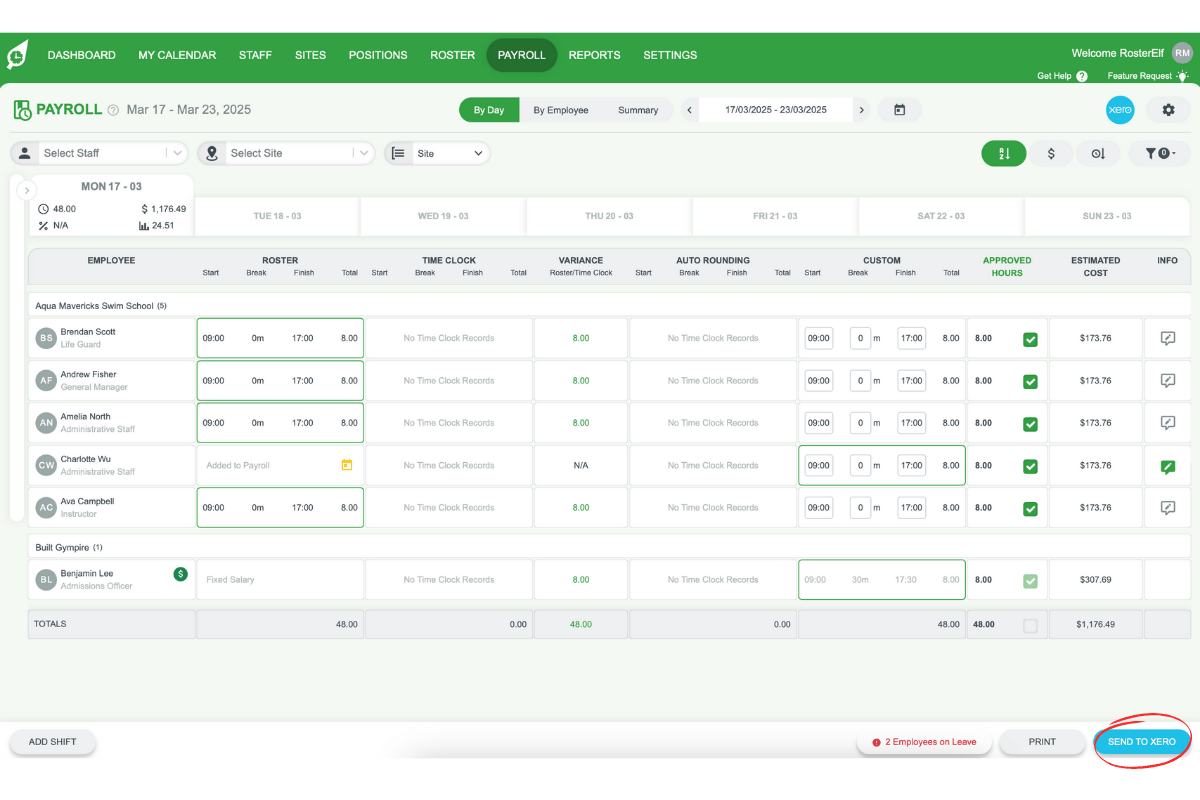
• 2.1.1: Approve the shifts you need to send.
• 2.1.2: Click Send to Xero at the bottom right of the page.
3. Review payroll information
This section explains how to review the payroll information before finalising the process in Xero.
3.1. Steps:
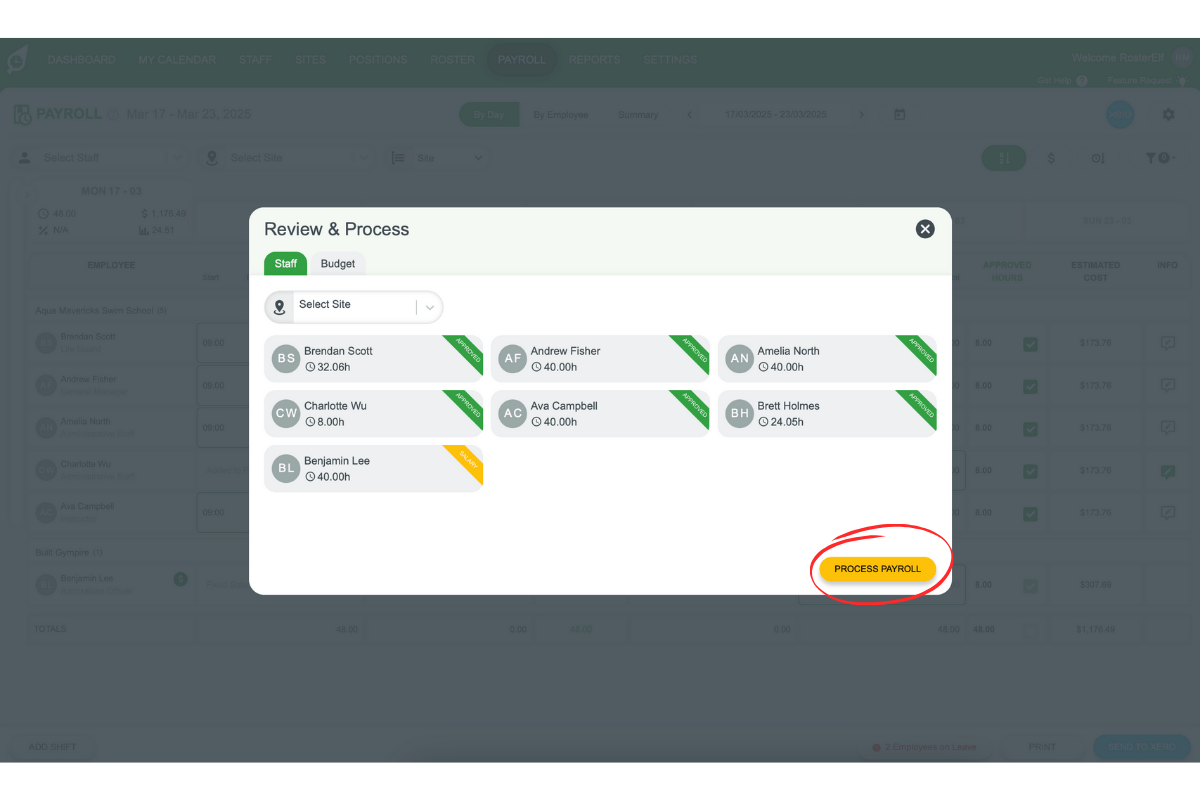
• 3.1.1: A pop-up will display your payroll details.
• 3.1.2: Review the information carefully.
• 3.1.3: If correct, click Process Payroll at the bottom right.
4. Confirm payroll processing
Learn how to confirm that your payroll has been successfully sent to Xero.
4.1. Steps:
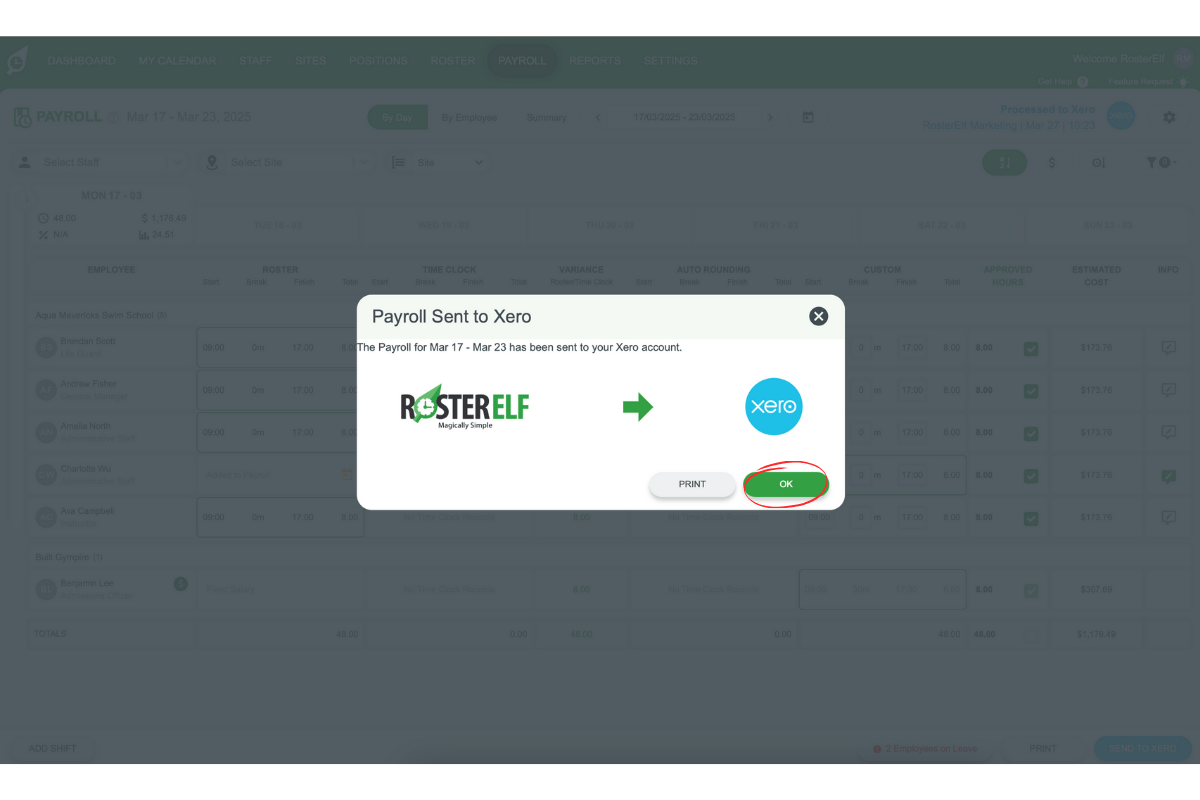
• 4.1.1: A confirmation pop-up will appear.
• 4.1.2: Click OK to finalise.
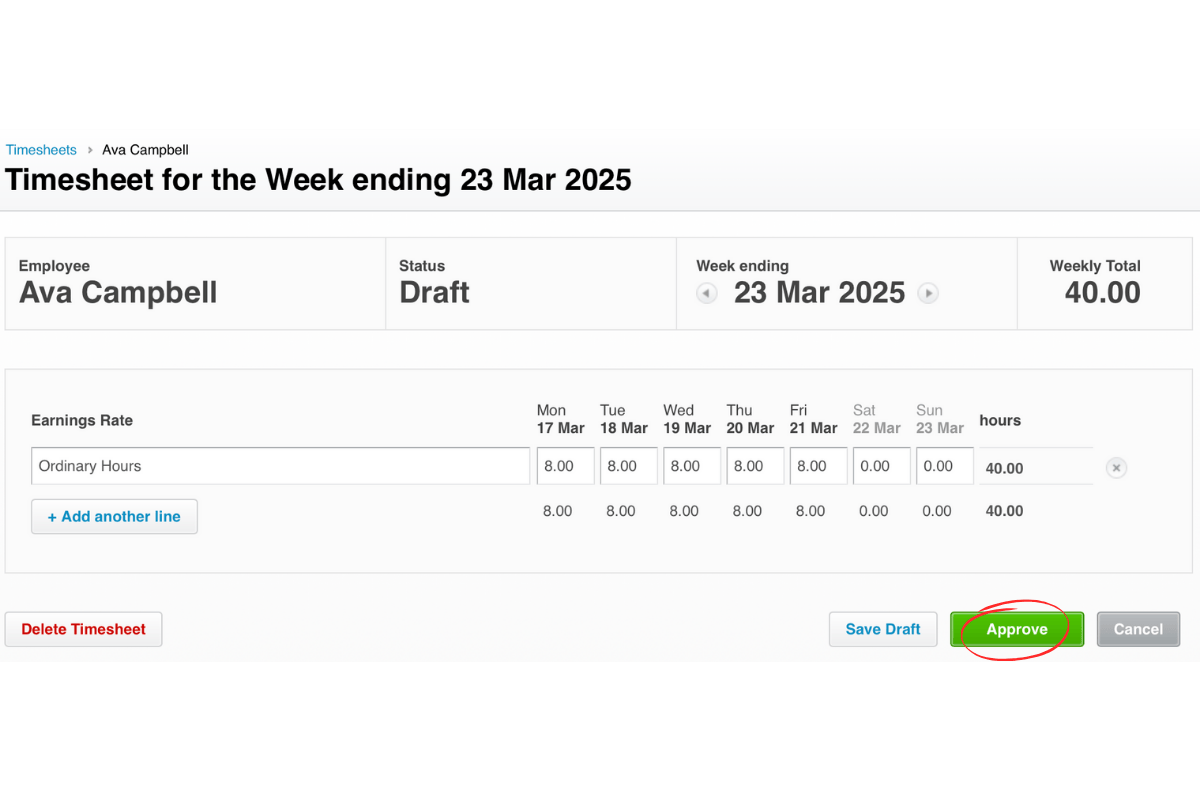
5. Verify draft timesheets in Xero
This section explains how to check your timesheets in Xero after the payroll data has been transferred.
5.1. Steps:
• 5.1.1: Open Xero and navigate to your timesheets section.
• 5.1.2: Verify that the transferred shifts appear as draft timesheets with the correct data.
Following these steps ensures that your payroll data transfers from RosterElf to Xero smoothly, making your payroll process faster and error-free.
Frequently asked questions
1. How do I access the payroll tab in RosterElf?
To access the payroll tab, log in to your RosterElf account and click on the Payroll tab located in the top menu.
2. How can I send approved shifts from RosterElf to Xero?
After approving the shifts you want to send, use the Xero payroll integration by clicking Send to Xero button located at the bottom right of the page.
3. How do I confirm payroll has been sent to Xero?
Once your payroll has been sent to Xero, a confirmation pop-up will appear. Simply click OK to finalise the process.
4. How do I verify that my shifts have been transferred to Xero as draft timesheets?
Log in to Xero and go to the timesheets section. Check that the transferred shifts appear as draft timesheets with the correct data.