How to disconnect your Xero account from RosterElf
This article explains how to disconnect your Xero account from your Rosterelf account. Disconnecting your Xero account is a straightforward process that helps you remove the link between your accounts. This guide will provide clear, step-by-step instructions to make the process simple and quick. By the end, you will have successfully unlinked your Xero account.
Access your account settings
To start the disconnection process, you need to access your account settings. This section explains how to locate the relevant settings for managing your linked accounts.
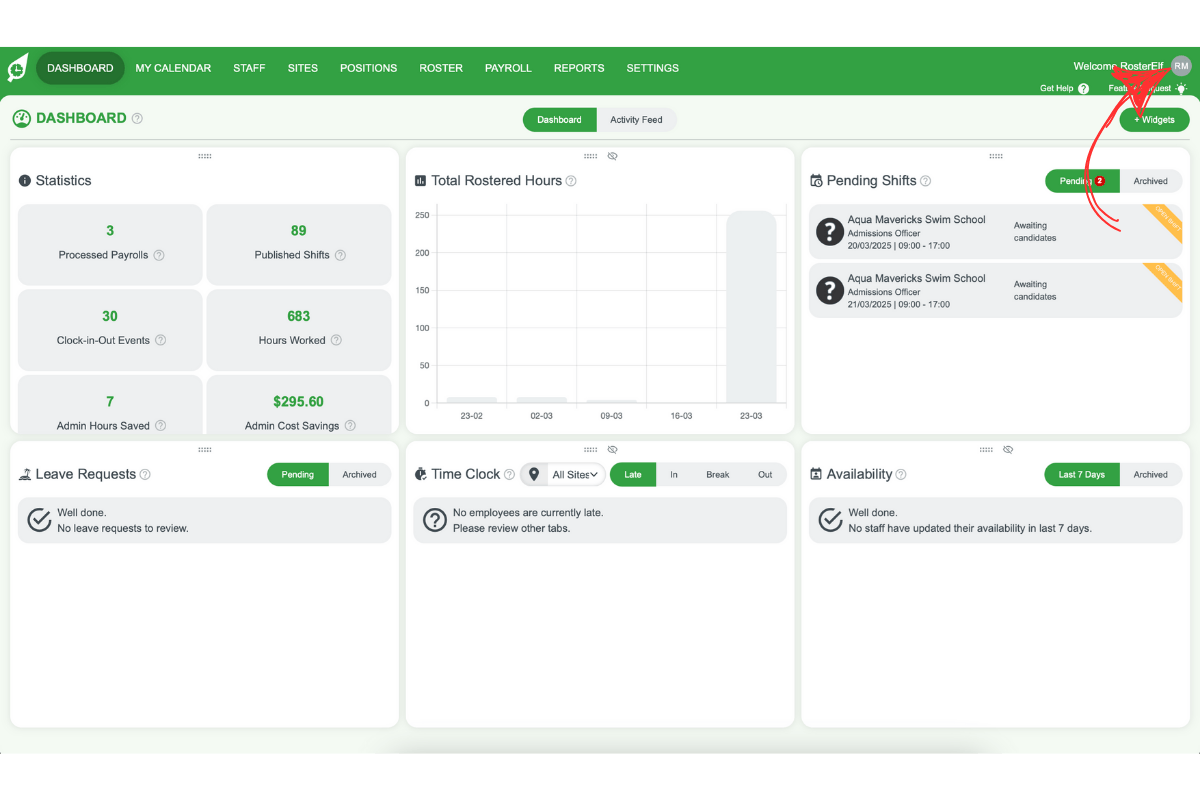
1.1 navigate to your avatar
1.1.1 Click on your avatar in the top righthand corner of the screen.
1.2 open the account info tab
1.2.1 Look for the account info option in the dropdown menu.
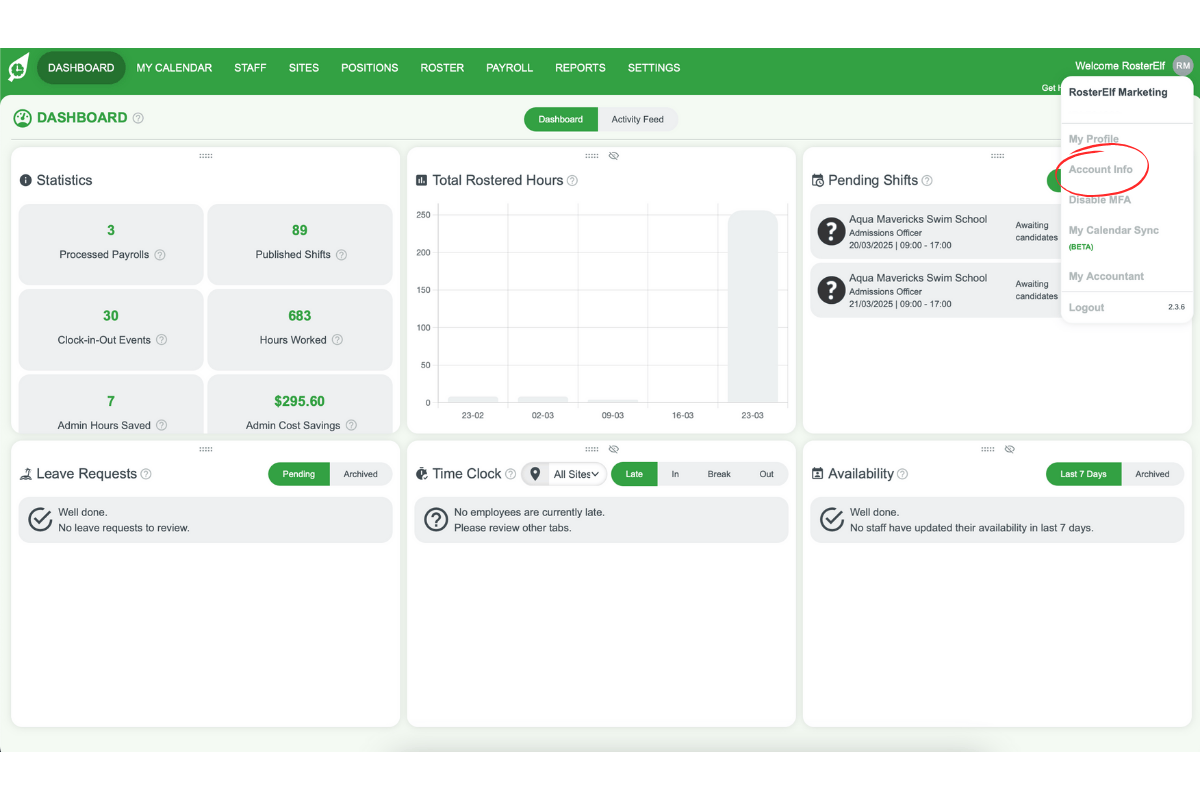
1.2.2 Click on it to open your account details.
2. Disconnect your Xero account
Once in the account settings, you can disconnect your Xero account. This section outlines the steps to remove the link between your accounts.
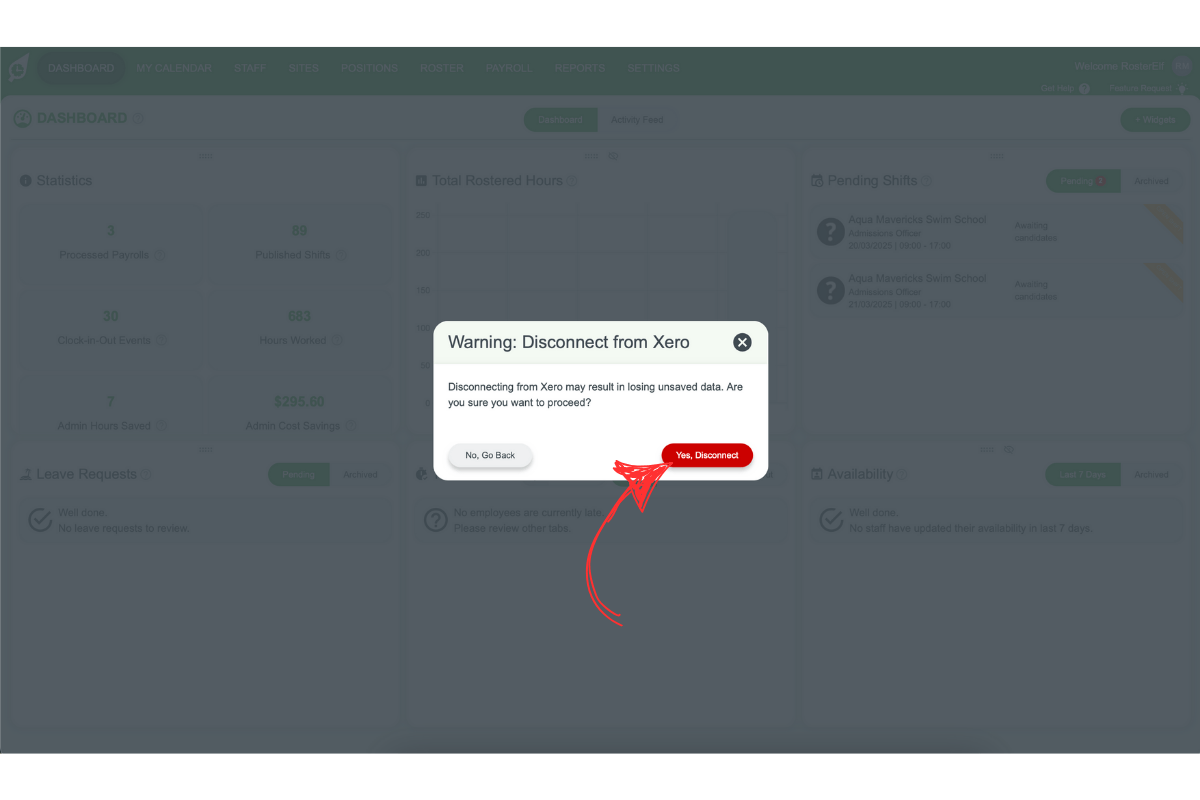
2.1 remove the linked account
2.1.1 Locate the option labelled I want to transfer my Xero account.

2.1.2 Click on this option.
2.1.3 Confirm the action if prompted.
Frequently asked questions
1. 1.1
Click on your avatar in the top righthand corner of the screen.
2. 2.1
Look for the account info option in the dropdown menu.
3. 2.2
Click on it to open your account details.
4. 1.1
Locate the option labelled I want to transfer my Xero account.
5. 1.2
Click on this option.