This article explains how to enable and use shift confirmations in RosterElf. Shift confirmations allow you to require staff to confirm that they can work a scheduled shift before it starts. This helps reduce no-shows, improves accountability, and gives managers better visibility over which shifts are locked in. When confirmations are enabled, staff are prompted to accept or confirm their shifts within a set time frame. Learn more about the shift confirmation feature and how it fits into RosterElf’s rostering software.
Not what you’re looking for? This article covers shift confirmations for assigned shifts — where a specific staff member is asked to confirm they can work. If you are getting too many emails because staff are responding to open shift requests, that is a different feature. See managing open shifts and adding open shifts with auto-approval to reduce those notifications.
Using shift confirmations is especially useful for businesses that manage changing rosters, casual staff, or last-minute updates. You can choose to apply confirmations to all shifts automatically or control them on a per-shift basis. You can also set a cut-off time, which defines how long staff have to confirm their shifts after the shift is posted. This ensures clarity for both managers and staff ahead of time.
In this guide, you will learn how to enable shift confirmations from the roster settings and how to apply confirmations to individual shifts when required. Each section follows a clear, step-by-step format so you can confidently configure confirmations to suit your business needs. Setting this up correctly helps improve attendance, communication, and overall roster reliability.
1. How to enable shift confirmations in rostering software
This section explains how to enable shift confirmations from the roster settings in RosterElf. Enabling confirmations allows you to decide whether all shifts require confirmation by default or whether confirmations are applied only to selected shifts. You can also set a confirmation cut-off time so staff know exactly how long they have to respond after the shift is posted.
Configuring these settings correctly helps prevent confusion and ensures your expectations are clear before shifts begin. It also reduces last-minute changes by giving managers early insight into unconfirmed shifts. Follow the steps below to enable shift confirmations and apply them to your account.
1.1 Turn on shift confirmations and set cut-off times
1.1.1 Open RosterElf.
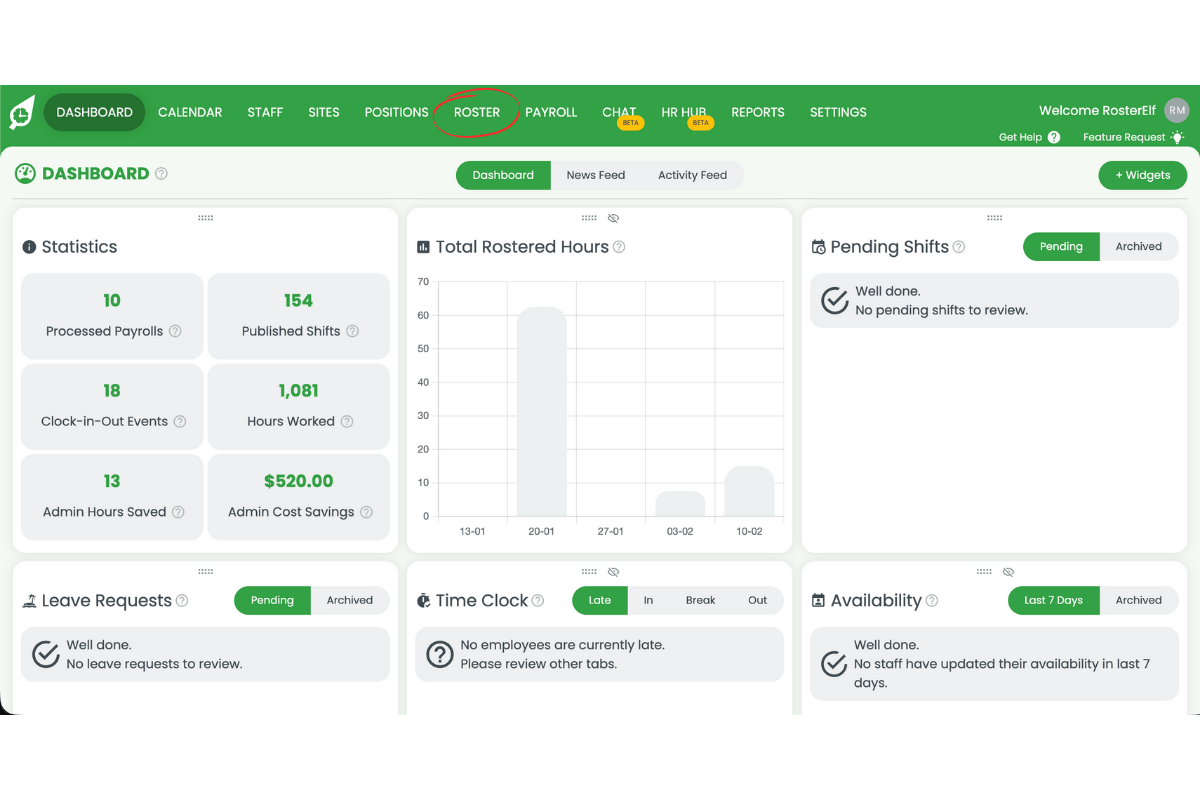
1.1.2 Select Roster tab.
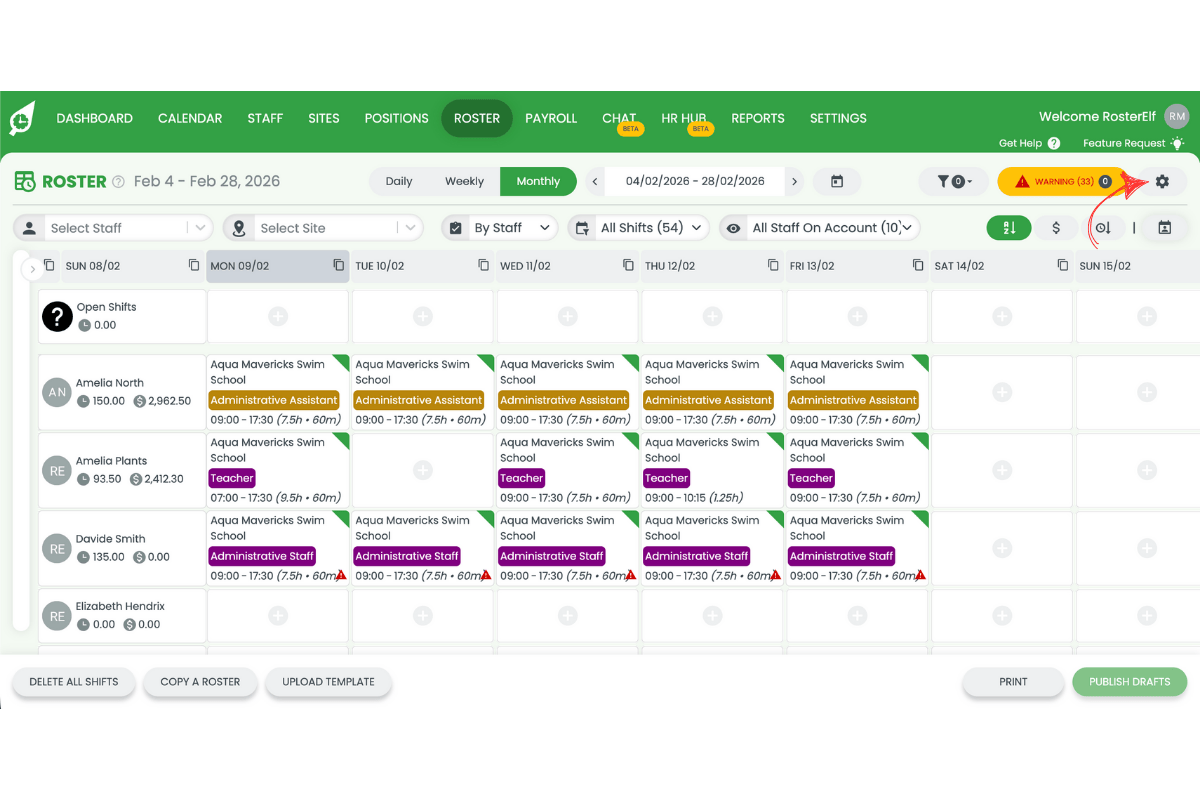
1.1.3 Click Settings.
1.1.4 Enable shift confirmations for all shifts or choose per shift.

1.1.5 Set the confirmation cut-off time. This is the number of hours staff have to confirm their shift after it is posted.
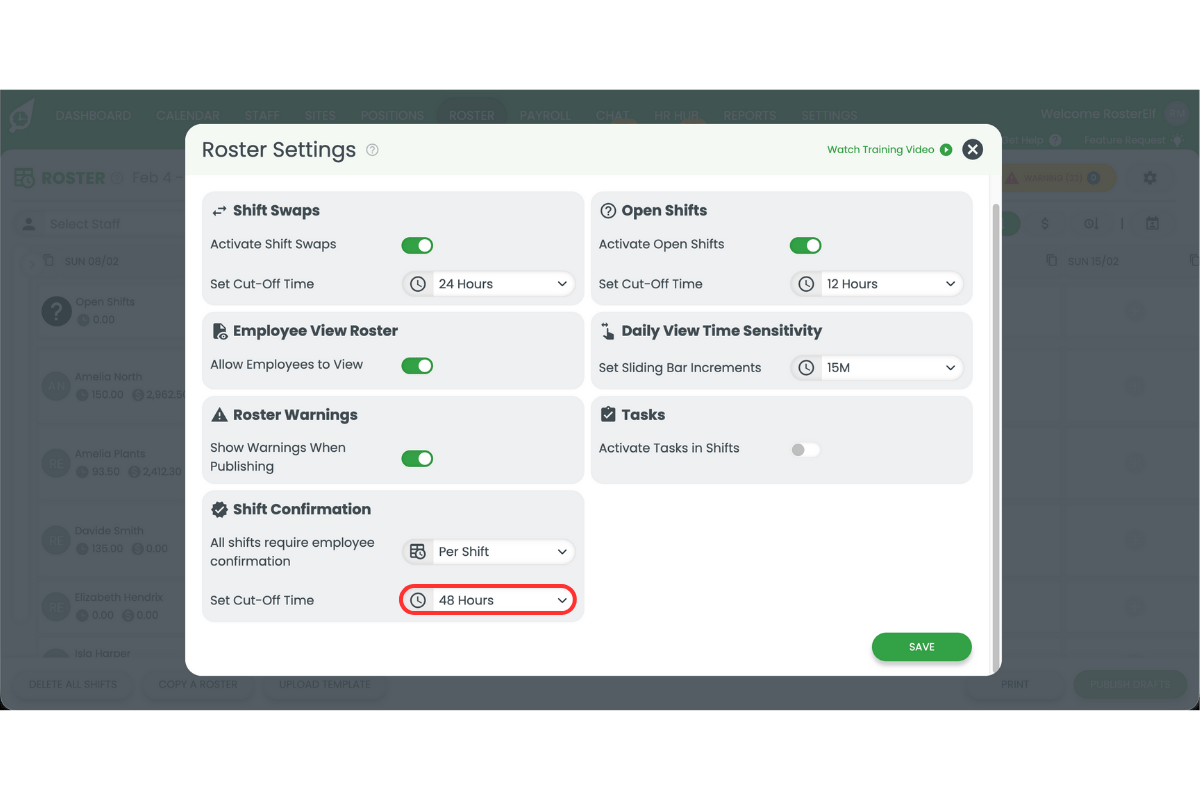
1.1.6 Set your email preferences.
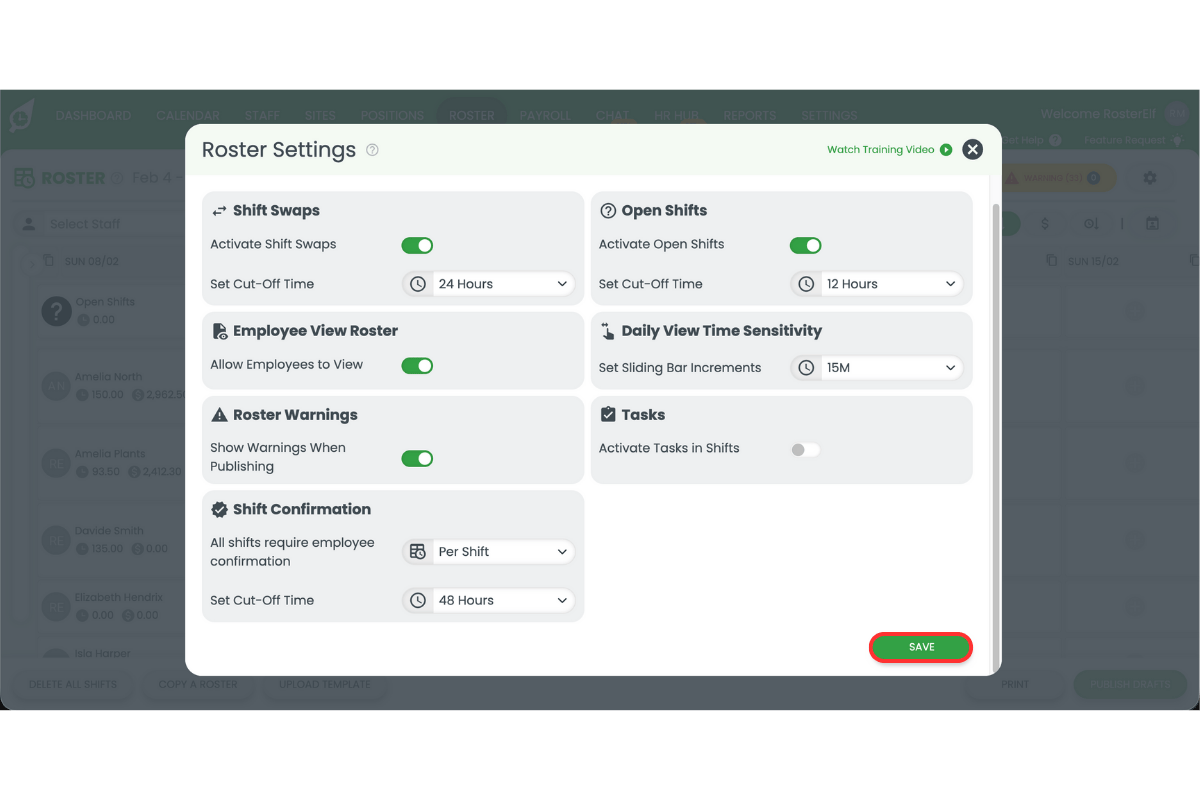
1.1.7 Click Save.
2. Apply shift confirmations per shift in rostering software
This section explains how to apply shift confirmations on individual shifts when per-shift confirmations are enabled. This option gives you flexibility to require confirmations only for certain shifts, such as high-risk, short-staffed, or last-minute shifts. It is useful when not every shift needs confirmation.
Once enabled, you can choose which shifts require confirmation directly during shift creation. This ensures confirmations are only requested when needed, while still maintaining control and visibility. Follow the steps below to apply shift confirmations to individual shifts on your roster.
2.1 Add shift confirmations to individual shifts
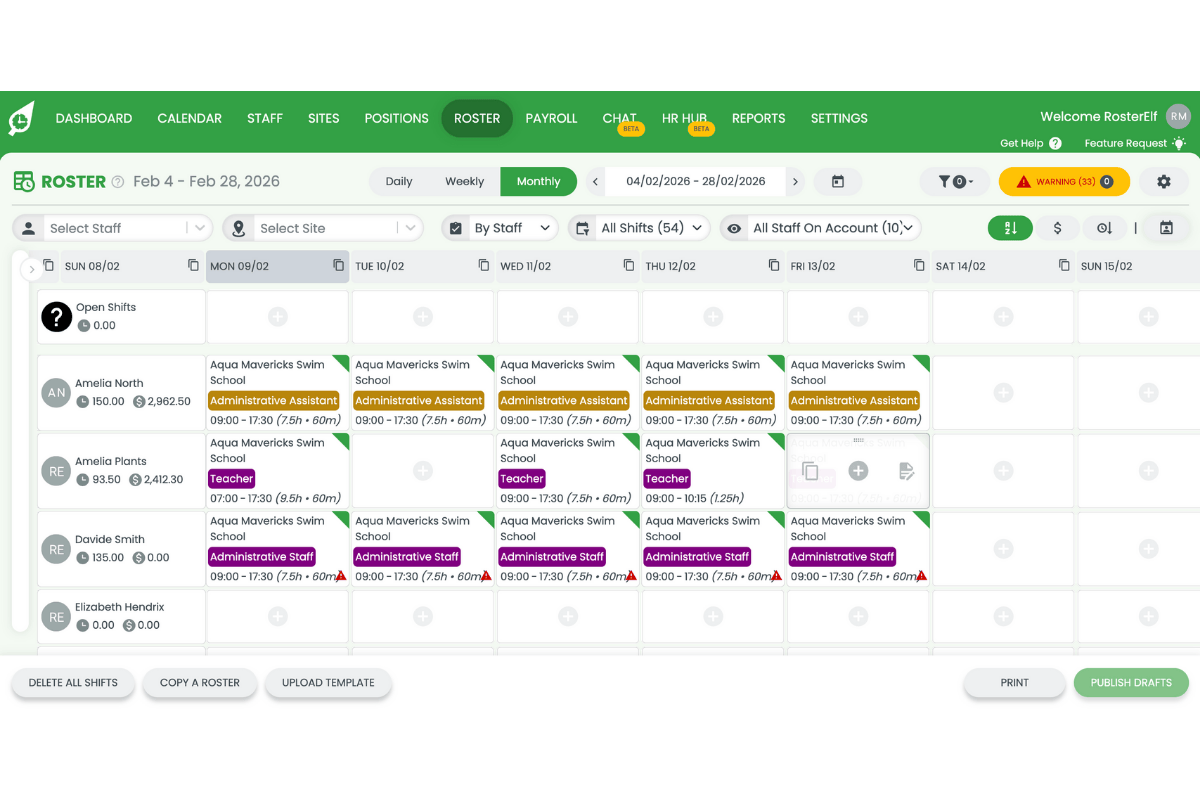
2.1.1 Go to Roster.

2.1.2 Add a new shift.
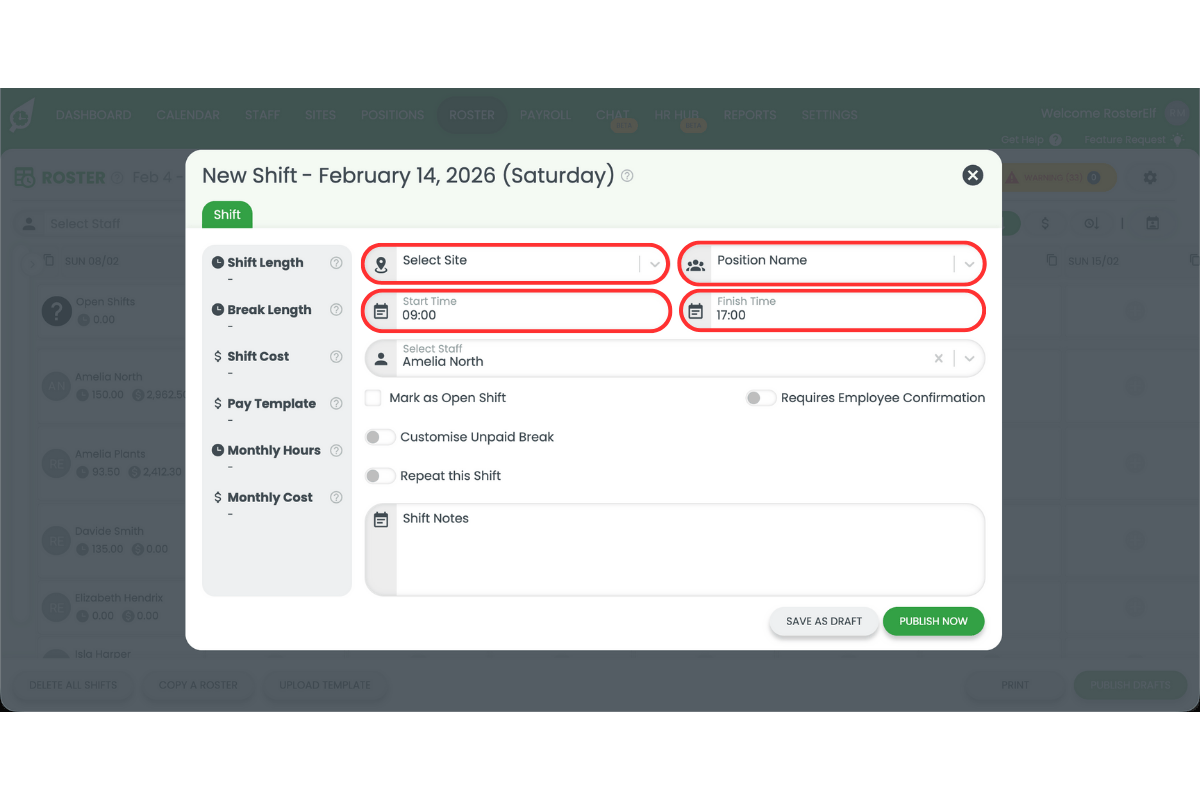
2.1.3 Enter the shift details.

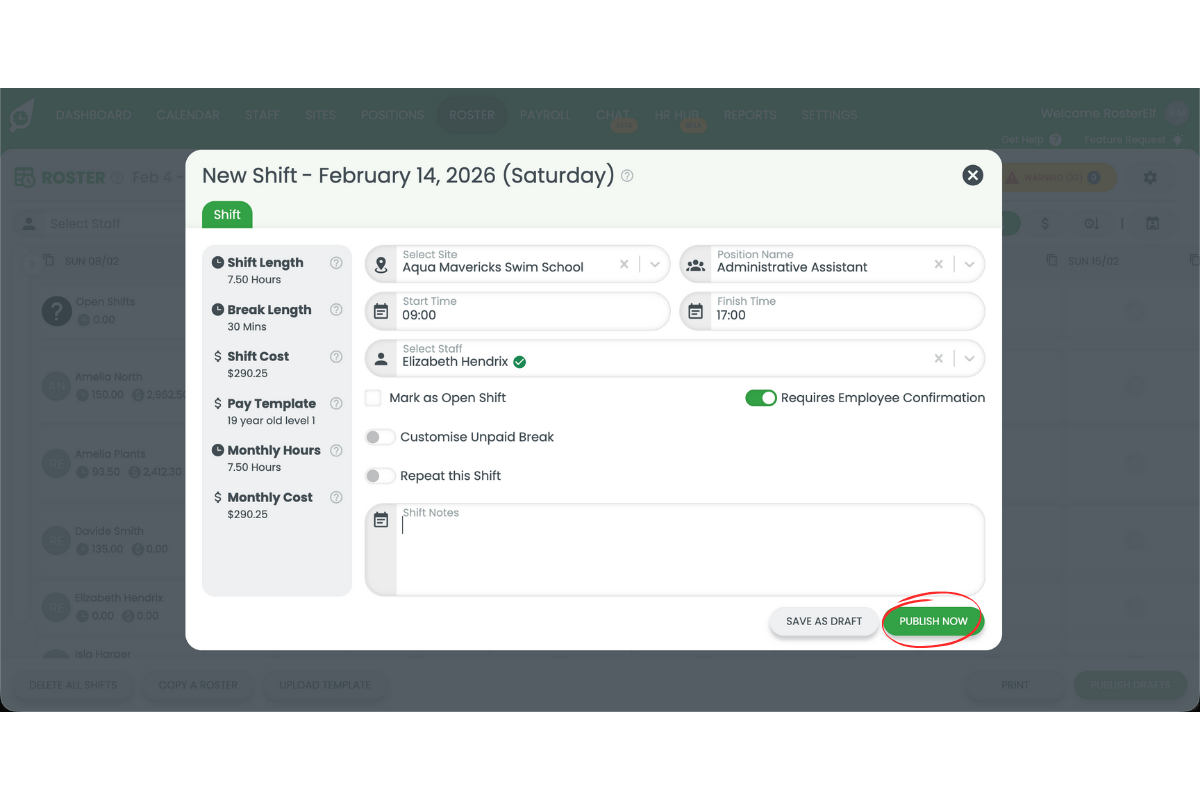
2.1.4 Tick Shift confirmation.

2.1.5 Click Save as draft or Publish.
Frequently asked questions
1. What are shift confirmations in RosterElf?
Shift confirmations in RosterElf require staff to confirm that they can work a scheduled shift before it starts. This helps reduce no-shows, improves accountability, and gives managers clearer visibility over which shifts are locked in.
2. How do I enable shift confirmations in RosterElf?
You can enable shift confirmations from the roster settings in RosterElf. Once enabled, you can apply confirmations to all shifts by default or choose to apply them on a per-shift basis. You can also set a confirmation cut-off time.
3. Can I require shift confirmations for only some shifts?
Yes. If you enable per-shift confirmations, you can choose which individual shifts require confirmation. This is useful for high-risk, short-staffed, or last-minute shifts where attendance certainty is important.
4. What is a shift confirmation cut-off time?
The shift confirmation cut-off time defines how long staff have to confirm their shift after it is posted. The countdown starts from when the shift is published, not from when the shift begins. This ensures managers know in advance whether a shift is confirmed and can take action if needed.
5. What happens if a staff member does not confirm their shift?
If a staff member does not confirm their shift before the cut-off time, the shift remains unconfirmed. This gives managers early visibility so they can follow up, adjust the roster, or arrange cover before the shift starts.
6. How do I know if a shift is confirmed?
When a staff member confirms their shift, it will appear in the roster with a green banner in the top right hand corner of the shift in the roster.
7. I have enabled shift confirmations but I am not receiving emails when staff confirm or reject — what should I check?
Confirmation response emails are sent to the site manager, not staff. There are a few reasons you may not be receiving them. First, check that your email preferences are enabled in the shift confirmation settings — go to Roster > Settings and confirm the email preference is turned on (step 1.1.6 above). Second, make sure the shifts are published and not saved as draft, as staff cannot respond to unpublished shifts. Third, check that staff have actually responded — no response means no email is sent to you. Finally, check your Spam or Junk folder and mark RosterElf as a safe sender. See our guide on troubleshooting RosterElf email delivery for further help.
8. I am not receiving emails when staff confirm or reject shifts — what should I check?
Confirmation response emails are sent to the site manager when a staff member confirms or rejects a shift. If you are not receiving them, work through these checks in order. First, make sure shift confirmations are enabled in Roster > Settings. Second, confirm that the email preference is turned on within those same settings (step 1.1.6 above) — this controls whether you are notified when staff respond. Third, check that the shifts are published rather than saved as draft, as staff cannot respond to unpublished shifts. Fourth, confirm that staff have actually responded — no response from staff means no email is generated. Finally, check your Spam or Junk folder and mark RosterElf as a safe sender. For further help with email delivery, see troubleshooting RosterElf email delivery.