This article explains how to create a leave position which you can apply to staff. By setting up a leave position, you can easily view the staff on leave by position. This ensures leave requests are properly tracked and assigned.
1. Log into RosterElf
To create a leave position, you must first log into your RosterElf account. Follow these steps to access your dashboard.
1.1 open RosterElf and sign in
1.1.1. Go to the RosterElf website.
1.1.2. Click on Login in the top-right corner.
1.1.3. Enter your email address and password.
1.1.4. Click Login to access your account.
2. Add a leave position
Once you’re logged in, you can create a leave position to assign all staff members.
2.1 open the positions tab
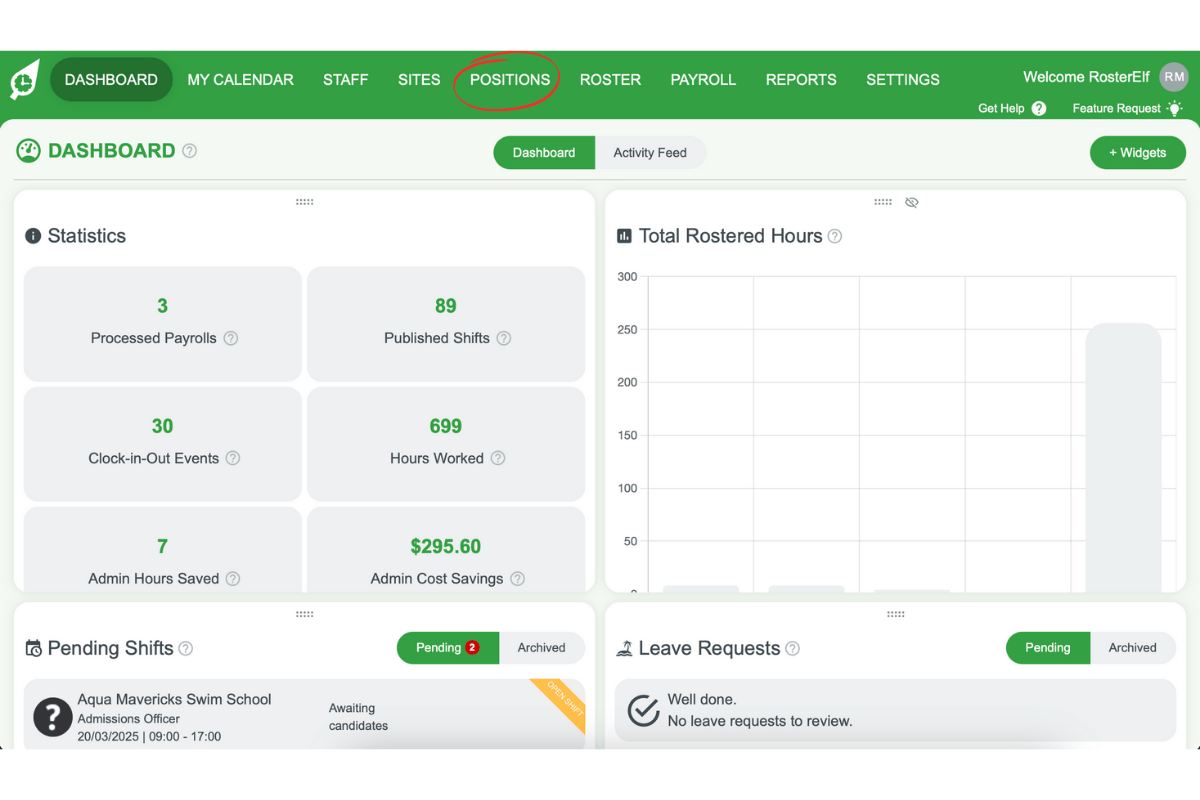
2.1.1. Click on the Positions tab in the main menu.
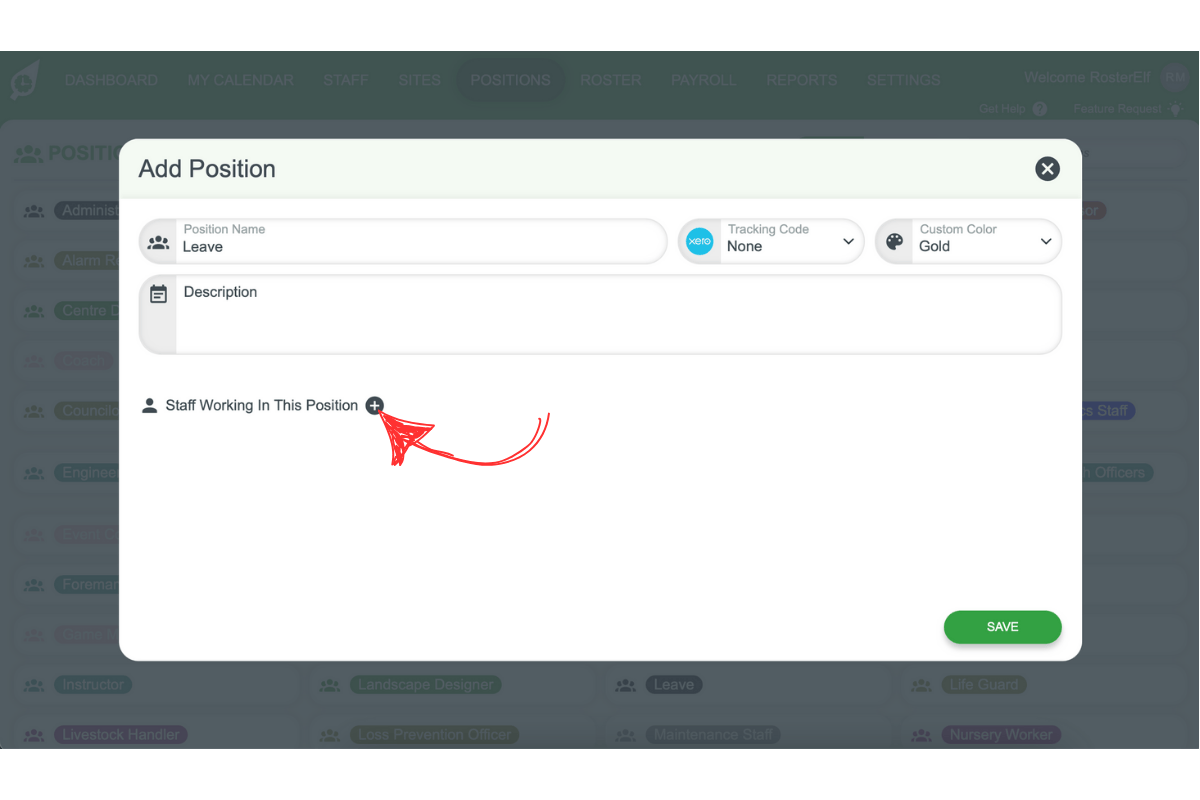
2.2 create a new position
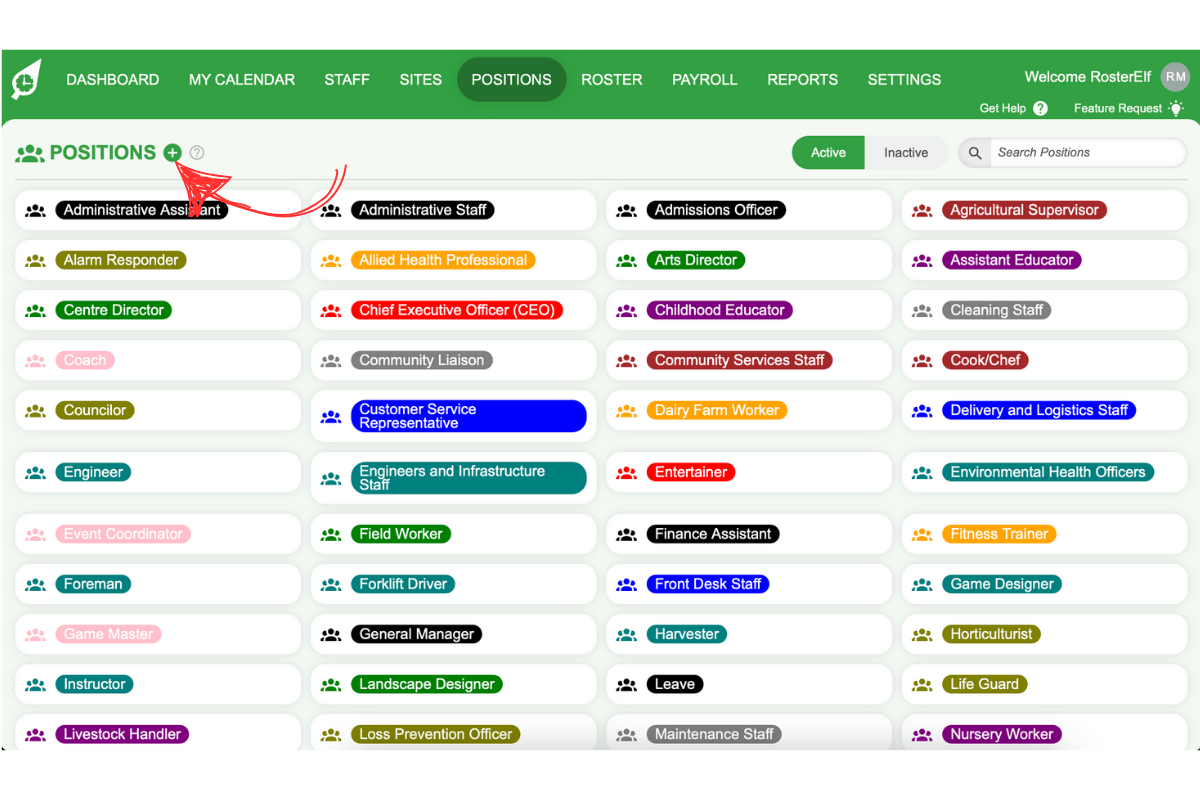
2.2.1. Click the + (plus) symbol to add a new position.
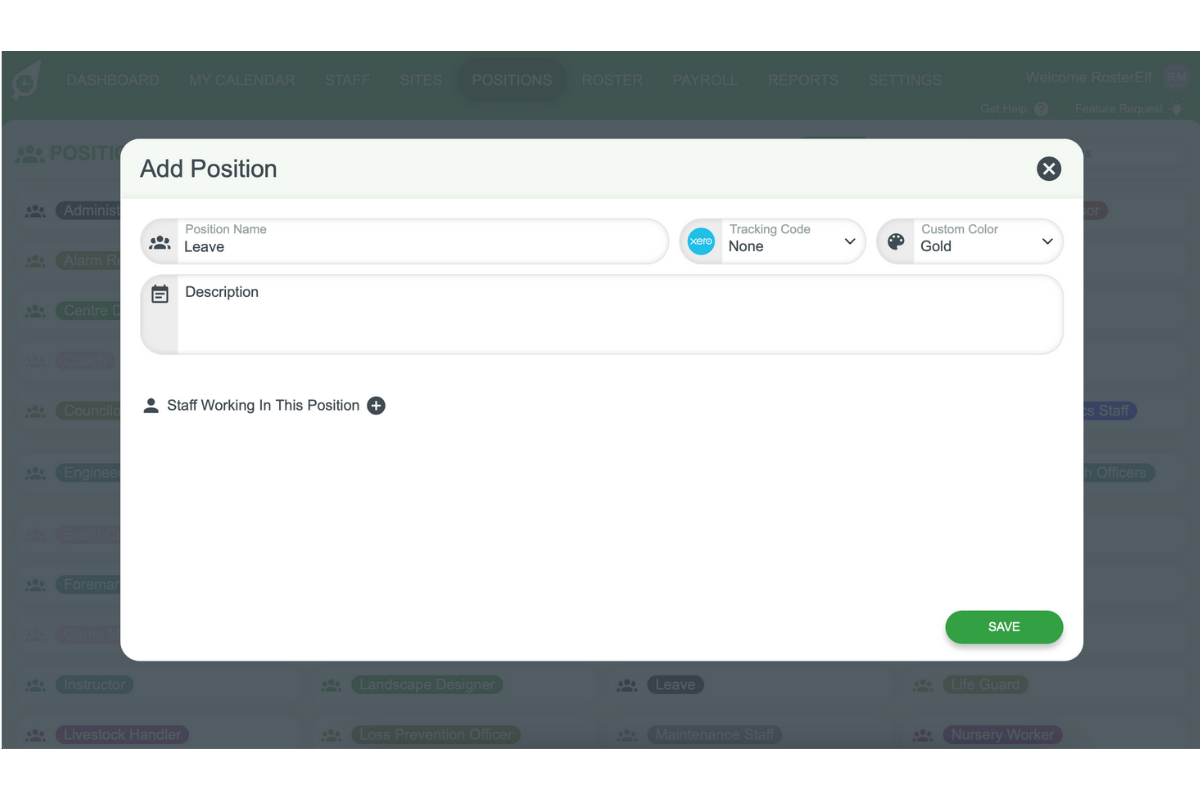
2.2.2. Enter Leave as the position name and assign a colour.
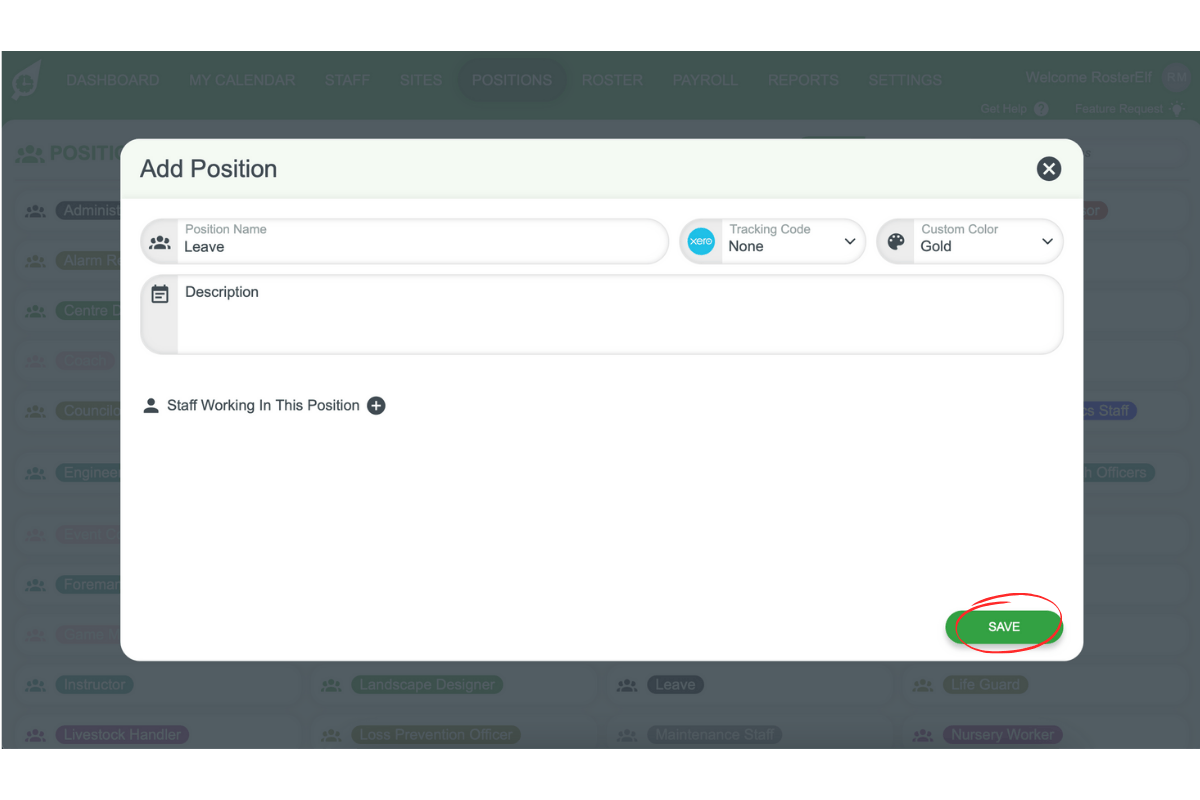
2.2.3. Click Save to confirm.
2.3 assign staff to the leave position
2.3.1. Select Staff Working In This Position to assign them to this position.
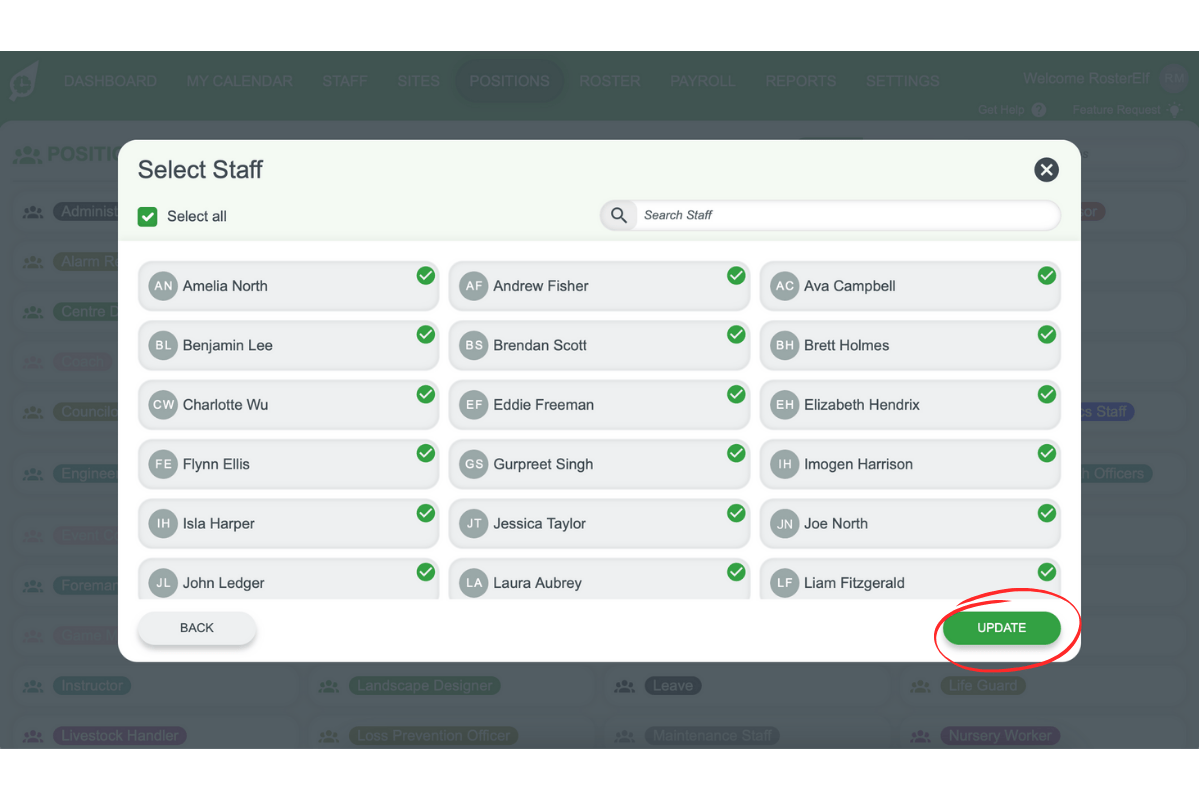
2.3.2. Select the staff for the leave position.
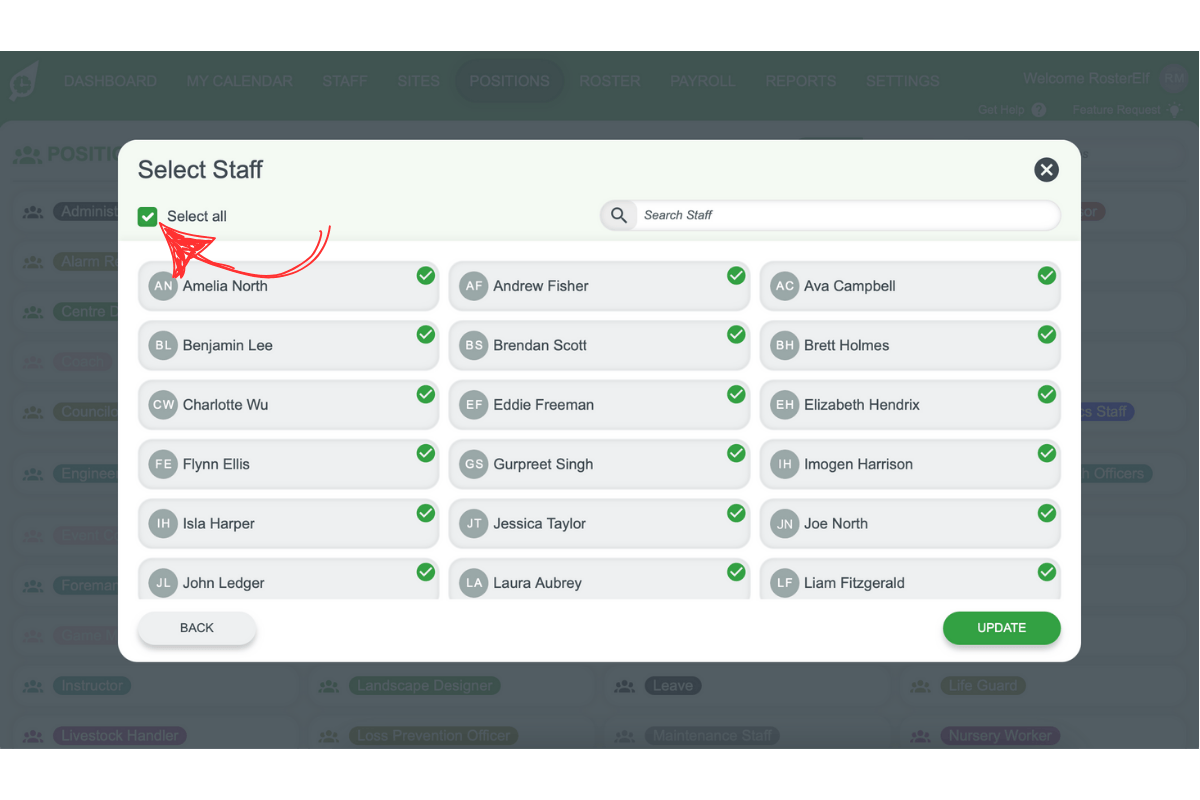
2.3.3. Press Update.
Frequently asked questions
1. How do I add a leave position in RosterElf?
Navigate to Settings, select Positions, and create a new position with a name like ‘Annual Leave’ or ‘Sick Leave’. You can then assign this position to shifts to track leave on your roster.
2. Can I create different types of leave positions?
Yes. You can create multiple leave positions such as Annual Leave, Sick Leave, Personal Leave, or any other leave type your organization uses.
3. Will leave positions appear in reports?
Yes. Leave positions will appear in roster reports and can be filtered separately to track leave usage across your team.
4. How do I assign a leave position to a staff member?
When creating or editing a shift, select the leave position from the position dropdown menu instead of a regular work position.
5. Can I set pay rates for leave positions?
Yes. You can configure pay rates for leave positions in the position settings, allowing accurate payroll calculations for leave periods.