Introduction
Auto-approval for open shifts is a new feature in RosterElf. Read about why we built this feature and how it helps Australian businesses fill shifts faster without approval delays. Auto-approval is part of RosterElf’s open shifts software, which lets staff claim and fill coverage gaps without waiting for manager review.
This article explains how to add an open shift in RosterElf with auto-approval. Open shifts allow you to create shifts that are not assigned to a specific staff member. This is useful when you need to fill last-minute gaps, manage availability changes, or give staff the option to pick up extra work without having to approve the shift.
Using open shifts helps you stay flexible while keeping your roster accurate and up to date. In this guide, you will learn how to open the roster, create a new open shift, enter shift details, and choose whether the shift is auto-approved. You will also learn how to publish the shift immediately or save it as a draft.
Each step is simple and designed to reduce errors when building or updating your roster. Following these steps ensures open shifts are visible to staff and ready to be filled when needed. This process supports faster shift coverage, clearer communication, and better workforce planning.
You can learn more about open shifts here: Managing shift swaps and open shifts from a browser.
1. Add an open shift in RosterElf roster
This section explains how to add an open shift directly from the roster screen in RosterElf. Creating open shifts from the roster allows you to quickly respond to staffing needs without assigning the shift to a specific employee. This is helpful when availability is uncertain or when you want staff to request or accept extra shifts.
By following these steps, you can ensure the shift details are entered correctly and the approval settings match your business process. You will also decide whether the shift should be published immediately or saved as a draft. Completing this process correctly helps prevent missed shifts, confusion for staff, and last-minute scheduling issues.
Use this method whenever you need a fast and reliable way to add open shifts to your roster.
1.1 create and publish an open shift in RosterElf
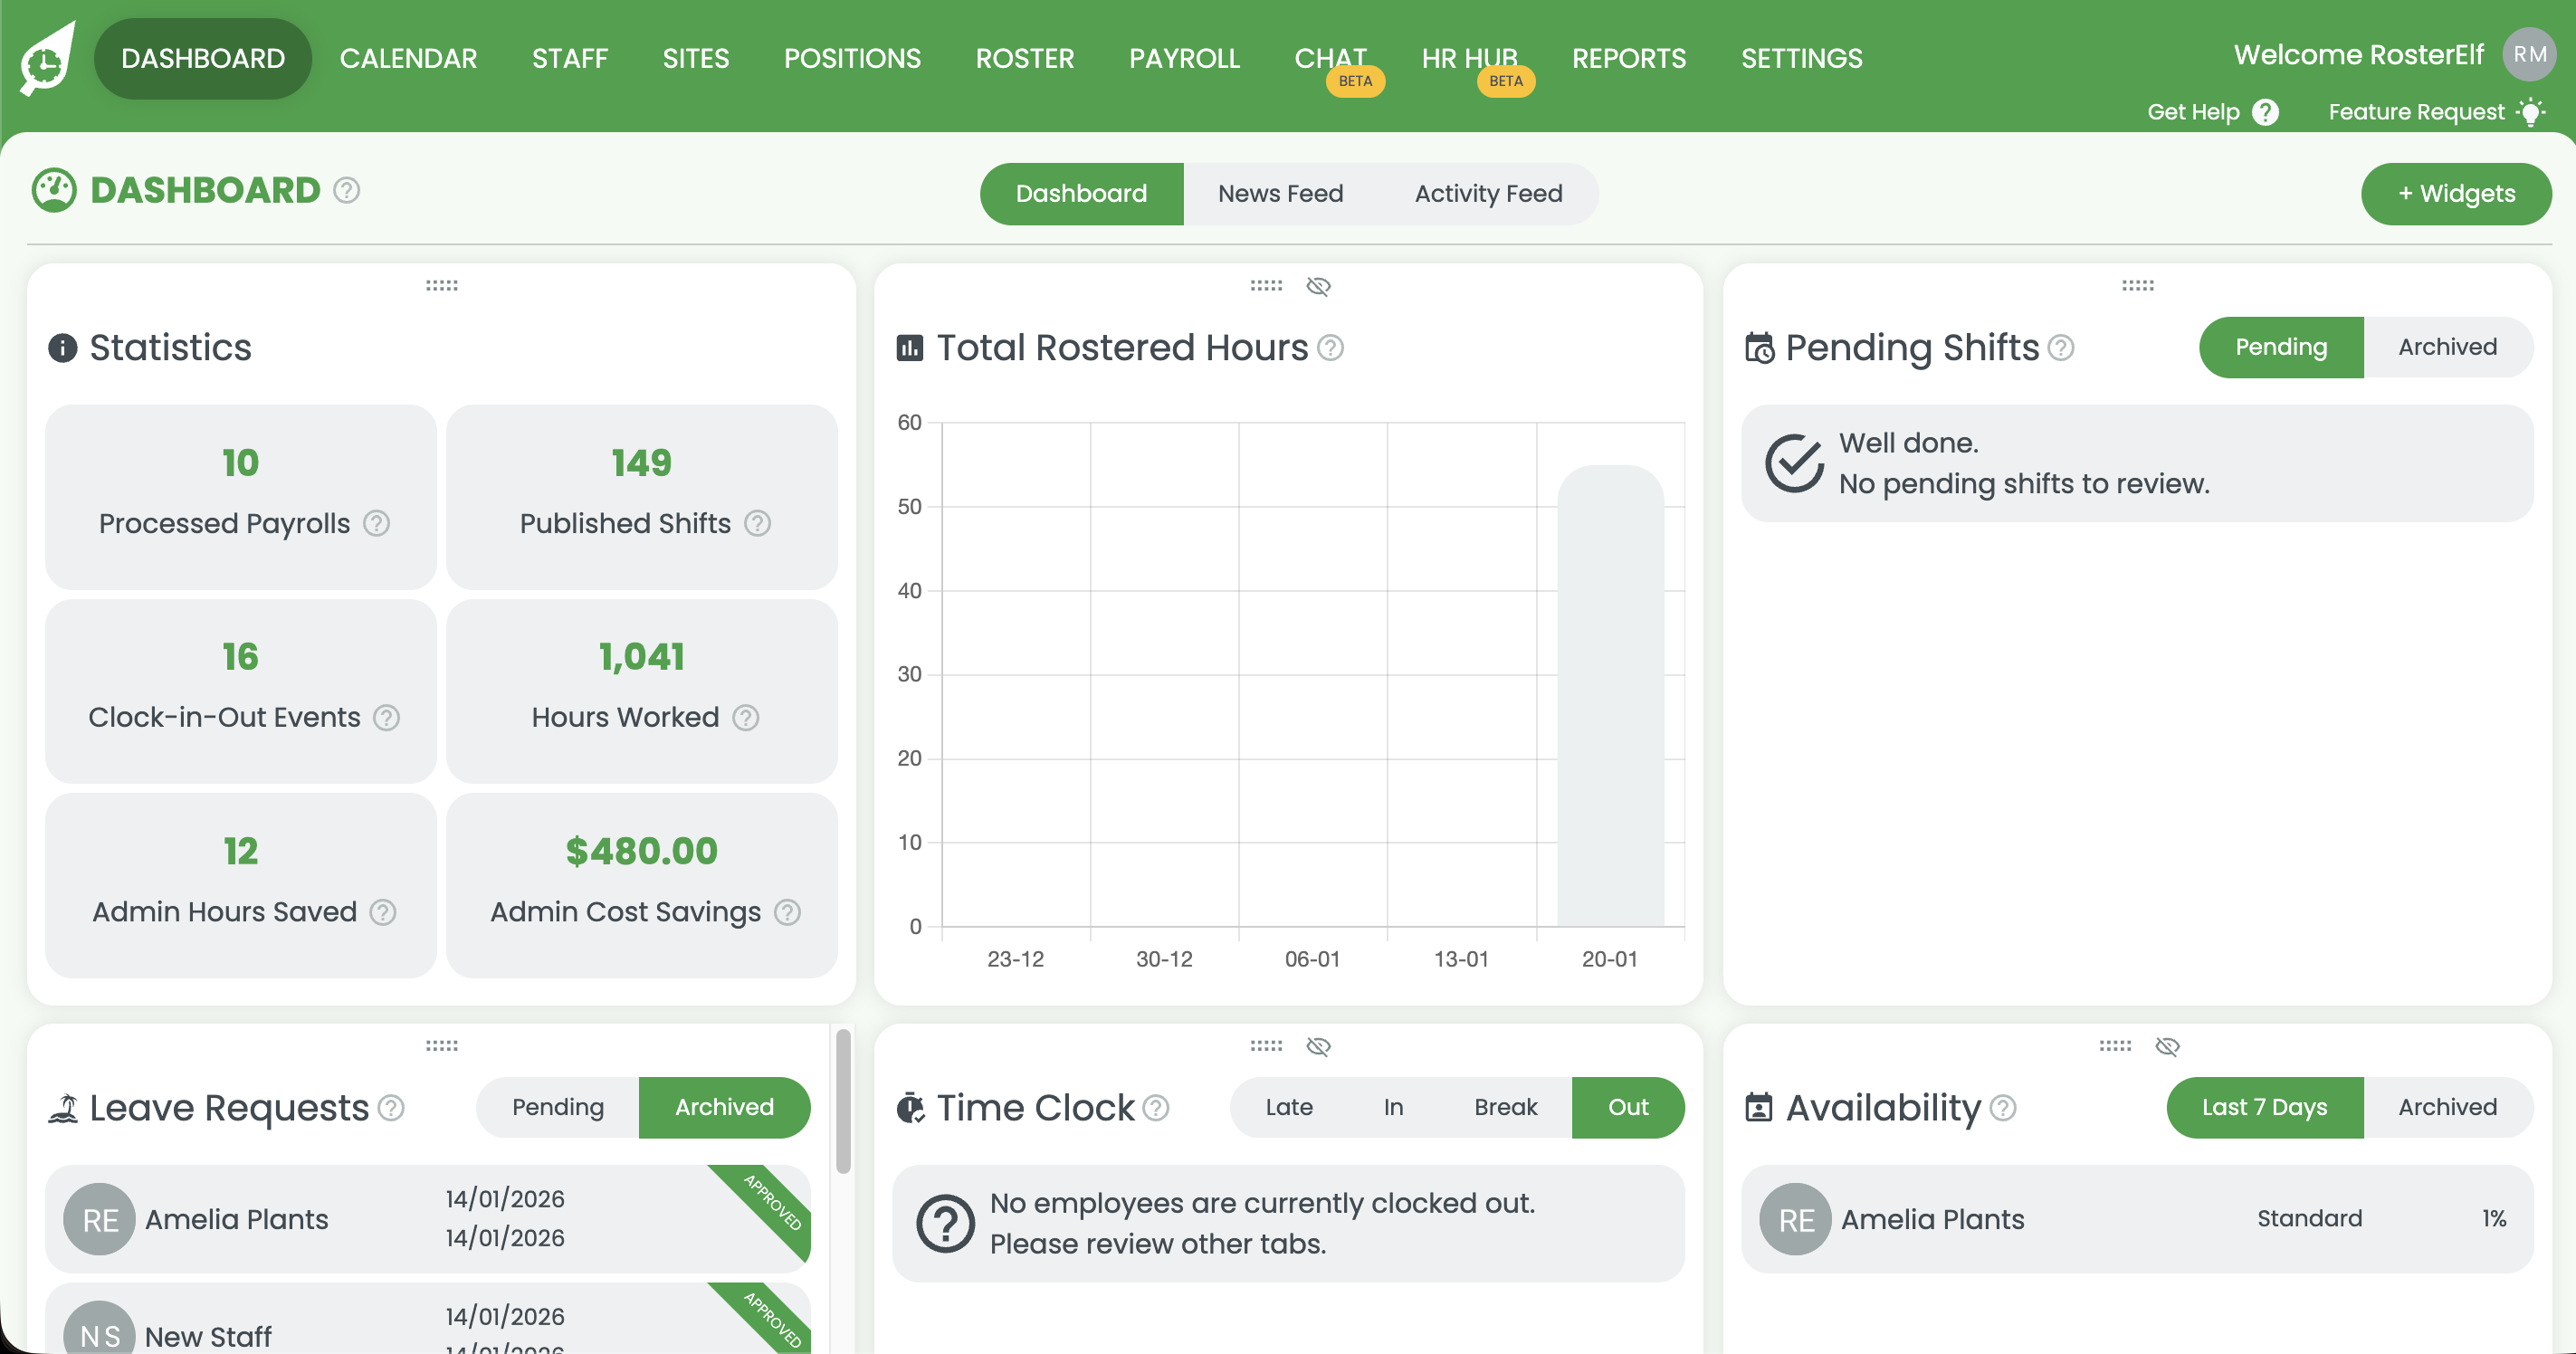
1.1.1 Open RosterElf and log in to your account.
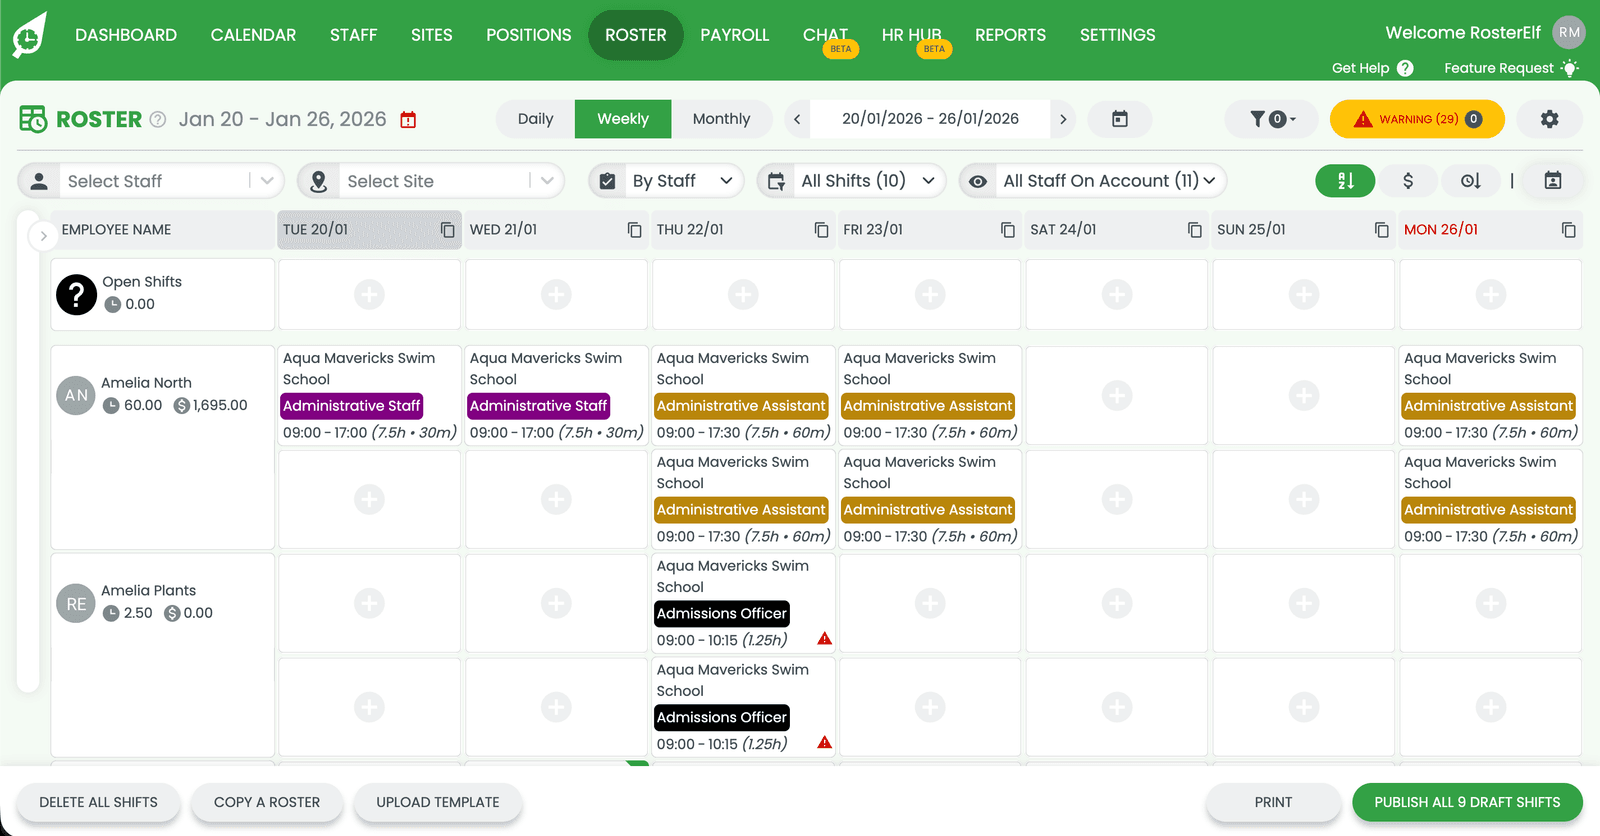
1.1.2 Click on Roster from the main menu.
1.1.3 Press the plus (+) symbol to add a new open shift.
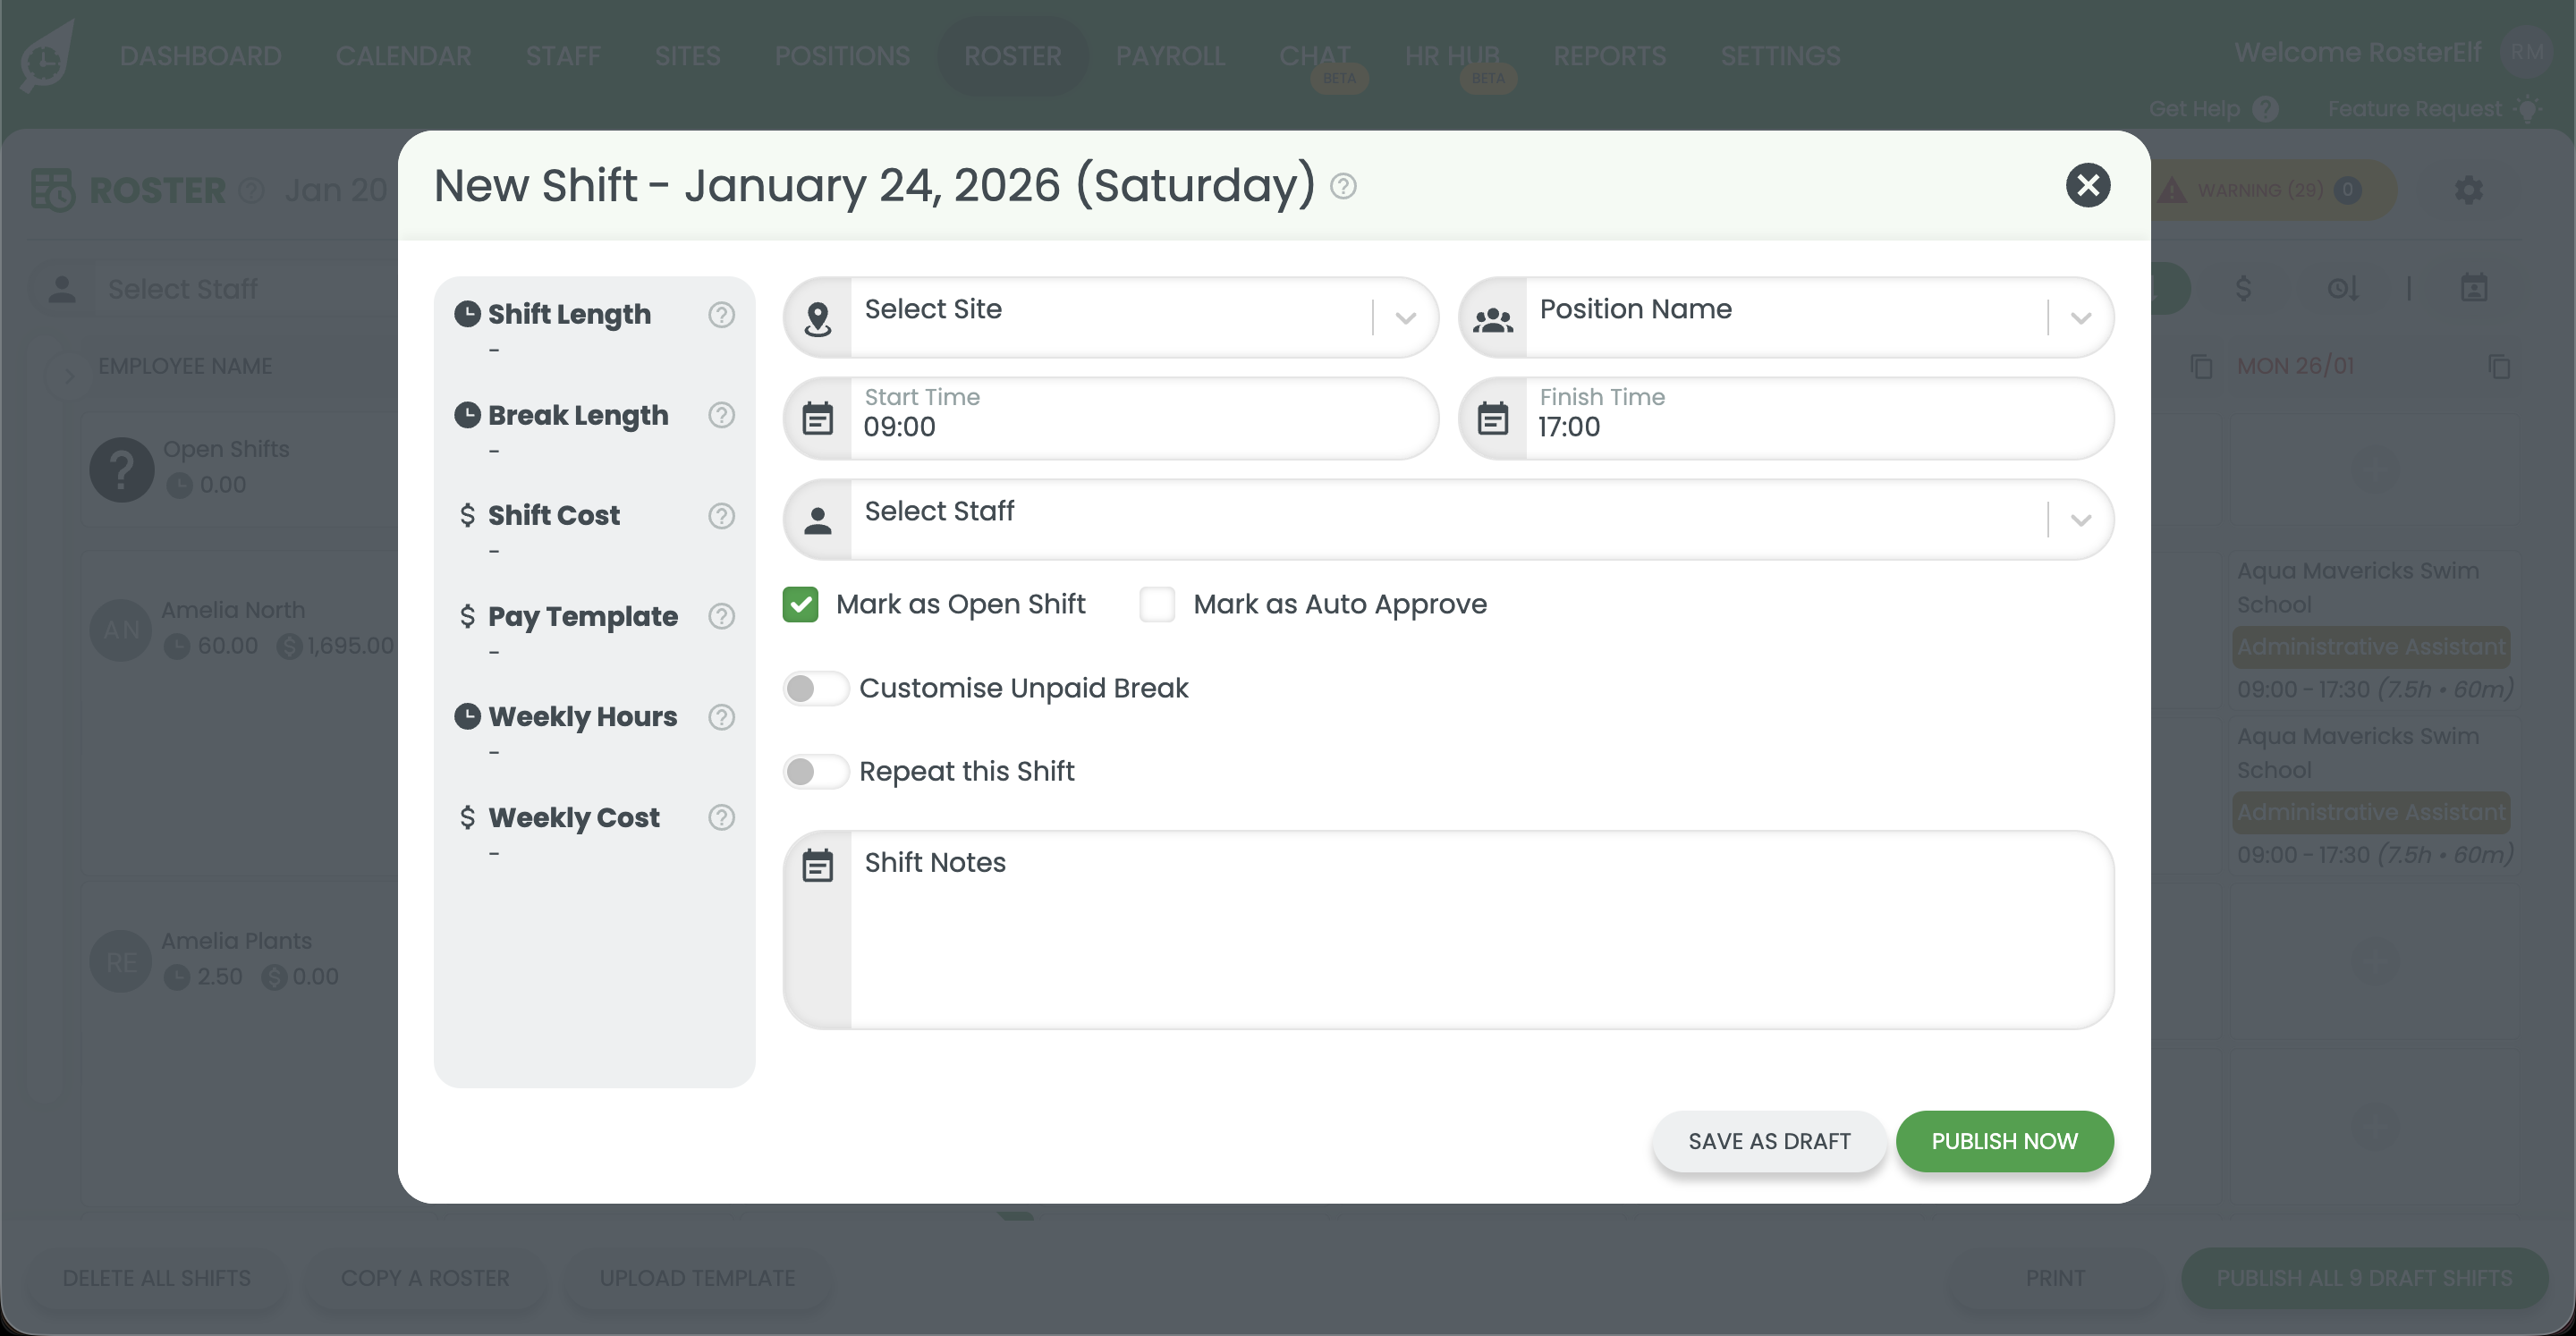
1.1.4 Add your shift details (site, position, and time).
1.1.5 Click Auto approval if the shift should be automatically approved when staff accept it.
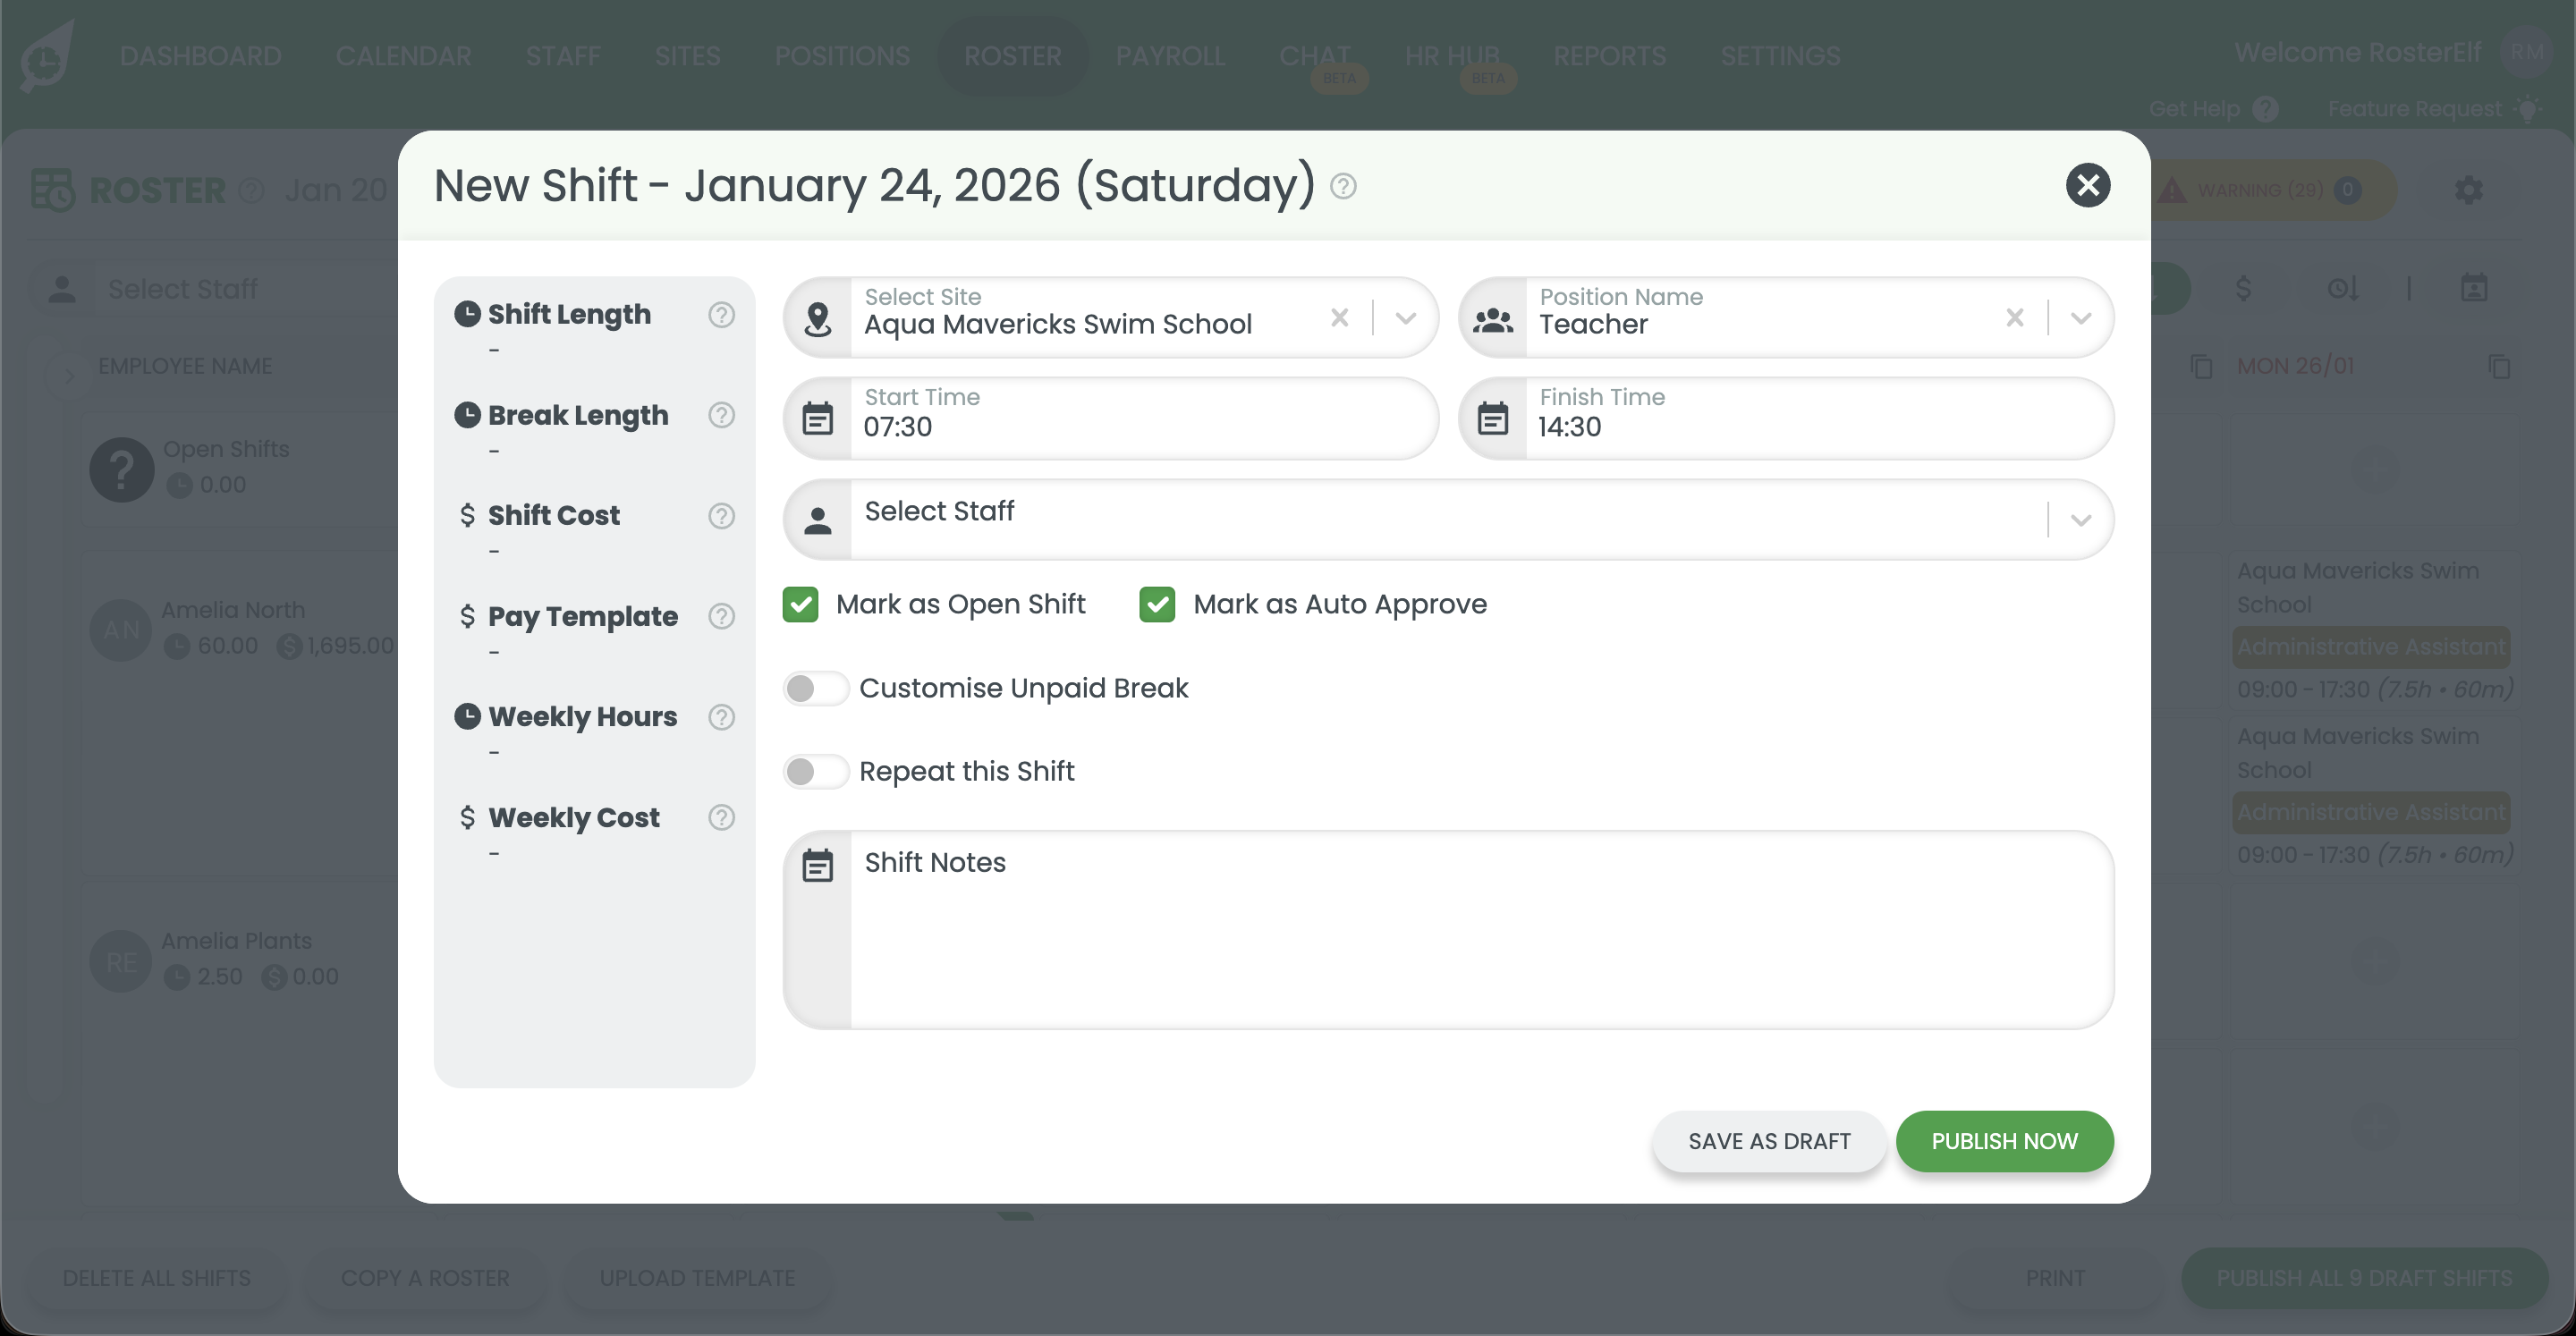
1.1.6 Press Publish to make the shift live immediately, or Save as draft to publish it later.
Frequently asked questions
1. What is an open shift in RosterElf?
An open shift in RosterElf is a shift that is not assigned to a specific staff member. It allows you to create a shift that staff can pick up if they are available. Open shifts are useful for covering last-minute gaps, managing changes in availability, or offering extra work to your team. They help keep your roster flexible while staying accurate.
2. How do I add an open shift in RosterElf?
To add an open shift in RosterElf, open the roster from the main menu and press the plus (+) icon. Enter the shift details such as date, time, role, and site. Leave the shift unassigned to any staff member. You can then publish the shift immediately or save it as a draft to publish later.
3. Can staff automatically be approved for an open shift in RosterElf?
Yes, RosterElf allows you to turn on auto approval for open shifts. When auto approval is enabled, staff who accept the open shift do not need manager approval. This helps fill shifts faster and reduces delays when you need urgent coverage.
4. Do I need to publish an open shift straight away in RosterElf?
No, you can choose to publish the open shift immediately or save it as a draft. Publishing makes the shift visible to staff right away. Saving it as a draft lets you review or update the shift details before making it live.
5. Why should I use open shifts in RosterElf?
Using open shifts in RosterElf helps you respond quickly to staffing changes. It improves communication with staff, reduces last-minute roster changes, and makes it easier to fill shifts. Open shifts with auto-approval allow staff to claim available shifts without waiting for manager approval, which speeds up the rostering process.