This guide explains how to edit draft shifts from the past in RosterElf. As an Admin, you can update past shifts that remain unpublished. By following these steps, you’ll be able to manage and finalise shift details efficiently, even if they are from a previous date. Please note that employees won’t receive notifications for changes made to past shifts. This guide also includes links to additional articles on adding or changing unrostered shifts in payroll and adding past unscheduled shifts in the roster.
1. Access the roster view
The first step to editing a draft shift from the past is to access the Roster view in RosterElf. The Roster view enables you to locate and manage specific shifts.
1.1 open the roster
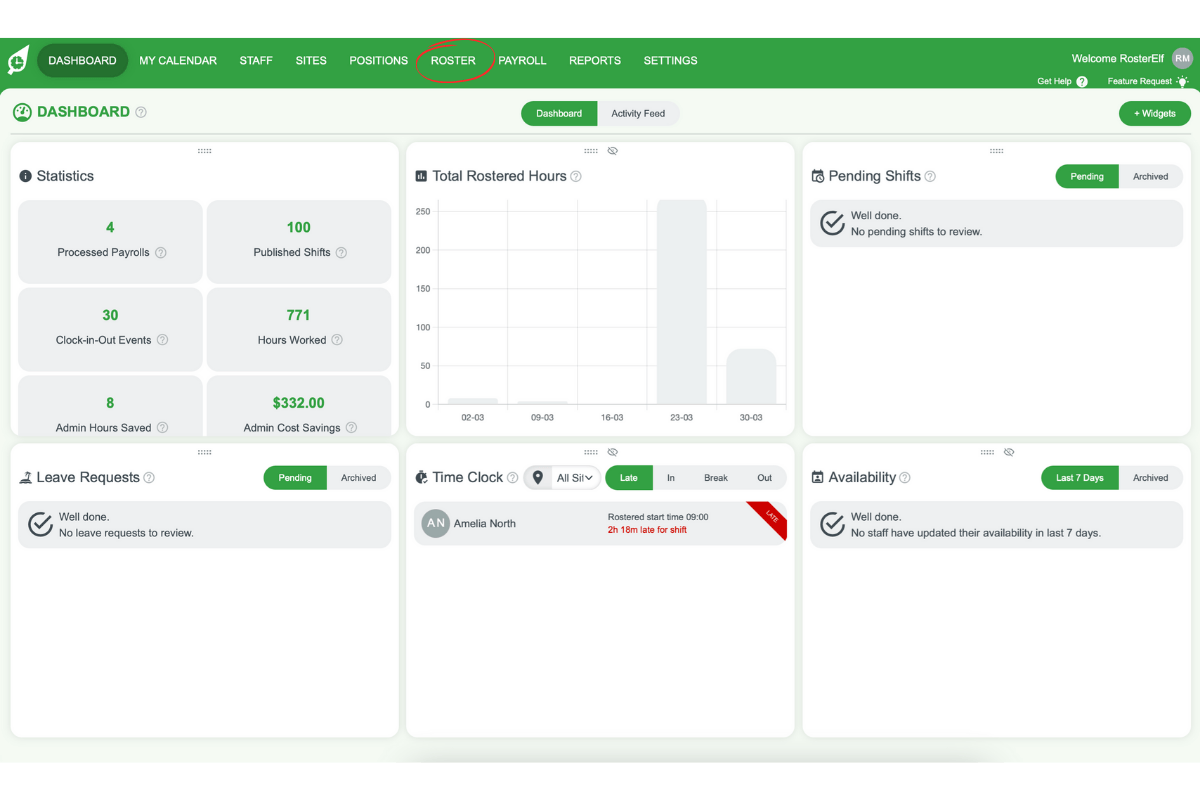
1.1.1. Go to the top menu in RosterElf.
1.1.2. Select Roster to open the roster view.
2. Select the draft shift
In this section, you’ll learn how to locate the draft shift you wish to edit. RosterElf lets you hover over and review draft shifts before making changes.
2.1 choose the draft shift
2.1.1. Find the draft shift in the roster view.
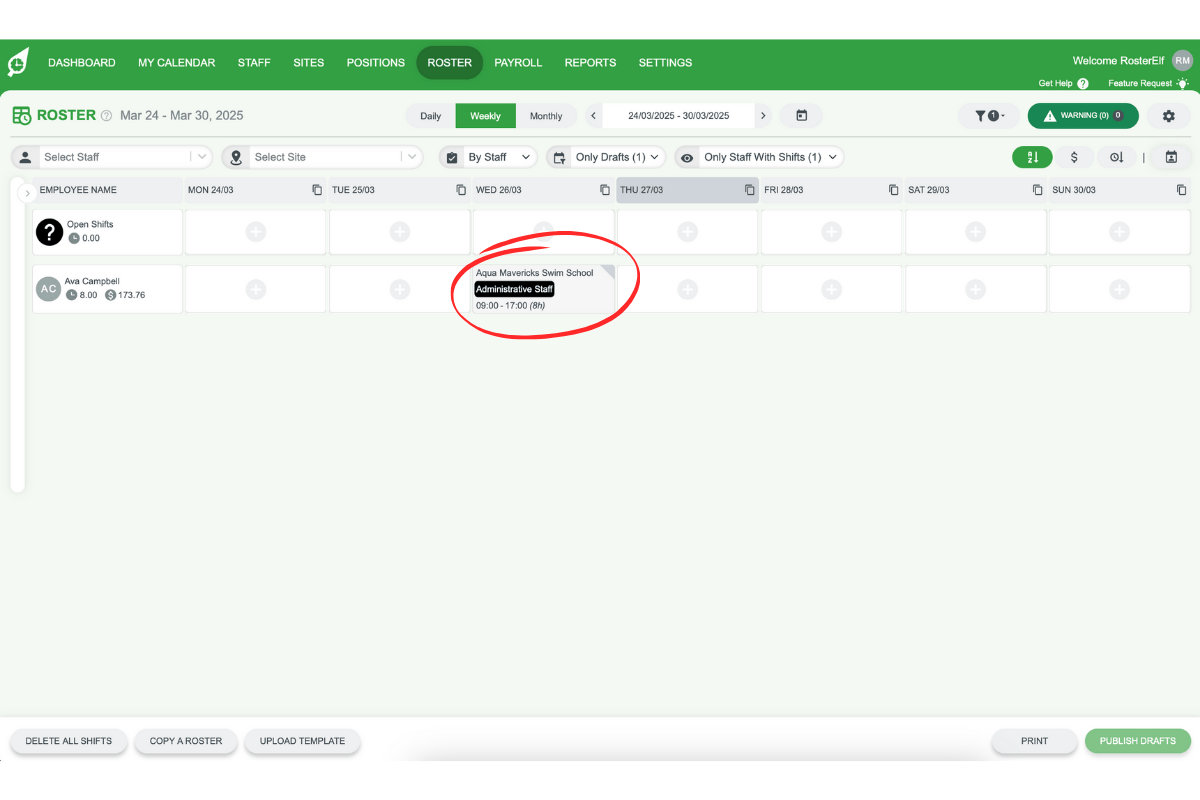
2.1.2. Hover over the shift you want to edit.
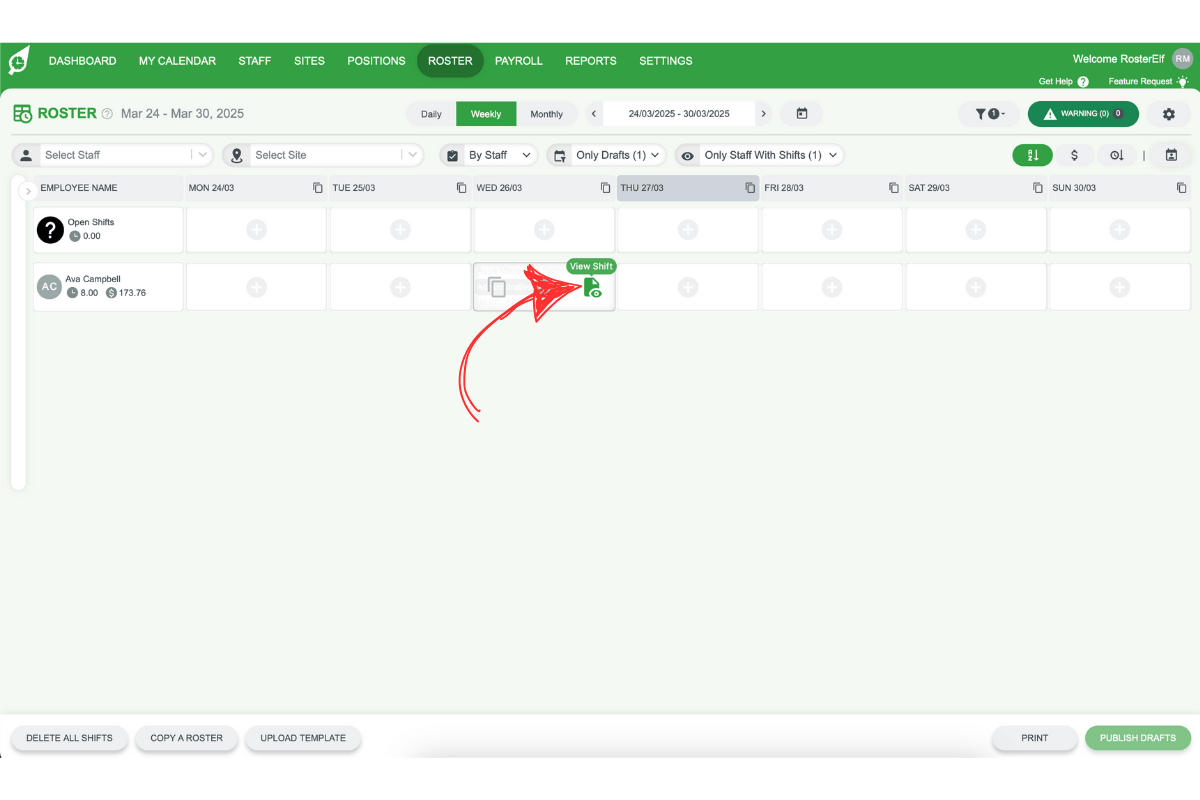
2.1.3. Click on View Shifts to access the shift details.
3. Edit and publish the shift details
Once you’ve selected the draft shift, you can edit the details and publish the shift to finalise the changes. Publishing ensures the changes are updated in the system, though no notifications will be sent to employees for past shifts.
3.1 make edits and publish
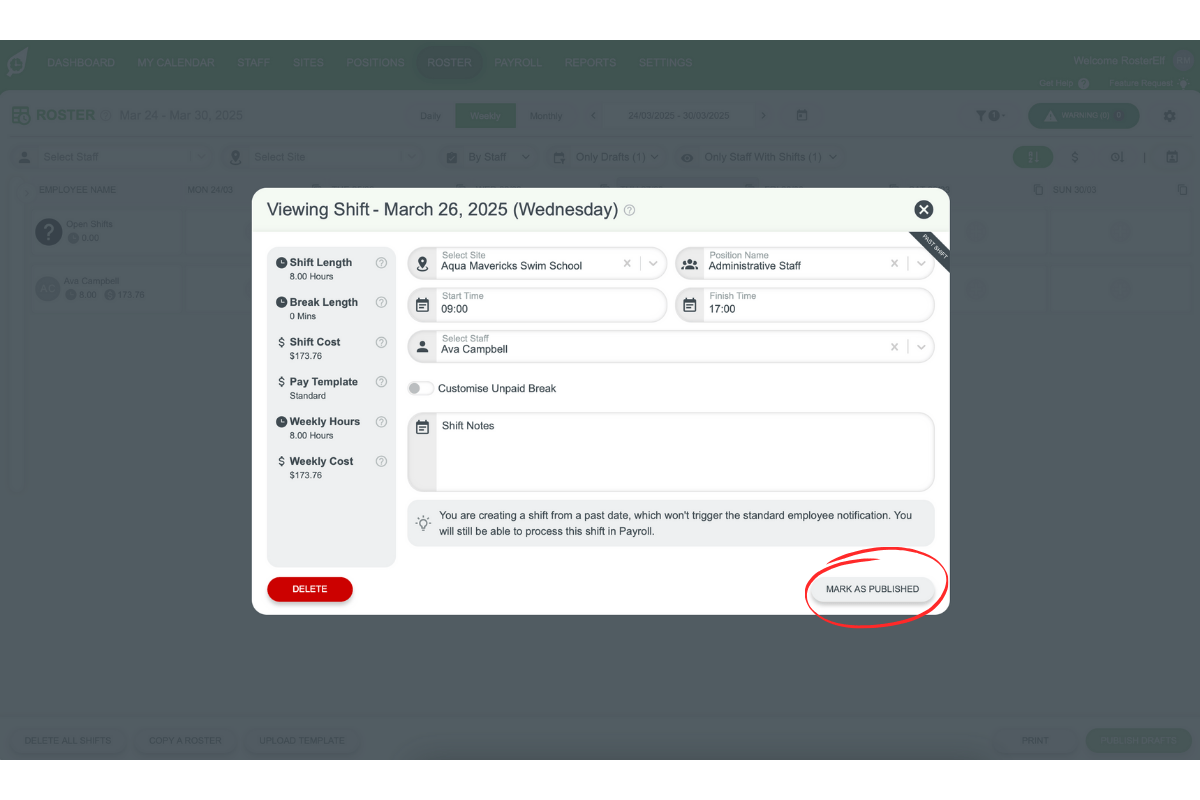
3.1.1. In the pop-up menu, update the relevant shift details.
3.1.2. Once changes are complete, click Mark as Published to finalise the shift.
Additional Resources:
For further assistance with managing unrostered shifts and adding past shifts, check out these guides:
- Adding Unrostered Shifts on Payroll
- Adding and Paying for an Unrostered Shift During Payroll
- How to Add a Past Shift in RosterElf
Frequently asked questions
1. How do I edit a draft shift from a previous date in RosterElf?
To edit a past draft shift in RosterElf, access the roster view, locate the draft shift, and click on it to make changes. After editing, publish the shift to finalise it.
2. Can I edit a shift that has already been published in RosterElf?
No, only draft shifts that are unpublished can be edited. Published shifts require a different process for adjustments.
3. Will employees be notified if I edit a past draft shift in RosterElf?
No, employees will not receive notifications for any changes made to past shifts, even if the shift is published after editing.
4. How do I access the roster view in RosterElf?
To access the roster view, go to the top menu in RosterElf and select Roster. This view allows you to locate and edit draft shifts.
5. What should I do if I need to add or pay for an unrostered past shift?
For guidance on managing unrostered past shifts, refer to the Adding Unrostered Shifts on Payroll guide in RosterElf’s support resources.