This article explains how to enable and create open shifts in your roster. Open shifts allow employees to claim available shifts, streamlining your scheduling process. By following these steps, you can activate open shifts and create them efficiently. This ensures clarity and flexibility for your team, while reducing scheduling conflicts.
1. Enable open shifts in settings
To start using open shifts, you must enable the feature in your settings. This step ensures open shifts are active and configured correctly for your team. Follow these steps to enable and set up open shifts.
1.1 access settings
1.1.1 Log in to your account.
1.1.2 Navigate to the settings menu.
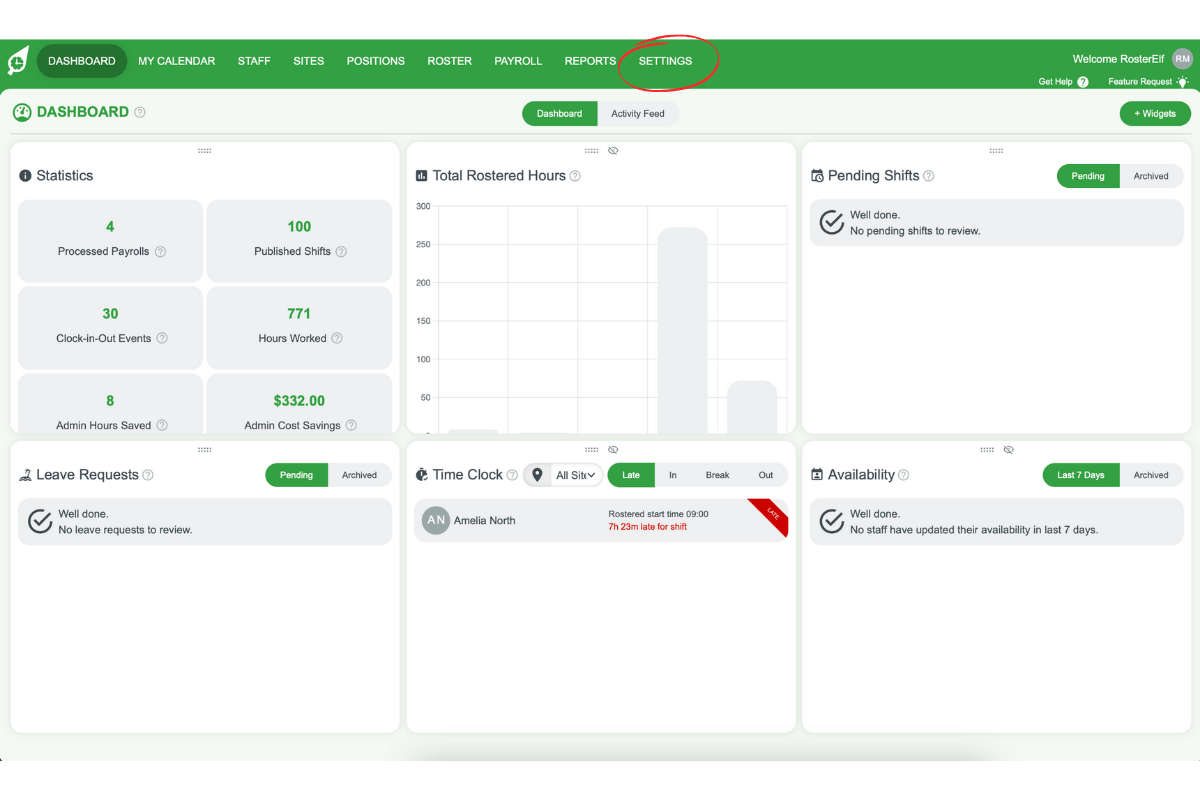
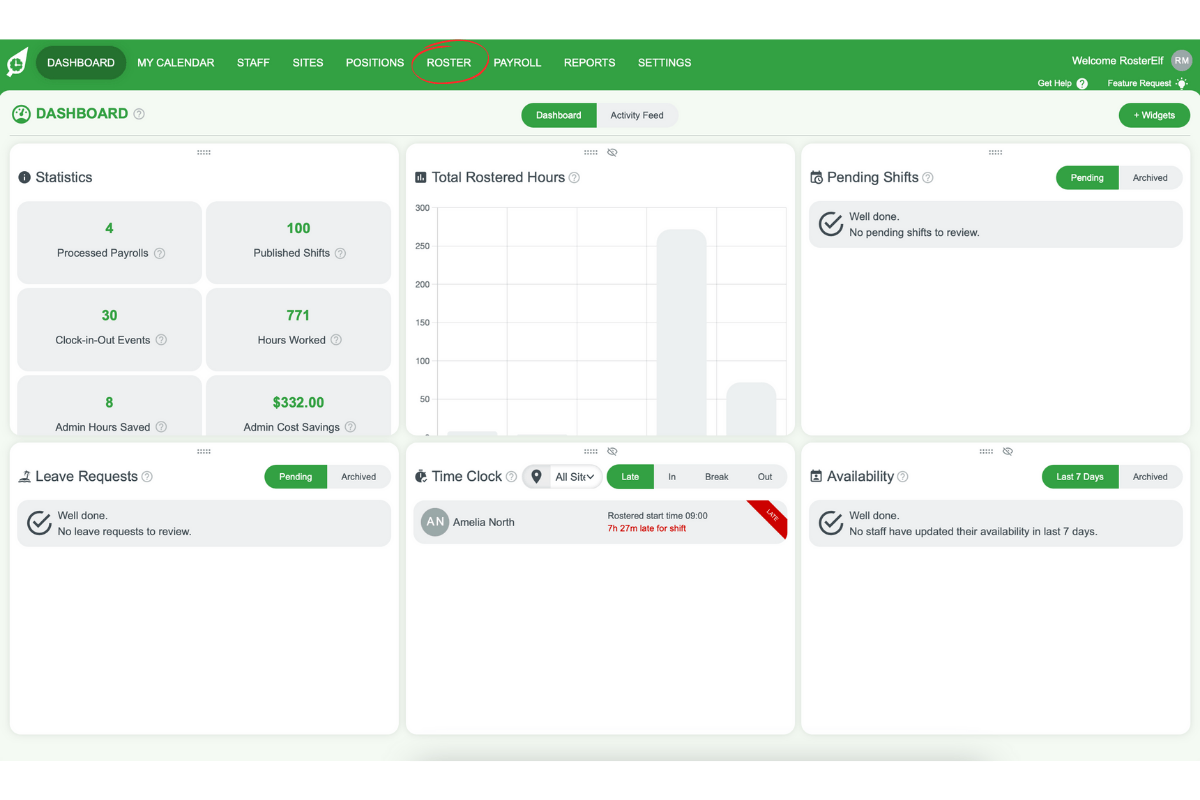
1.1.3 Click on the Roster option from the settings dropdown menu.

1.2 enable open shifts
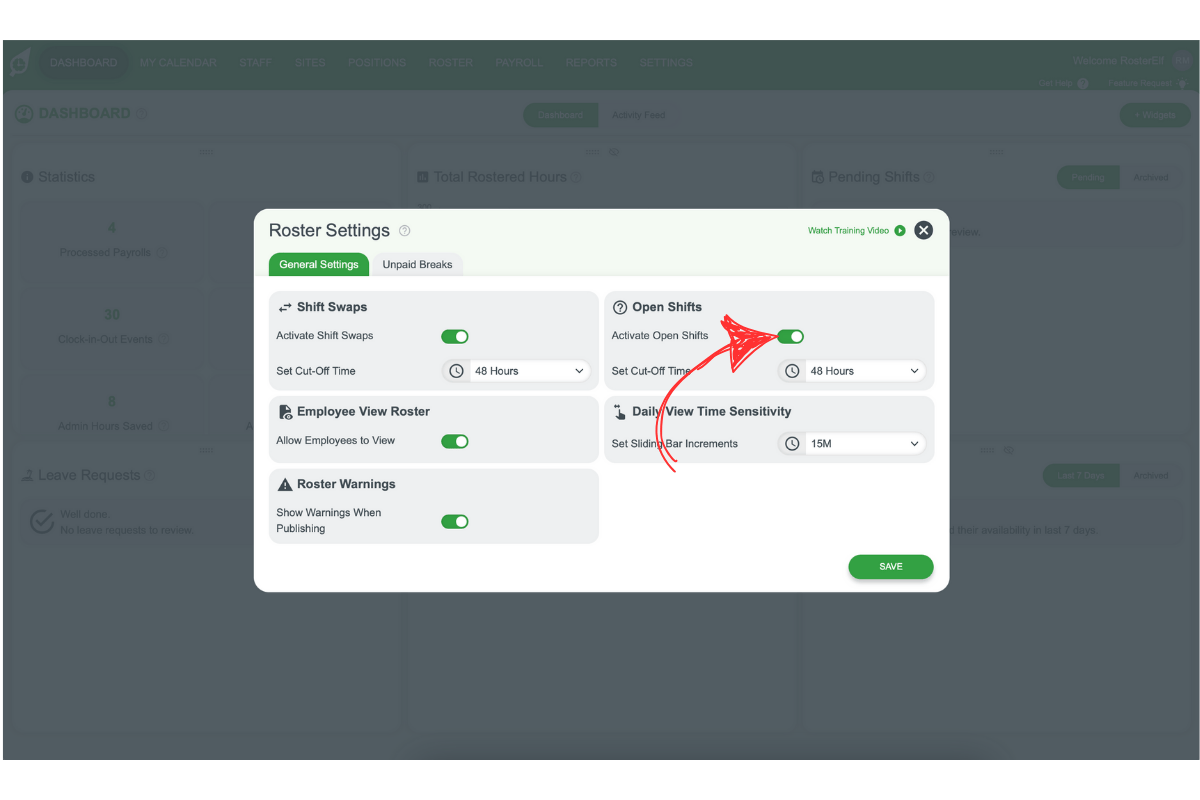
1.2.1 Find the open shifts setting.
1.2.2 Toggle the option to enable open shifts.
1.3 set cut-off time for open shifts
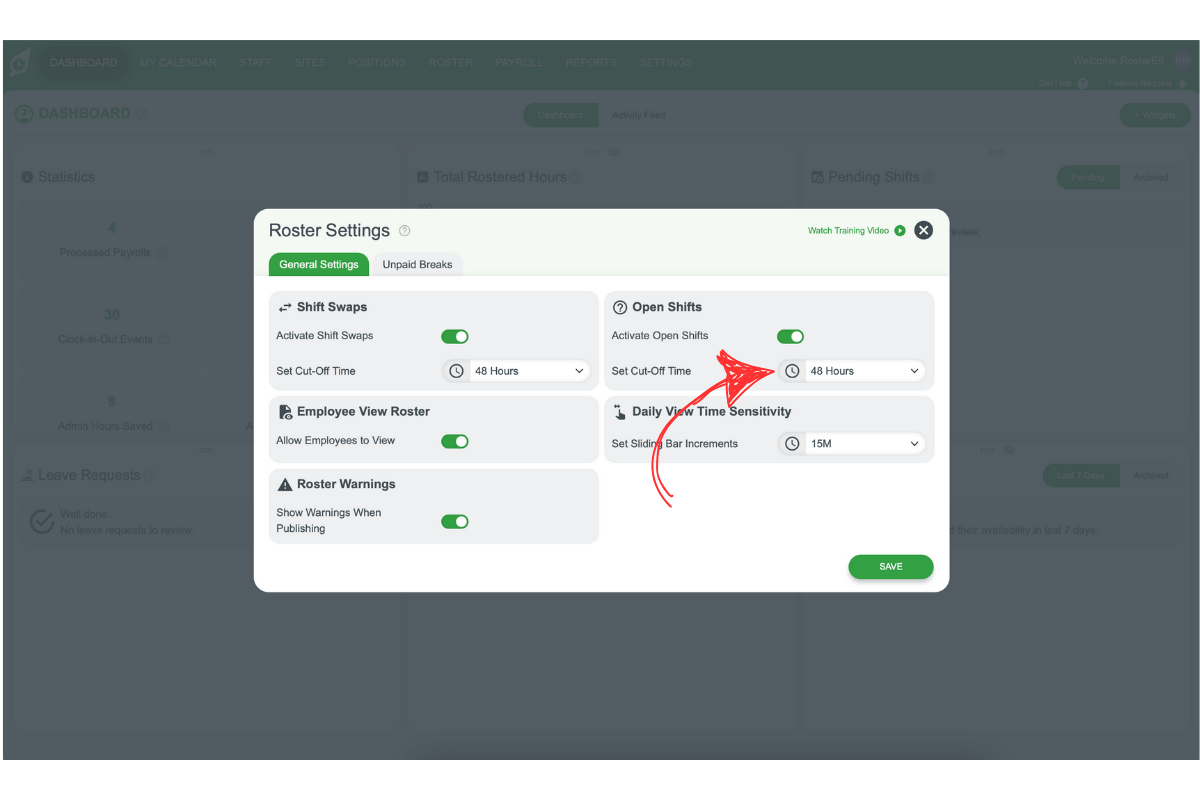
1.3.1 Specify a cut-off time for employees to claim open shifts.
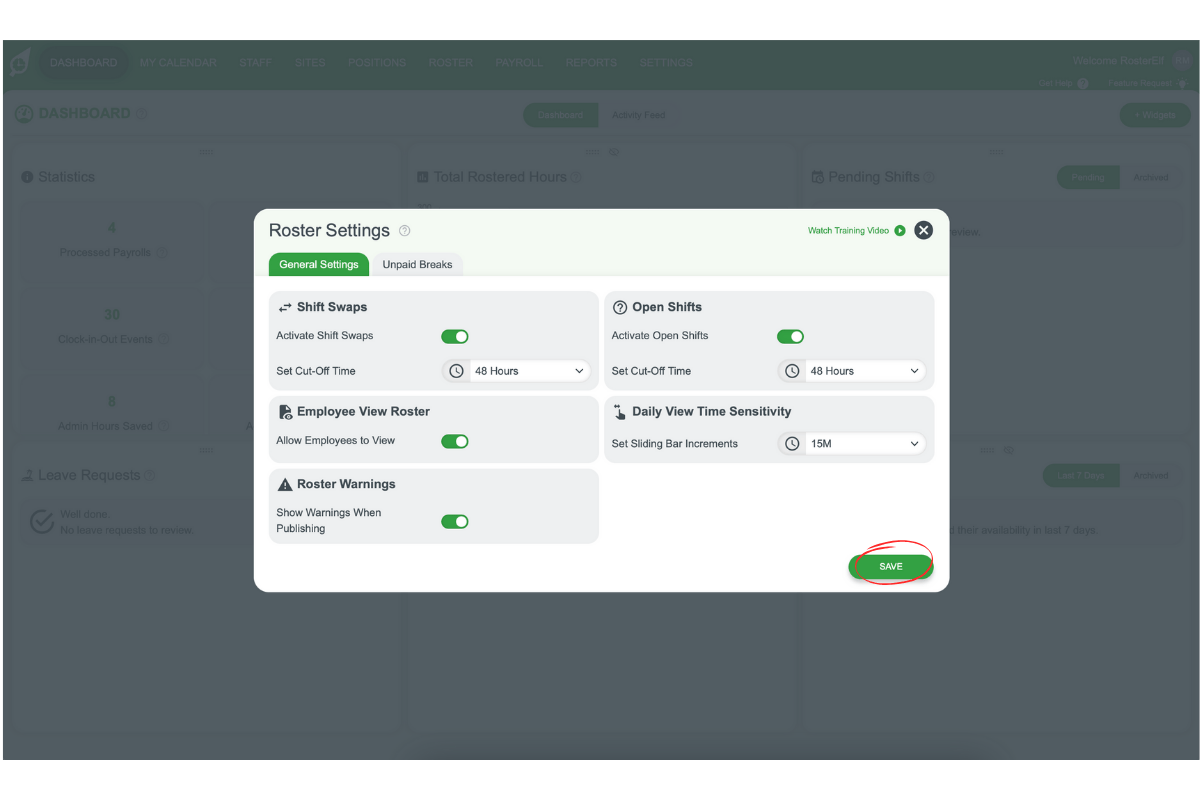
1.3.2 Save your changes.
2. Create an open shift
Once open shifts are enabled, you can create them in your roster. This feature lets you post shifts that employees can pick up, providing flexibility and transparency. Follow these steps to post an open shift.
2.1 open the roster
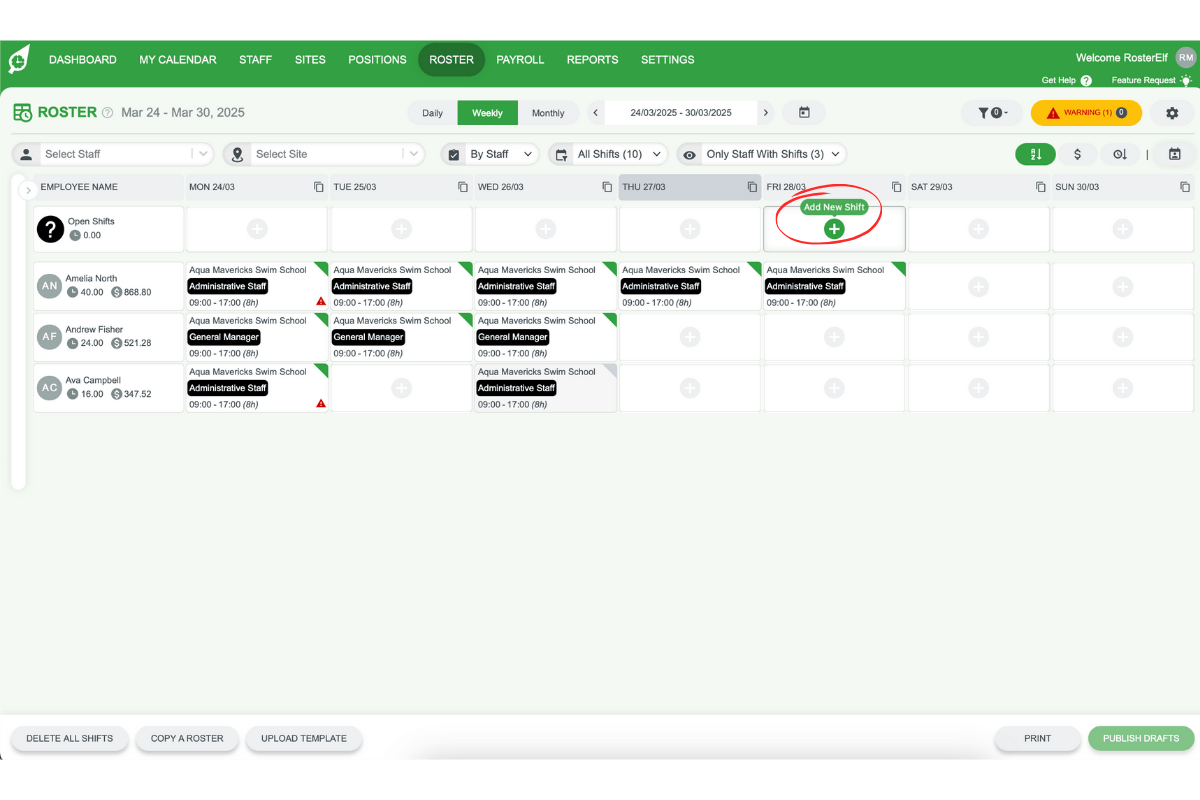
2.1.1 Access your roster, by clicking on the Roster option in the top menu.
2.1.2 Navigate to the specific day for the open shift.
2.2 post an open shift
2.2.1 Press the plus symbol on the chosen day.
2.2.2 Select your site.
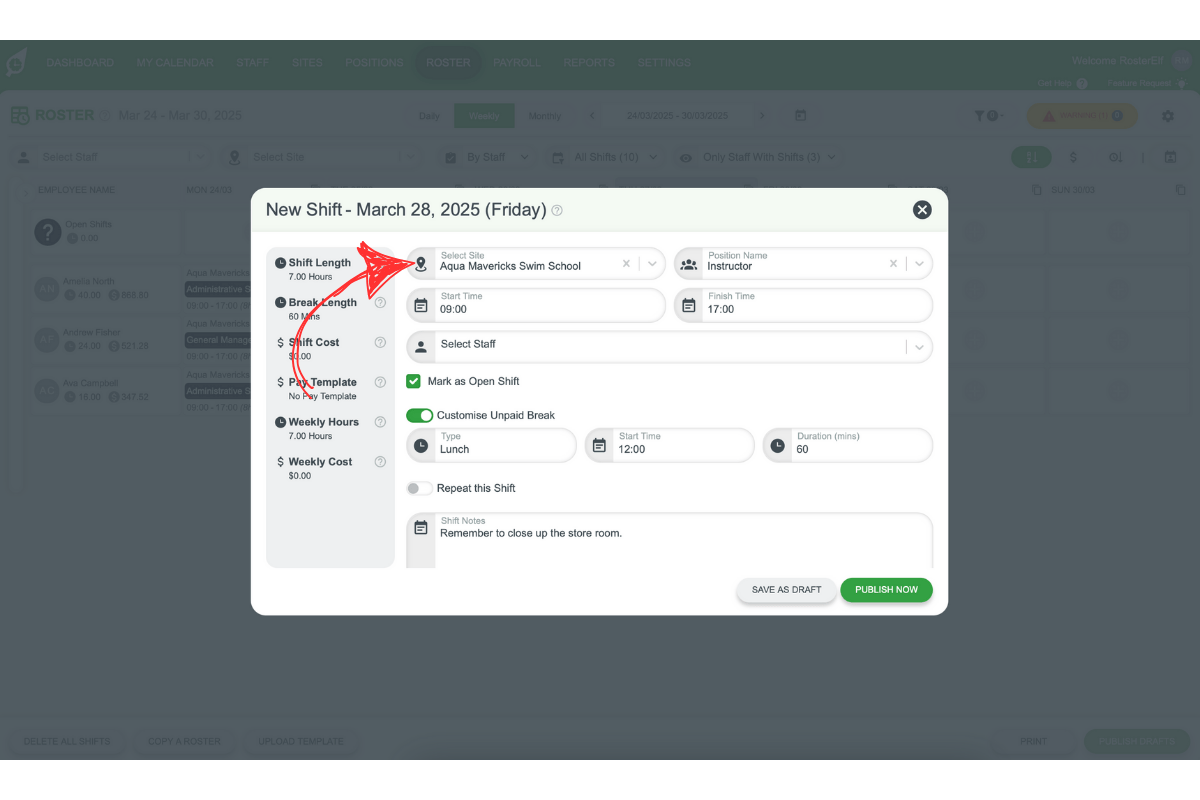
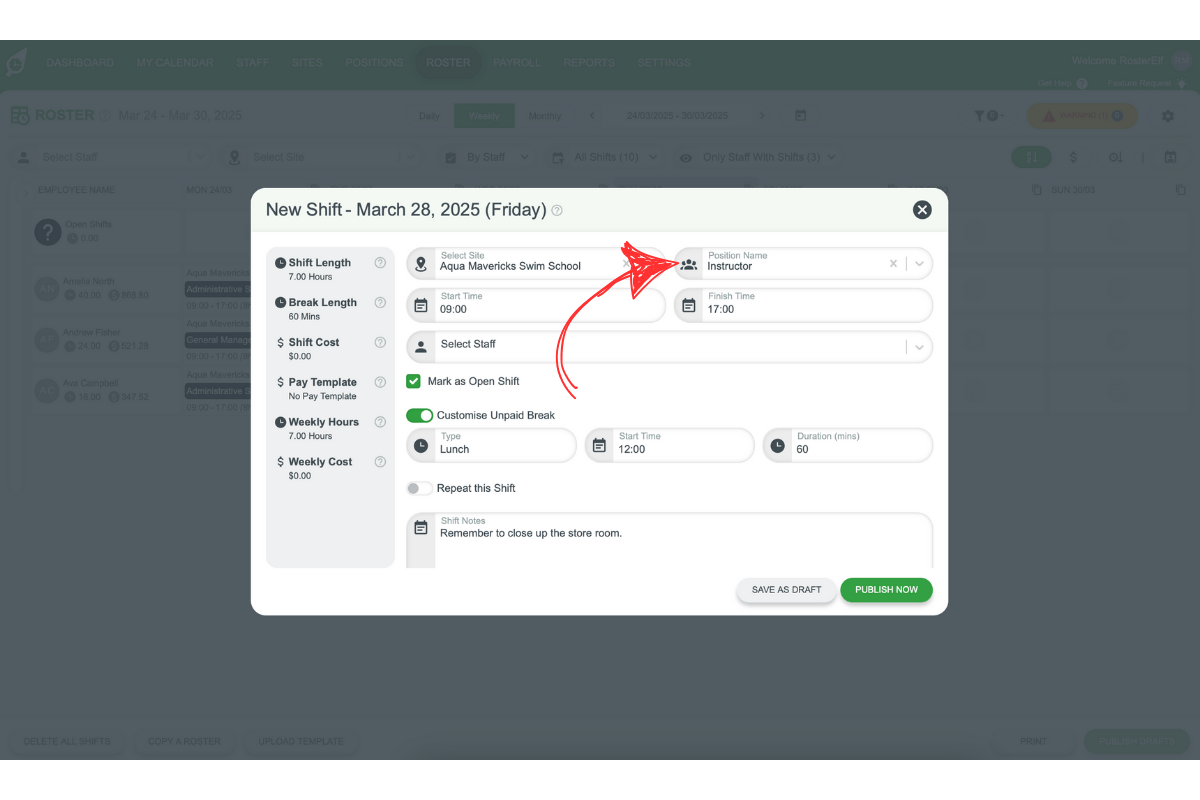
2.2.3 Choose the position for the shift.
2.2.4 Adjust the start and end time.
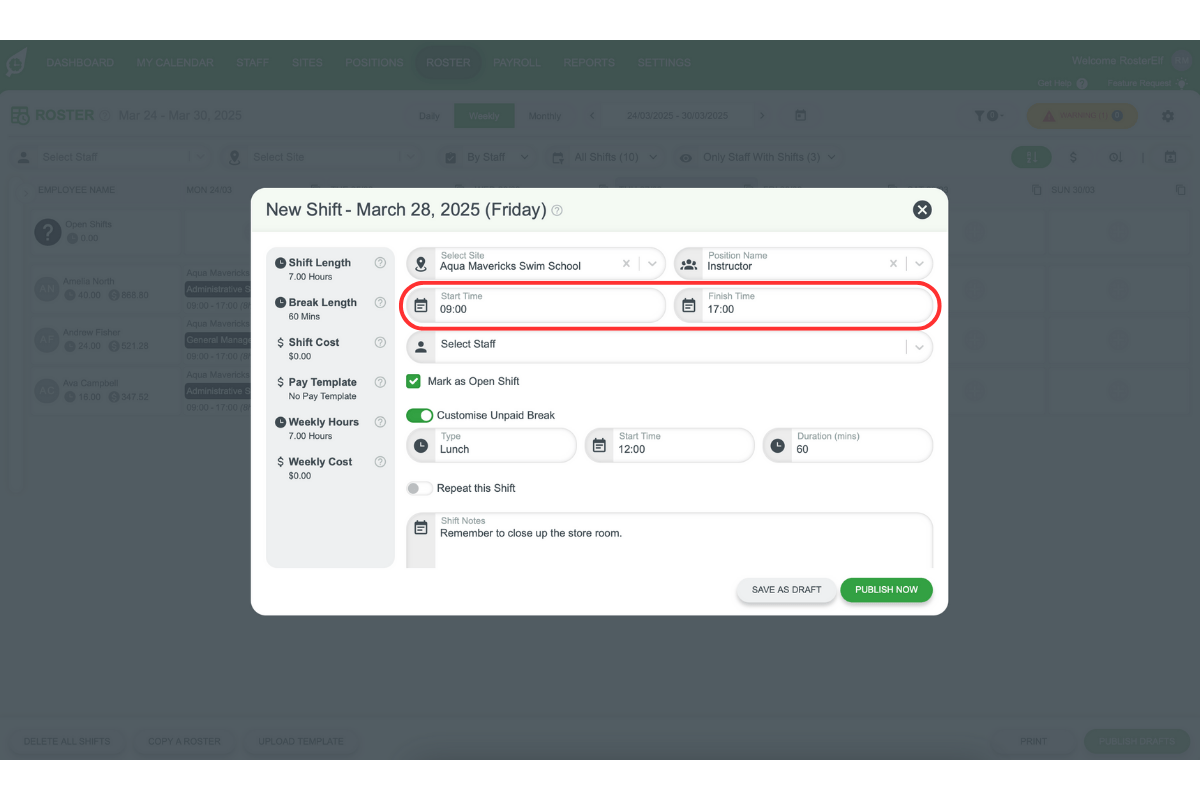
2.3 add optional details
2.3.1 Add a customised break (optional).

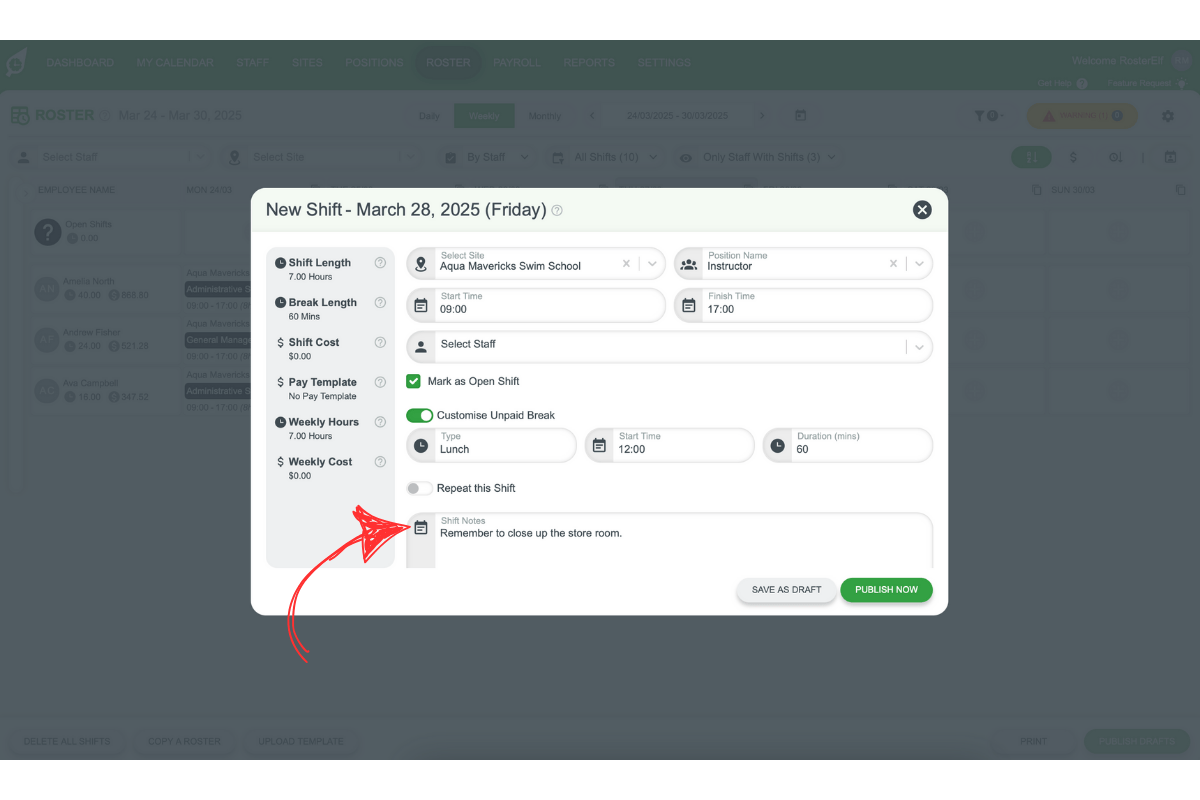
2.3.2 Include a shift note if needed (optional).
2.4 publish or save
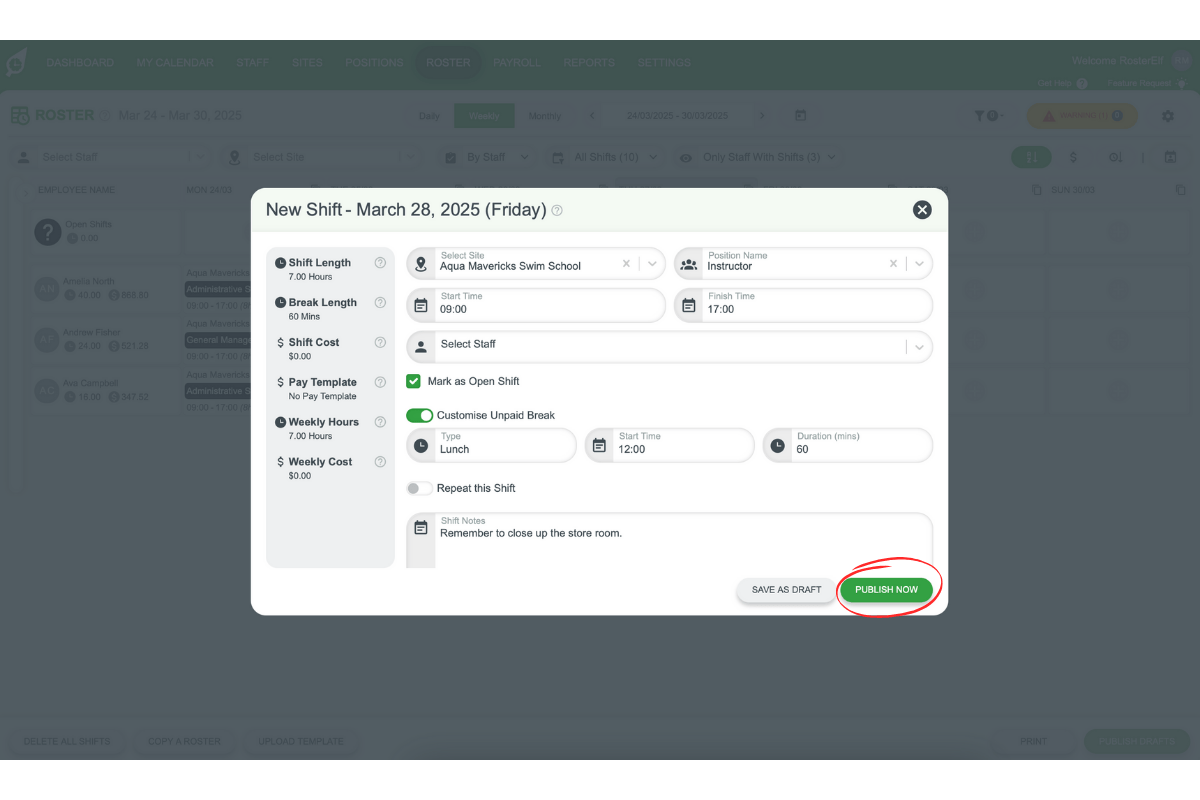
2.4.1 Hit publish to make the shift available immediately.
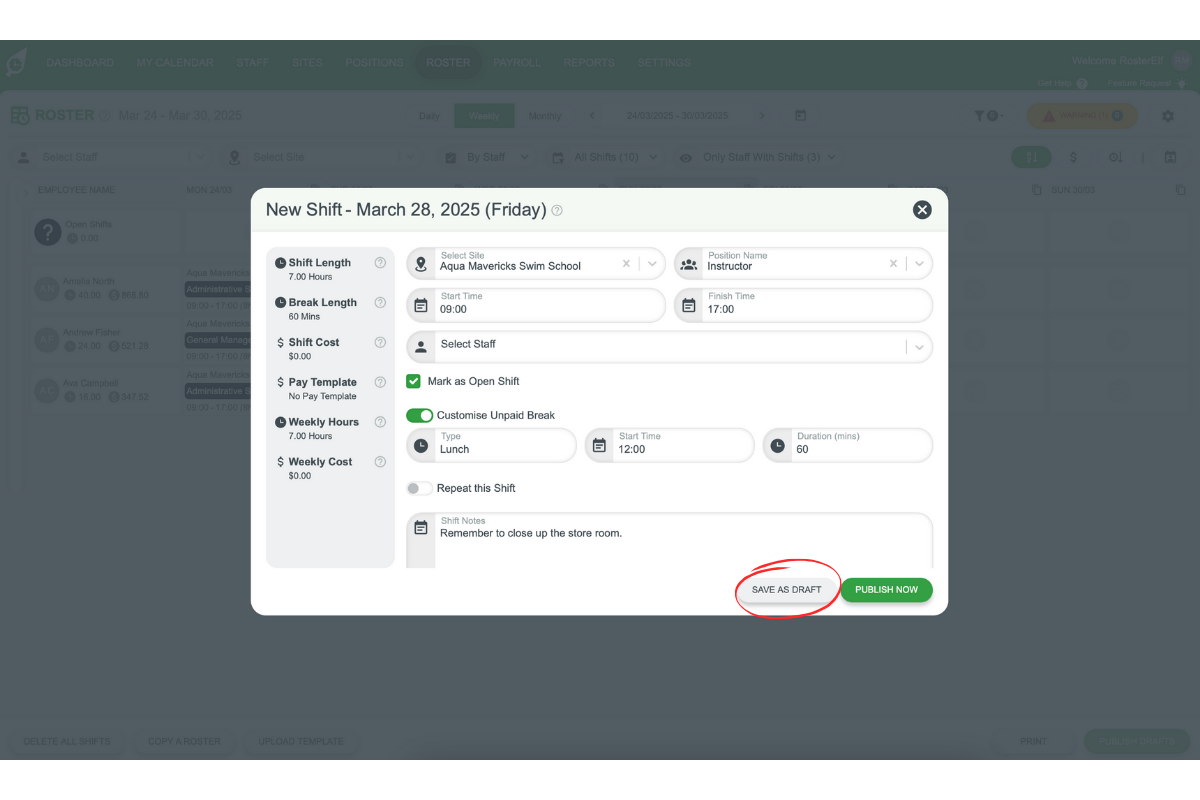
2.4.2 Alternatively, save it as a draft for later review.
Frequently asked questions
1. What are open shifts in a roster?
Open shifts are unassigned shifts that employees can claim based on their availability. They allow flexibility and help streamline the scheduling process by reducing manual assignments.
2. How do I enable open shifts in my settings?
To enable open shifts, log in to your account, go to the settings menu, locate the open shifts option, and toggle it on. Ensure you set a cut-off time for employees to claim shifts and save the changes.
3. How do I create an open shift in my roster?
Access your roster, navigate to the desired date, and click the plus symbol. Select the site, position, and time for the shift. Optionally, add a customised break or shift notes, then publish or save it as a draft.
4. Can I set a deadline for employees to claim open shifts?
Yes, you can set a cut-off time in the settings menu when enabling open shifts. This ensures employees know the timeframe for claiming available shifts.
5. What happens if no one claims an open shift?
If an open shift is not claimed, it will remain unfilled. You can manually assign the shift to an employee or adjust the roster to accommodate the change.