Disclaimer
This guide provides general information only and should not be relied upon as professional advice. Payroll and accounting requirements can vary depending on your business circumstances. Always check with your accountant or contact MYOB directly to confirm the best approach for your situation.
This article explains how to export leave requests to MYOB My Business. Approving and exporting leave correctly ensures staff records stay accurate and payroll runs smoothly. By following this guide, you will learn how to approve pending leave requests in RosterElf and then export them into MYOB My Business.
This process helps managers handle staff leave efficiently while keeping payroll aligned with MYOB. With a few steps, you can confirm leave requests, match them with the correct MYOB pay item, and save them directly for payroll. Accurate leave management reduces errors, keeps your staff informed, and saves time when processing pay runs.
1. Approve leave in RosterElf
Before exporting leave to MYOB, you need to approve the staff request inside RosterElf. This ensures only confirmed leave entries flow through to payroll. Approving leave directly from the dashboard helps you keep track of pending requests and reduces the risk of payroll delays.
1.1 open pending leave request
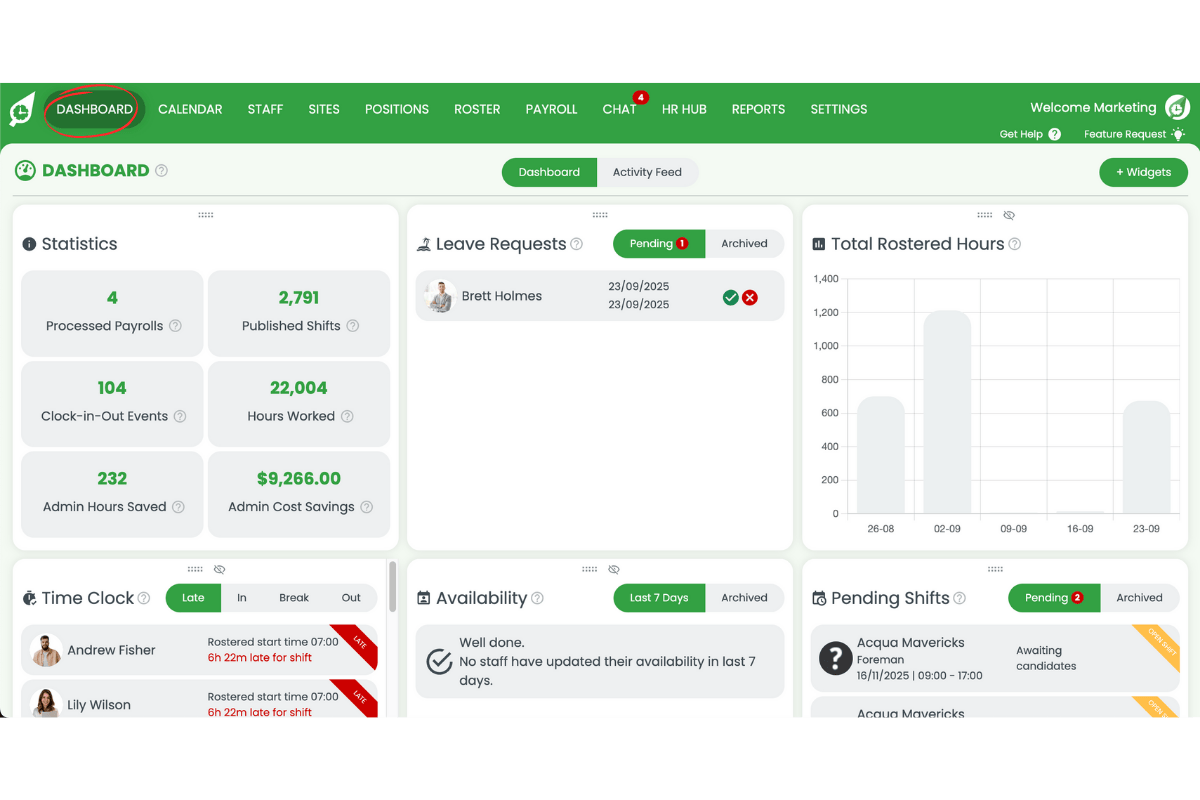
1.1.1 Go to the dashboard.
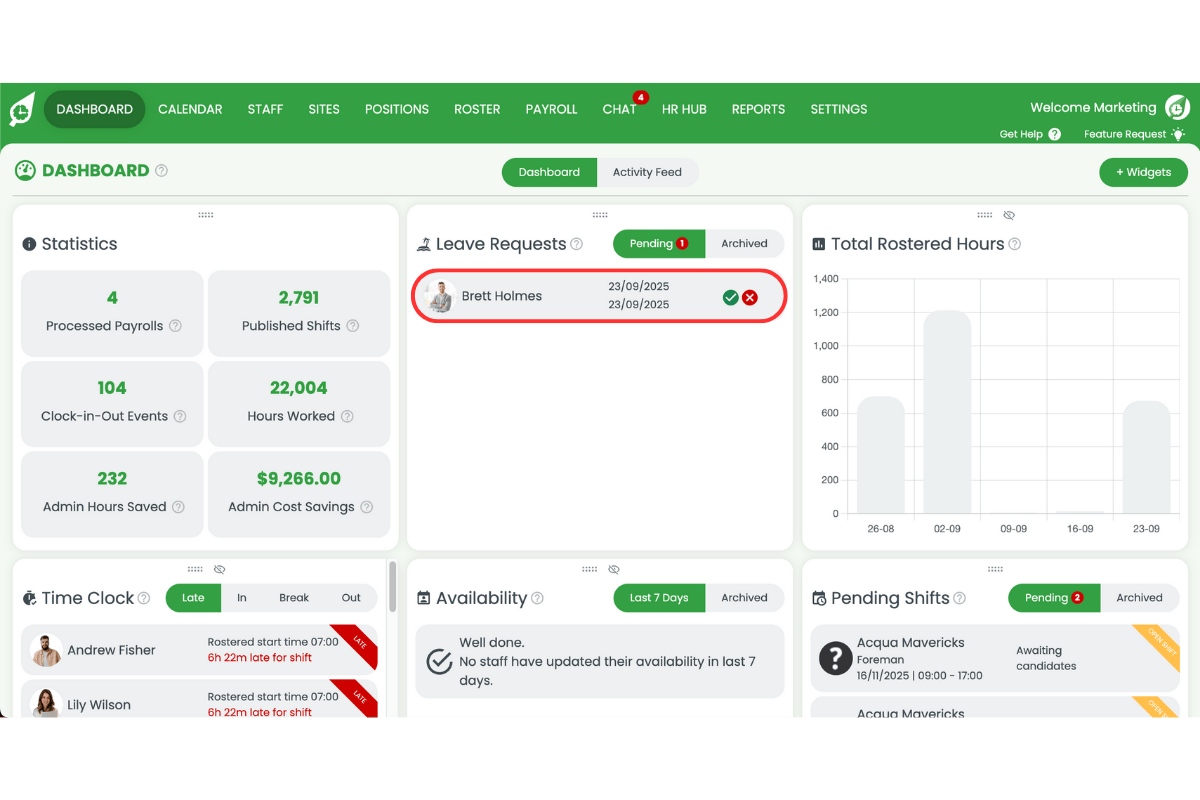
1.1.2 Click on the pending leave request.
1.2 approve leave request
1.2.1 Press Approve.
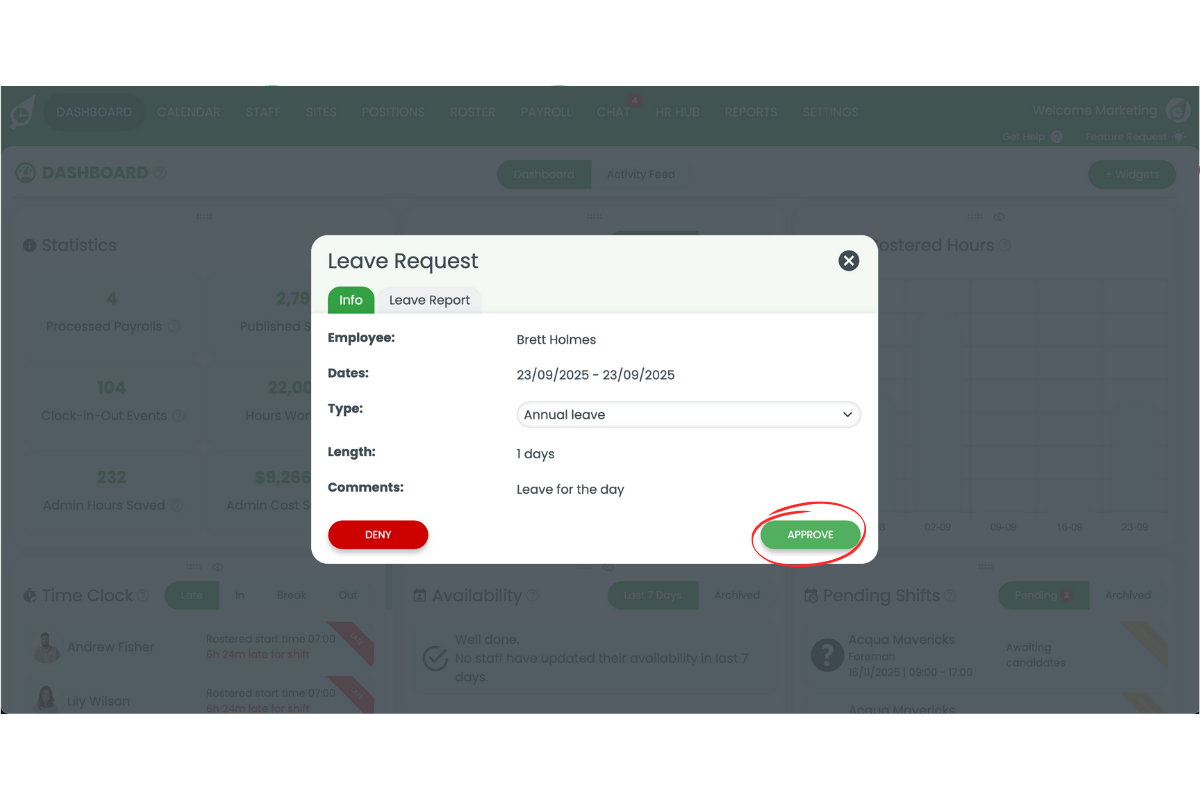
1.2.2 Confirm the approval.

2. Export leave to MYOB My business
Once leave is approved, you can export it into MYOB My Business. This ensures the leave item is matched with the correct category in MYOB and staff entitlements are tracked properly. Entering the right leave name and units will help payroll calculate balances correctly.
2.1 start export process
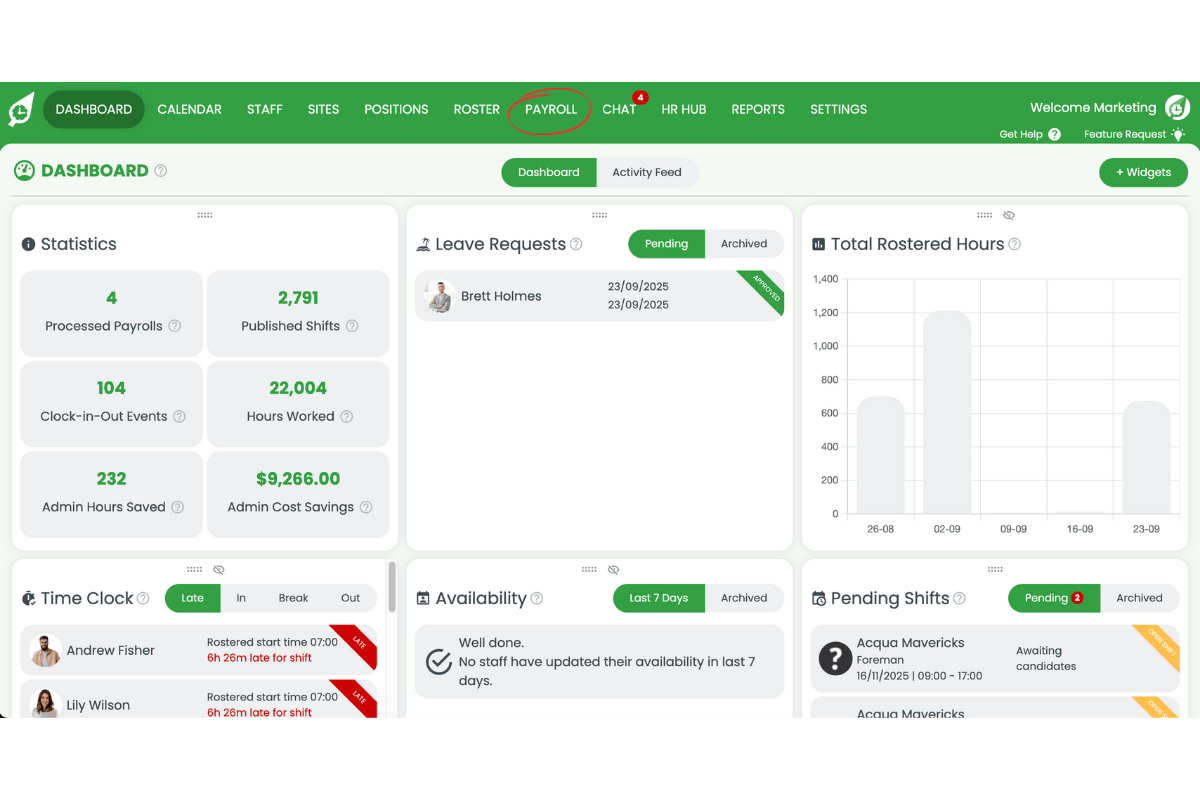
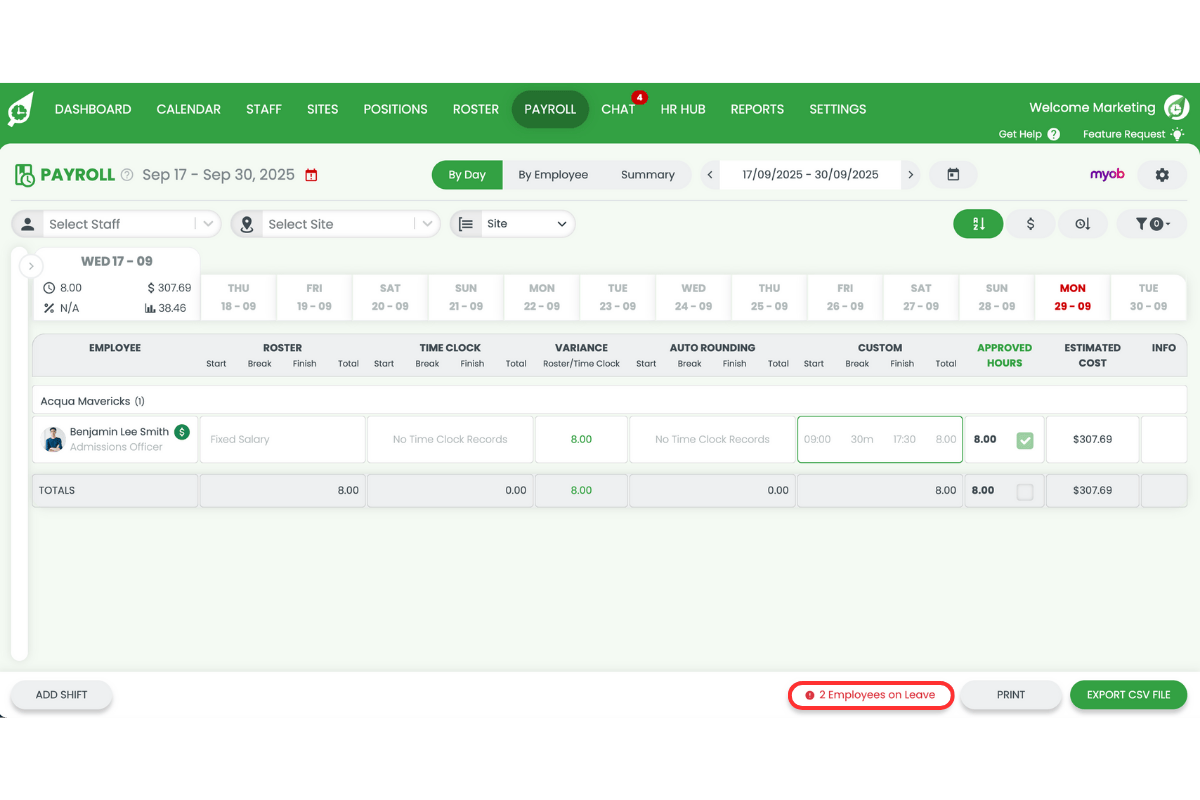
2.1.1 Go to Payroll.
2.1.2 Press the Employees on leave button.
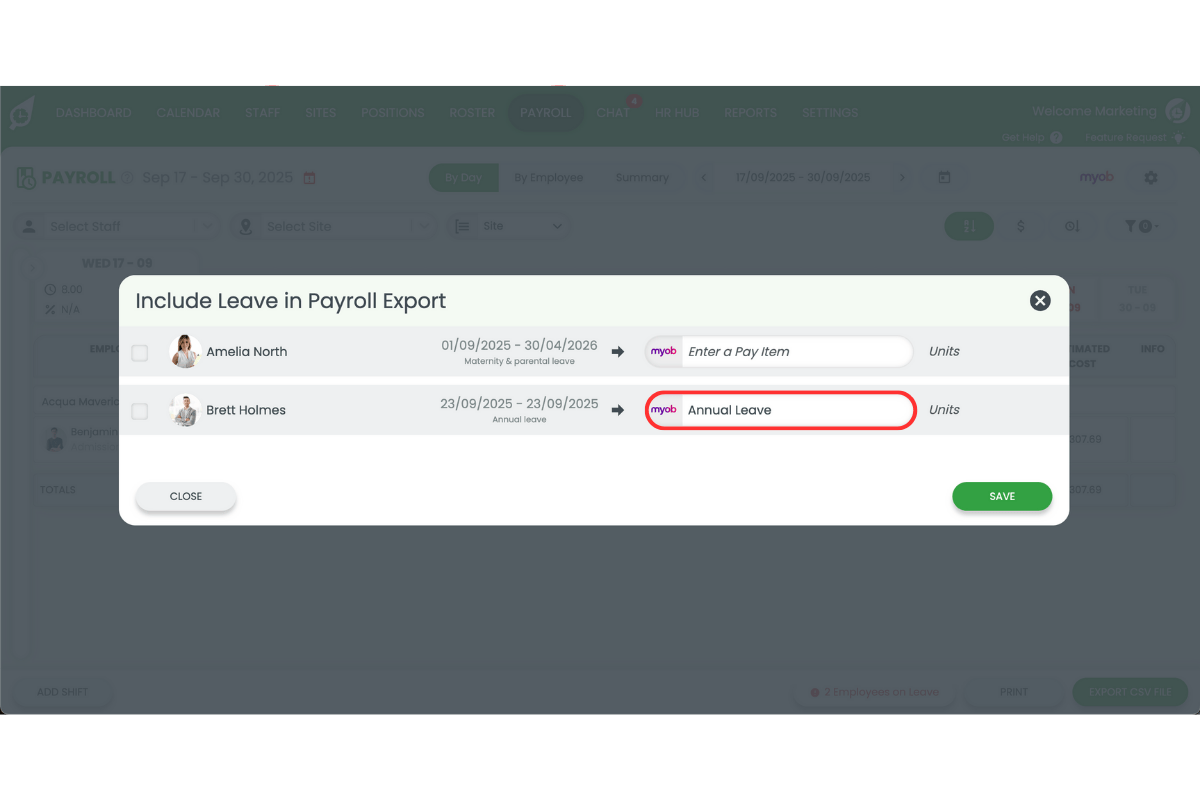
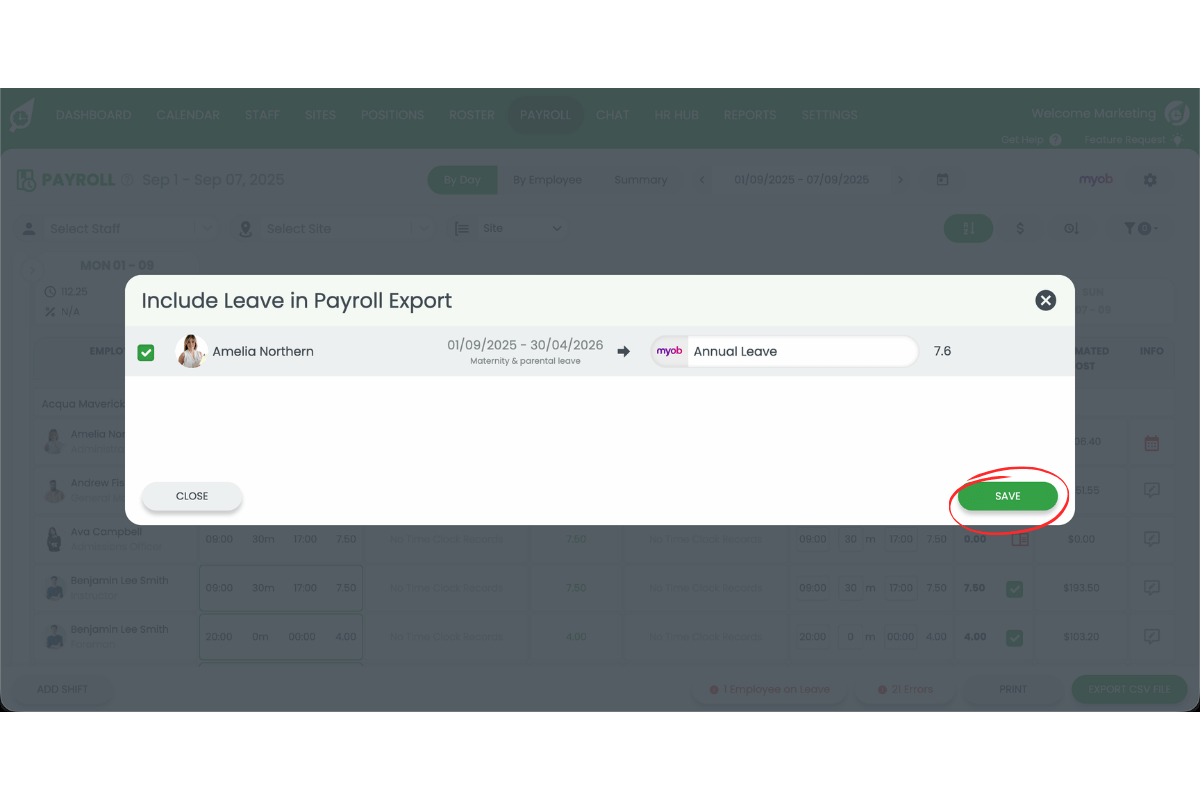
2.2 enter leave details
2.2.1 Enter the leave name from MYOB My Business.
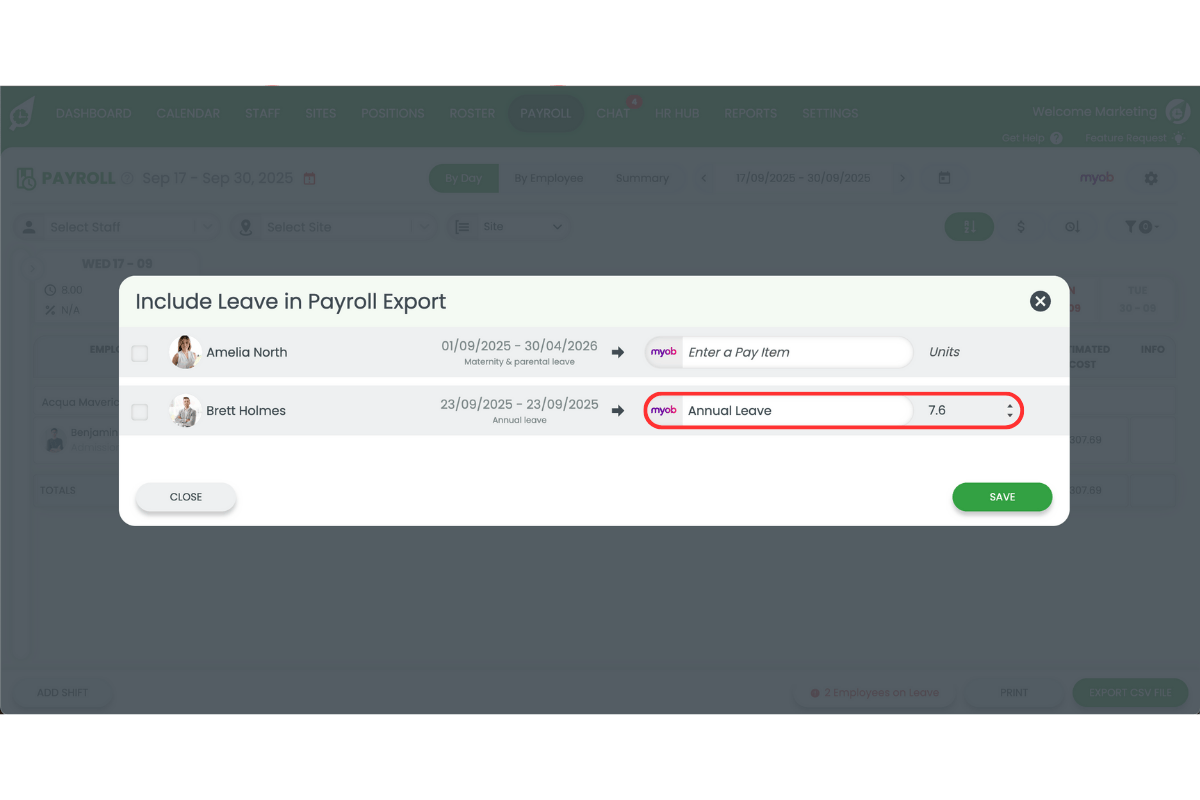
2.2.2 Enter the units of leave taken.
2.2.3 Tick the leave types to include in the export.
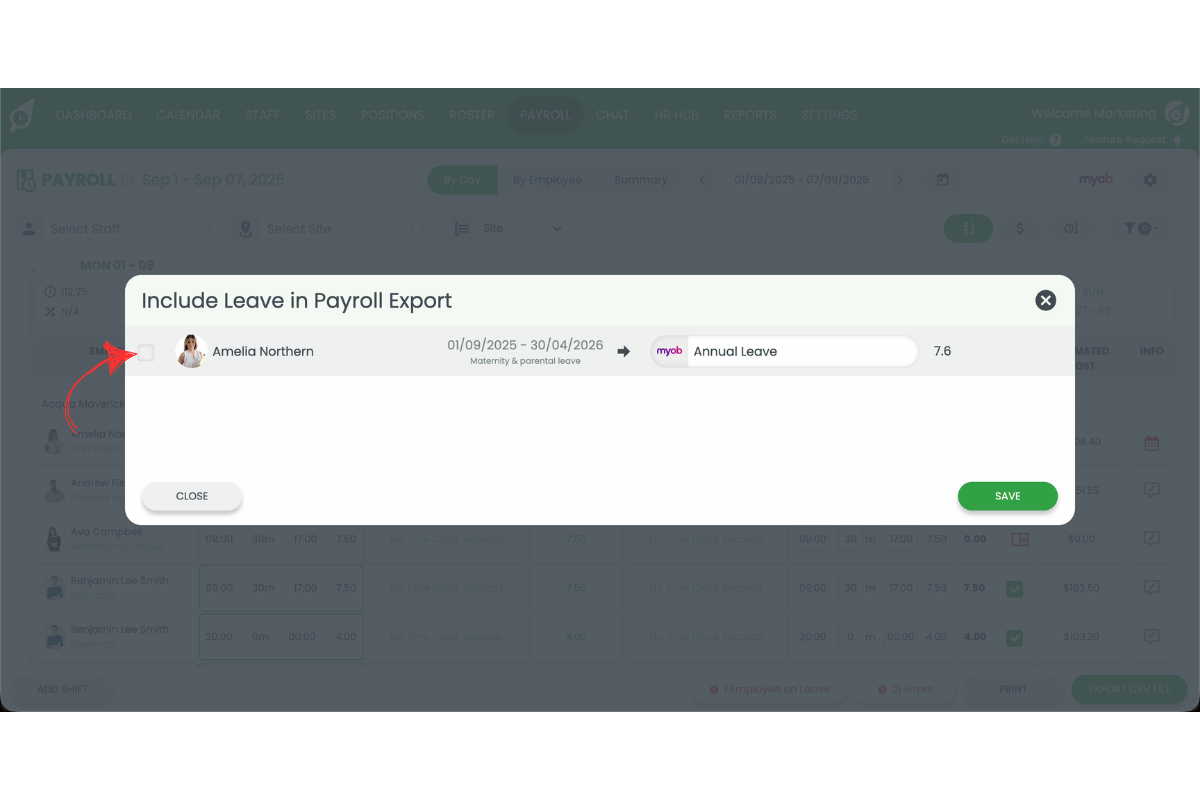
2.2.4 Press Save.
Frequently asked questions
1. How do I approve leave before exporting to MYOB My Business?
You can approve leave in RosterElf by logging in, opening the dashboard, selecting the pending leave request, and pressing Approve. Only approved leave requests can be exported to MYOB My Business.
2. Can I export leave to MYOB without approving it first?
No, you must approve leave requests in RosterElf before exporting them. This ensures only confirmed leave is included in payroll and prevents errors in MYOB My Business.
3. Where do I enter leave details when exporting to MYOB My Business?
After approving the leave, go to Payroll in RosterElf, click Employees on leave, and enter the leave name and units from MYOB My Business. Then press Save to complete the export.
4. Why is it important to match leave names with MYOB My Business categories?
Matching leave names ensures payroll calculates staff entitlements correctly. Using the exact leave name from MYOB My Business prevents errors in pay runs and keeps records accurate.
5. What happens if I enter the wrong leave units when exporting?
If the wrong leave units are entered, payroll calculations in MYOB My Business will be inaccurate. Always confirm the units match the approved leave request before saving the export.