Introduction to MYOB My business setup
Disclaimer
This guide provides general information only and should not be relied upon as professional advice. Payroll and accounting requirements can vary depending on your business circumstances. Always check with your accountant or contact MYOB directly to confirm the best approach for your situation.
This article explains how to complete the setup for MYOB My Business with RosterElf. A correct setup ensures staff details, pay templates, and payroll calendars match between both systems. Aligning this information reduces errors, keeps payroll accurate, and saves time during pay runs.
By following this guide, you will learn how to add staff, create pay templates, and adjust your pay calendar. Each step is designed to help you mirror details from MYOB My Business in RosterElf. Matching formatting, names, and pay items ensures smooth integration.
Once setup is complete, your payroll will run with fewer mistakes, and staff will be paid correctly. Consistent data between RosterElf and MYOB also helps with compliance and reduces the risk of payroll disputes.
1. Set up staff in MYOB My business
The first step is setting up staff so names and details match in both systems. Accurate records prevent errors when syncing timesheets and pay items. Formatting matters—ensure names in RosterElf match MYOB exactly, including capitals and spacing. This step creates a solid foundation for payroll integration.
1.1 add staff in RosterElf
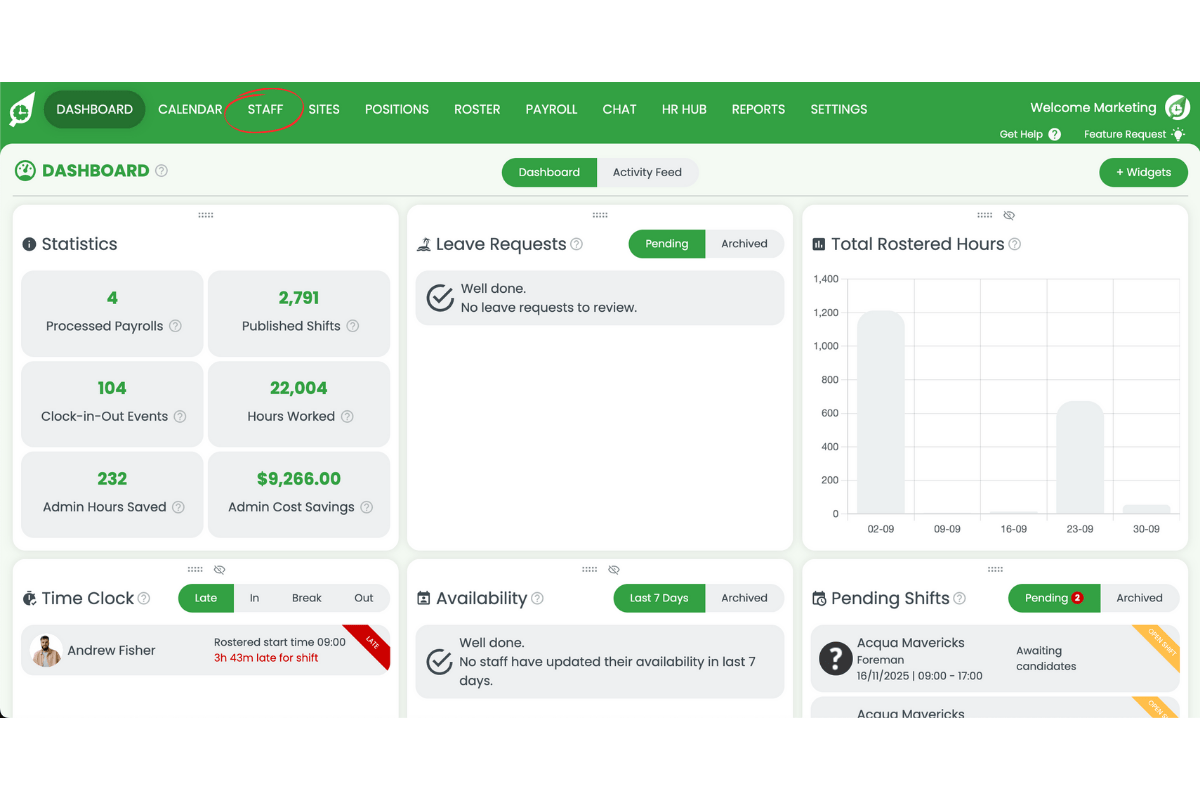
1.1.1 Head to the Staff tab in RosterElf.
1.1.2 Press the plus symbol to add a new staff member.
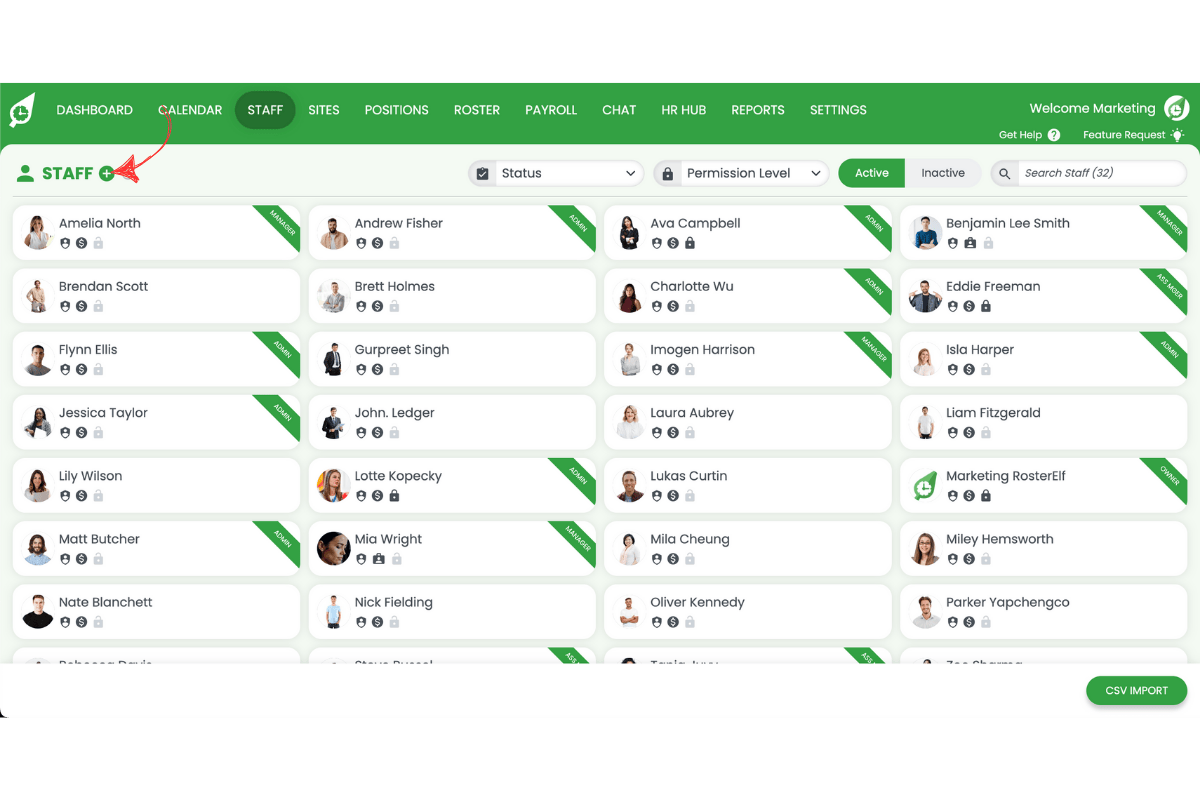
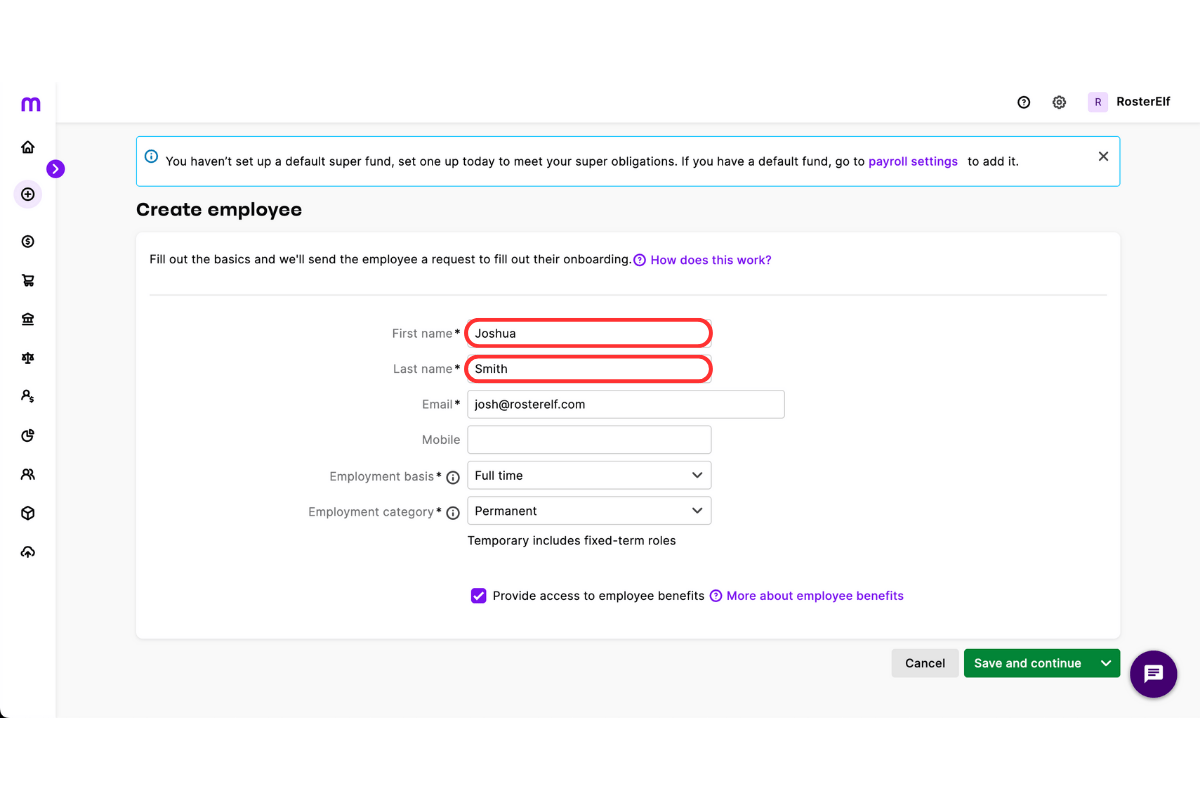
1.1.3 Enter staff details exactly as they appear in MYOB My Business.

1.1.4 Ensure names follow the same format (e.g., capitals or spacing).
1.1.5 Save the new staff record in RosterElf.

Learn how to add staff with our detailed guide: Adding staff managers
2. Setup payroll for MYOB My business
Next, you need to create pay templates in RosterElf that match your MYOB setup. Pay templates determine how staff wages are calculated and exported. Copying the pay item names directly from MYOB ensures that RosterElf exports data correctly. Always check for special characters or spaces to avoid mismatches.
2.1 set MYOB My business
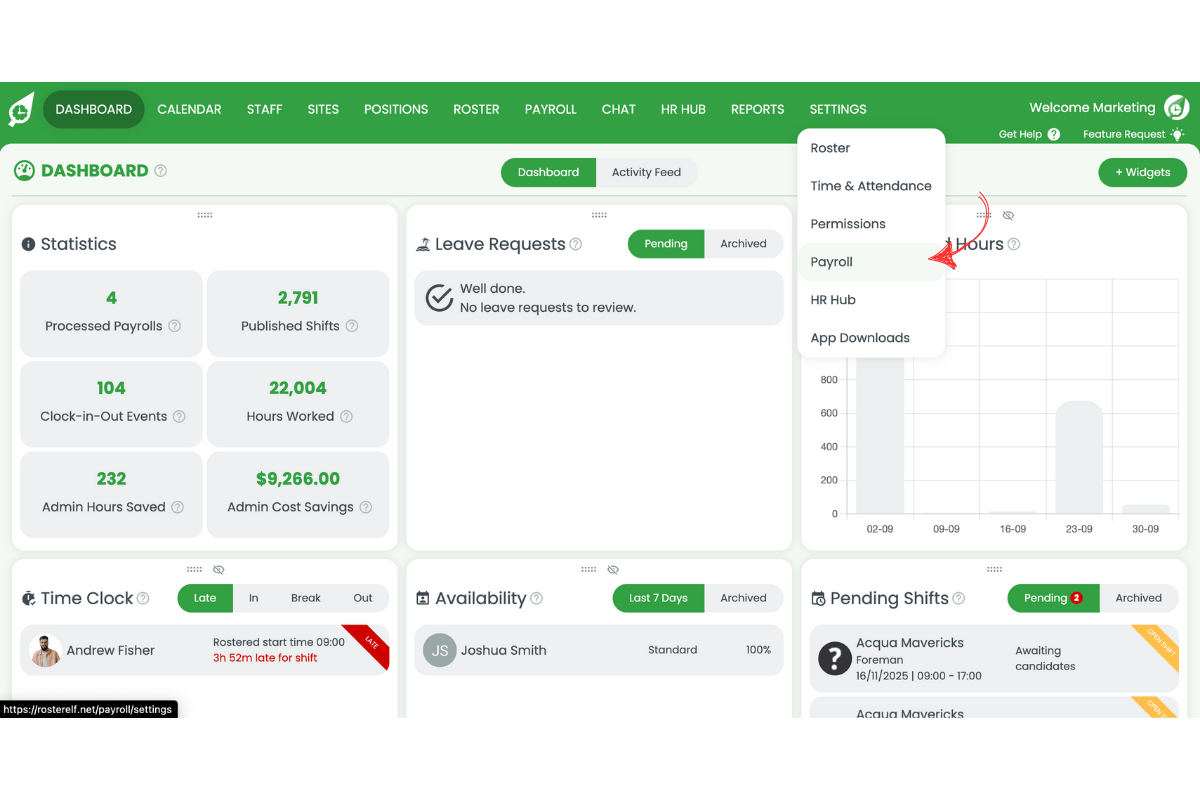
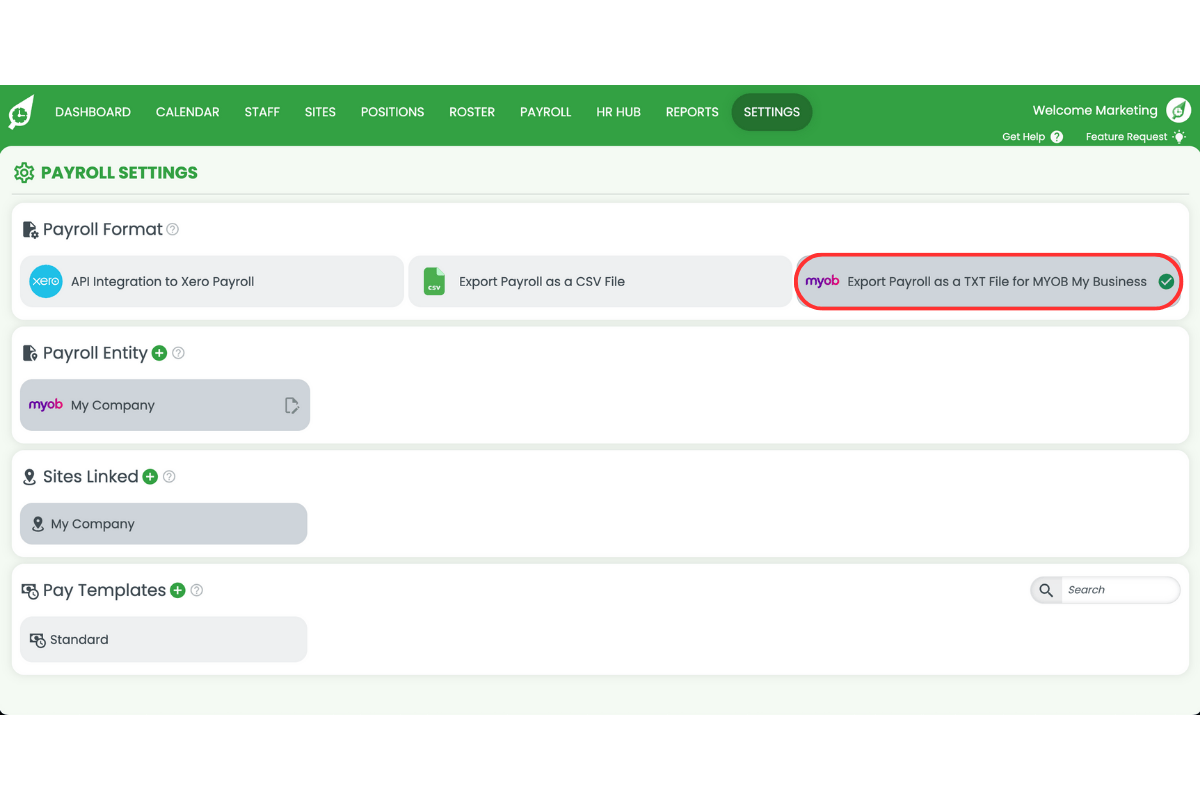
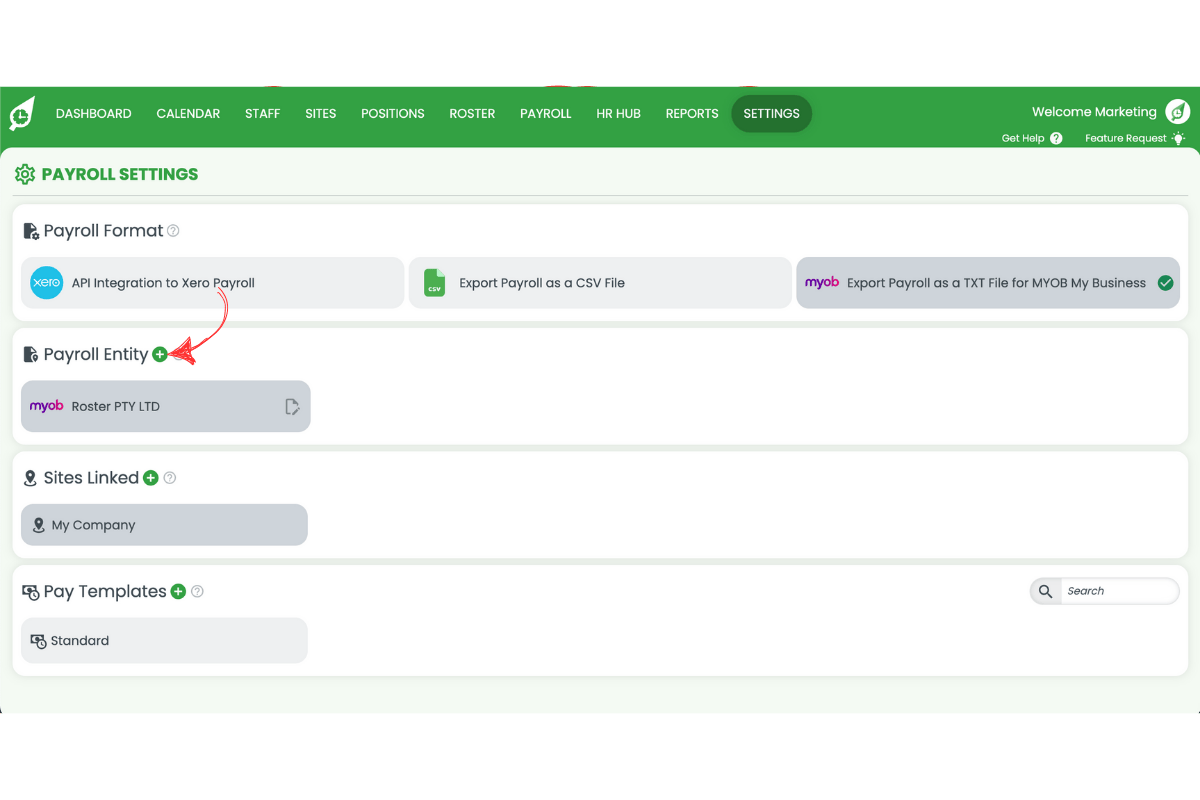
2.1.1 Go to Settings > Payroll in RosterElf.
2.1.2 Select MYOB My Business as your payroll type.
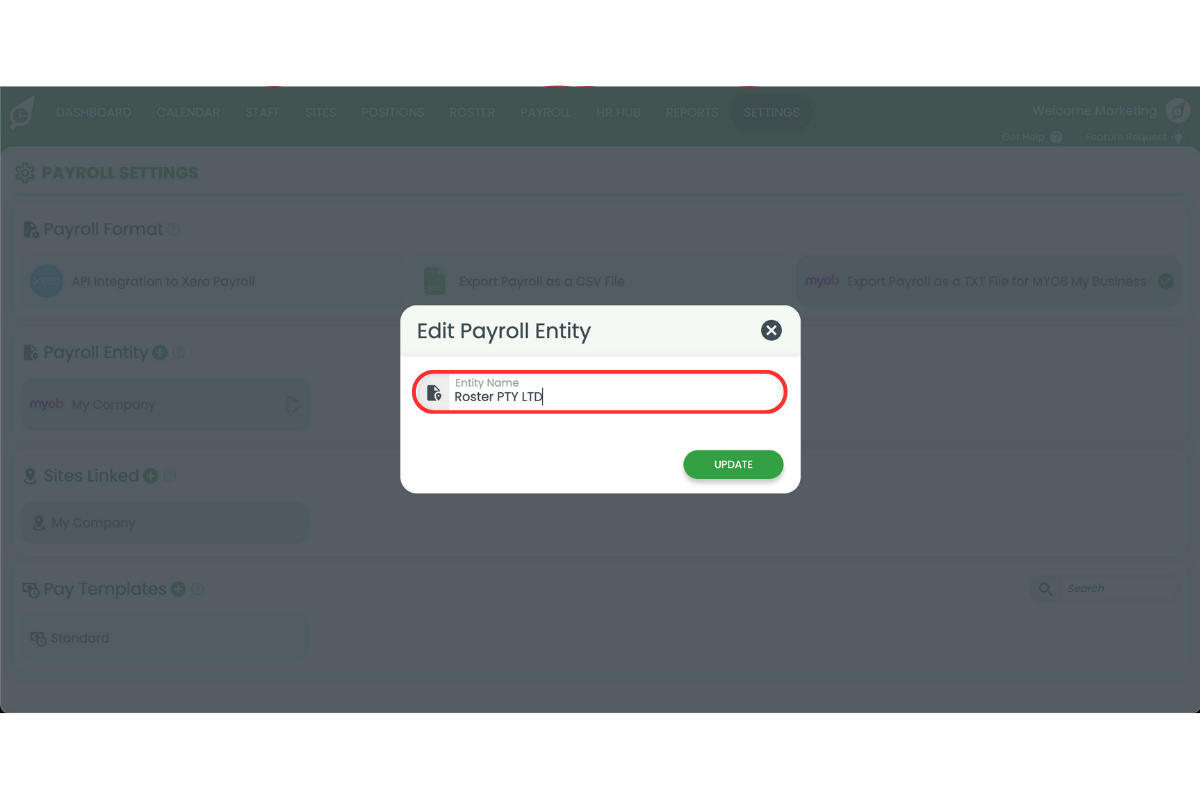
2.1.3 Set your payroll entity name.
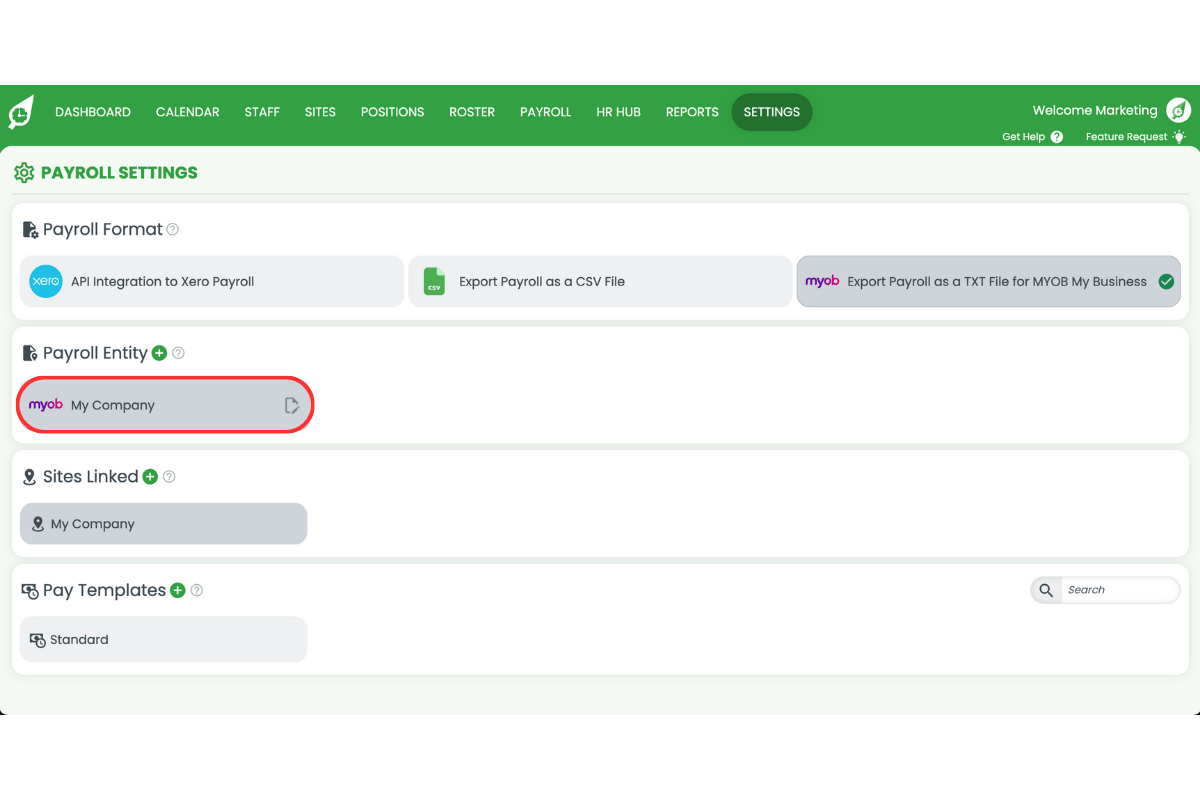
2.1.4 Enter your entity name.
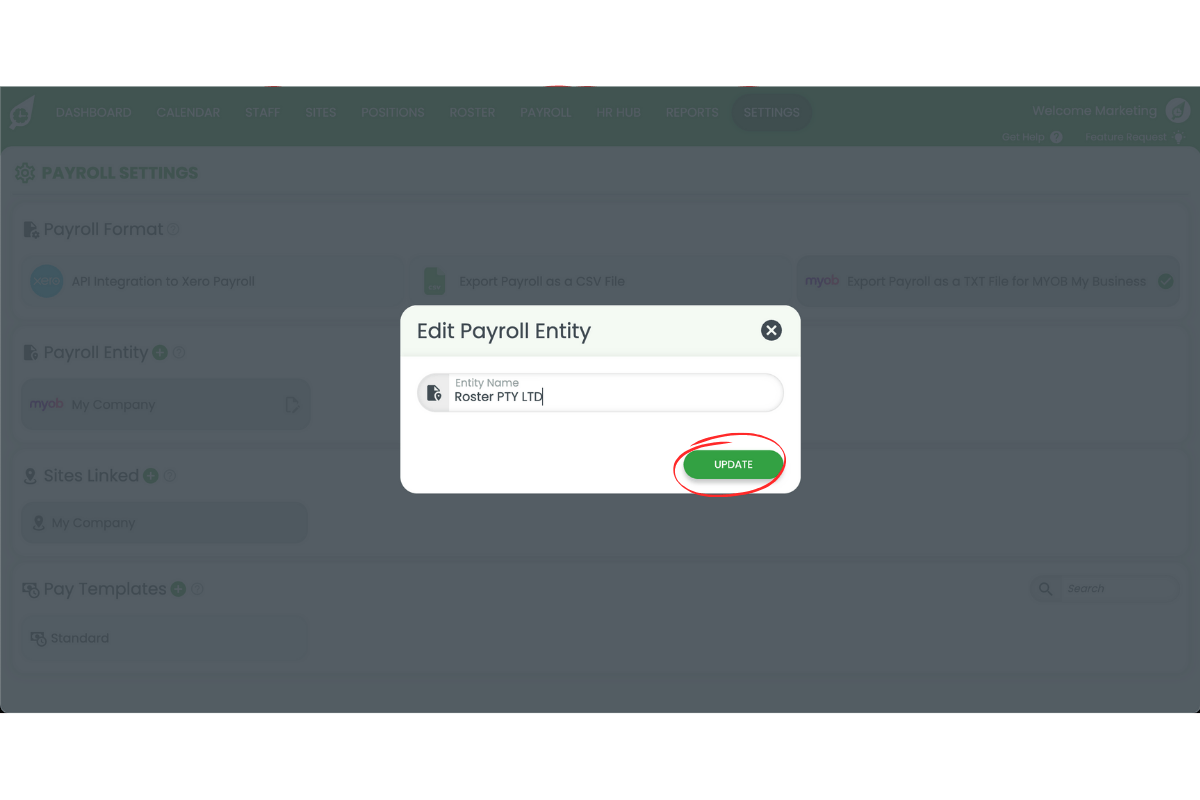
2.1.5 Press Update.
2.1.6 Press plus symbol to add a second entity (if required).
2.2 add a pay template
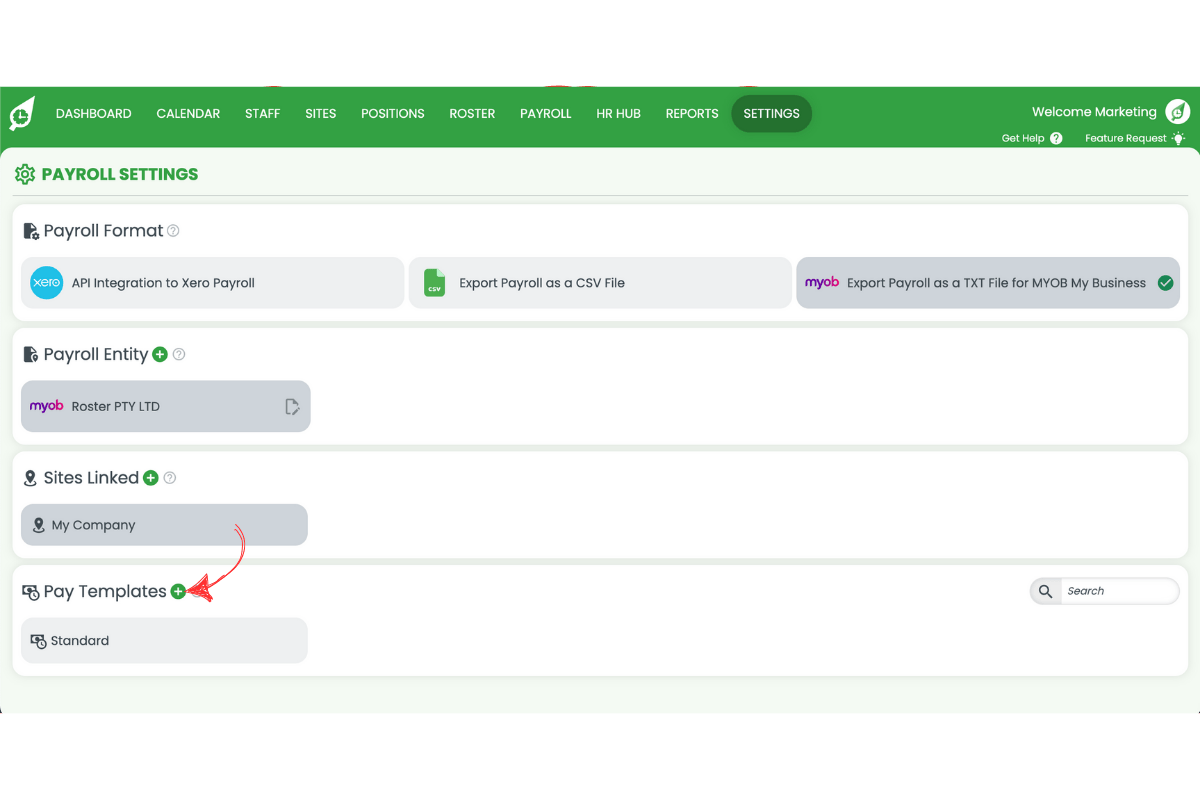
2.2.1 Go to Settings > Payroll in RosterElf.
2.2.2 Press the plus symbol to create a new pay template.
2.2.3 Adjust time and day settings to match your award.
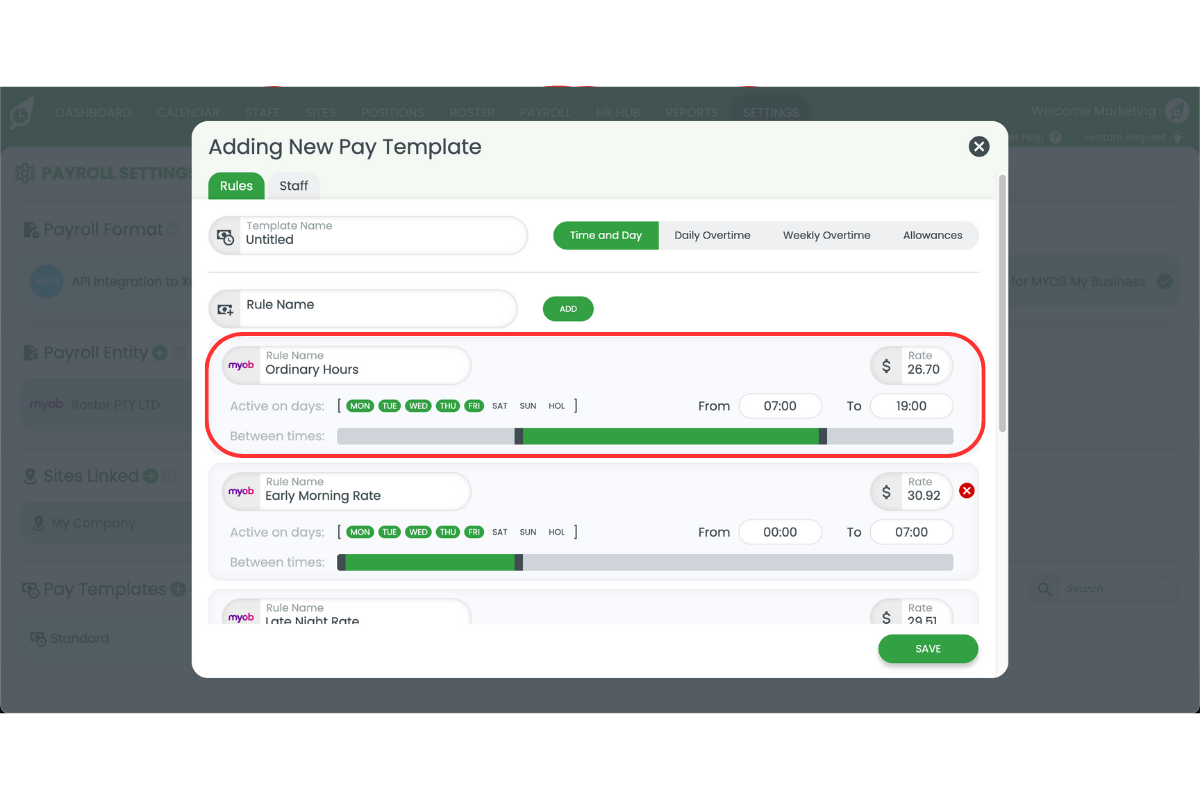
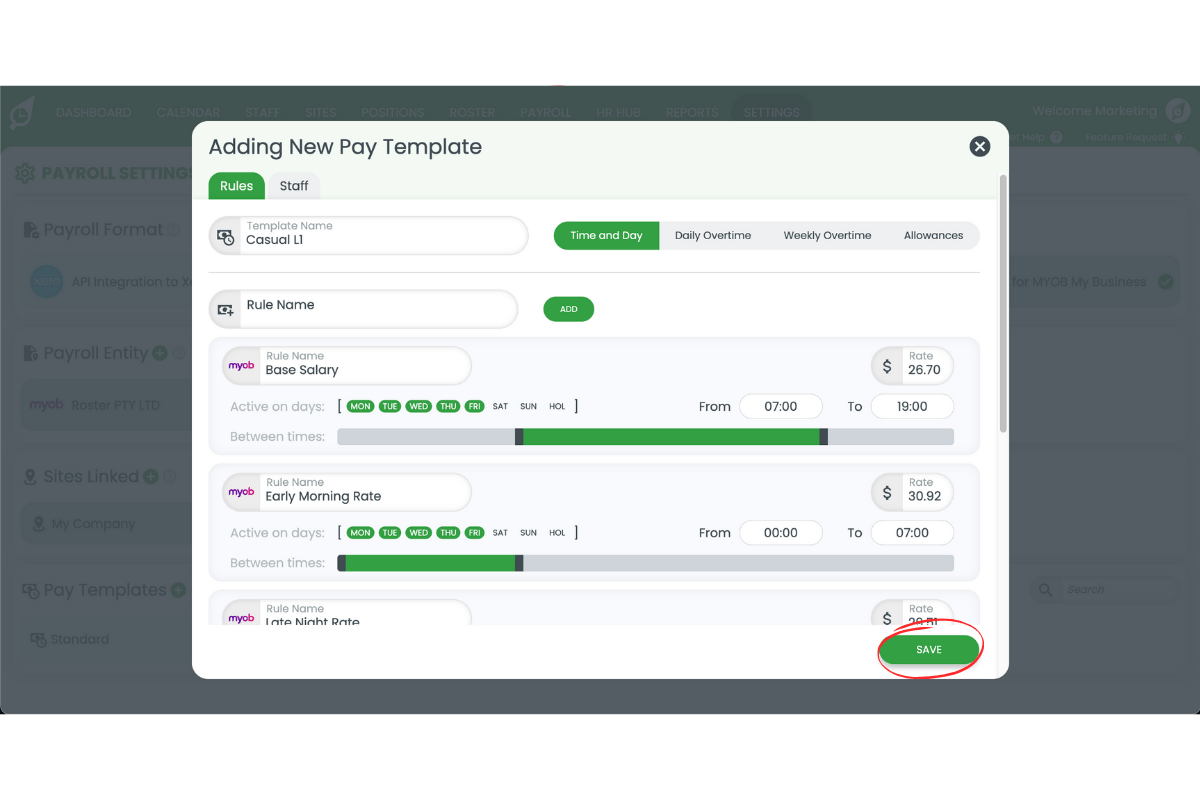
2.2.4 Copy the pay item name from MYOB into the rule name field.
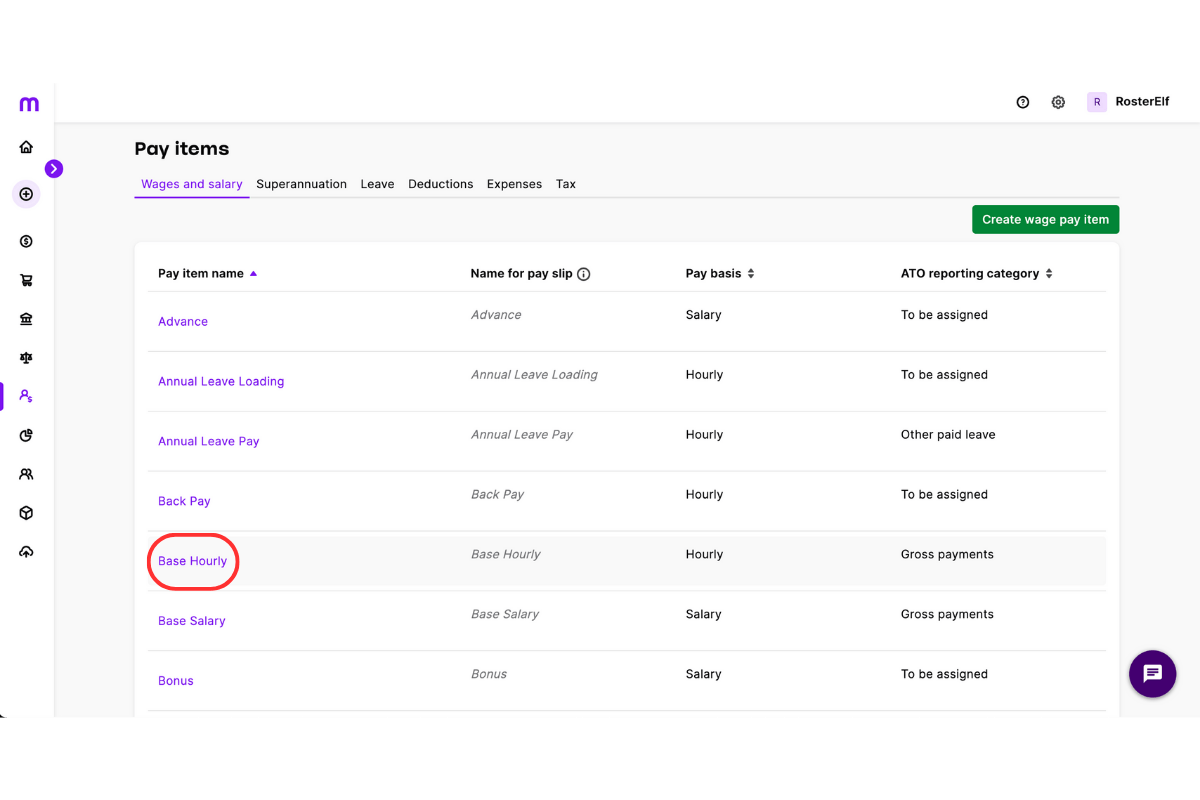
2.2.5 Double-check formatting, including spaces and special characters.
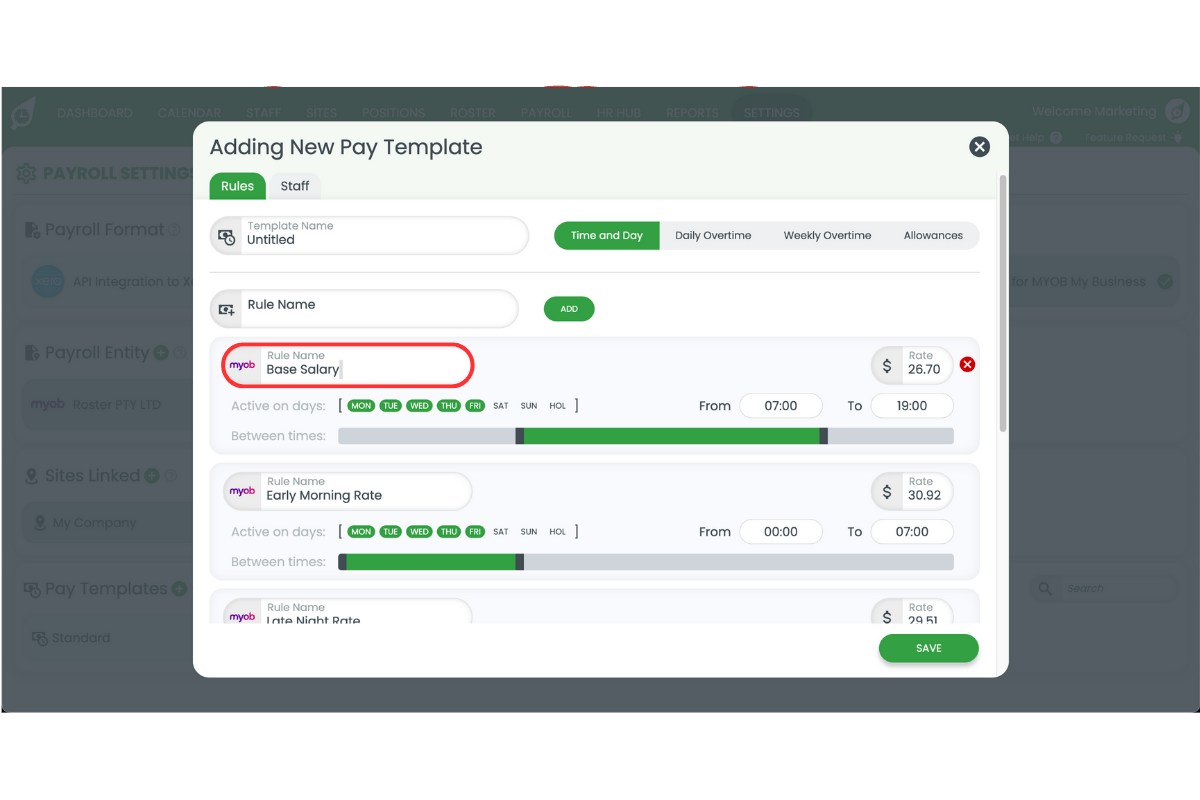
2.2.6 Save your pay template.
Learn how to create a pay template with our detailed guide: Creating pay templates in RosterElf for MYOB
3. Adjust your pay calendar in MYOB My business
Finally, set your pay calendar so RosterElf and MYOB stay in sync. A correct pay cycle ensures timesheets align with payroll dates. You can choose weekly, fortnightly, or monthly payroll depending on your business. Setting the right start day and cycle reduces confusion and makes payroll smoother.
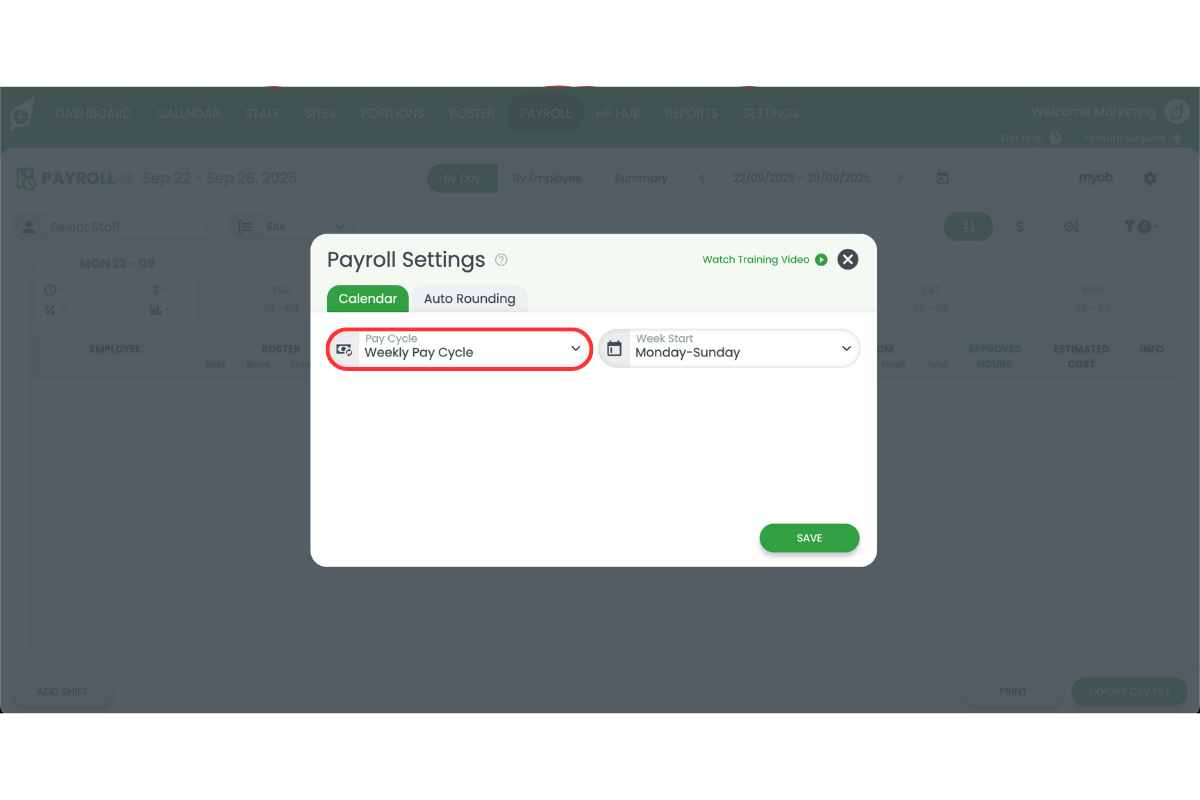
3.1 set payroll cycle
3.1.1 Go to the Payroll tab in RosterElf.
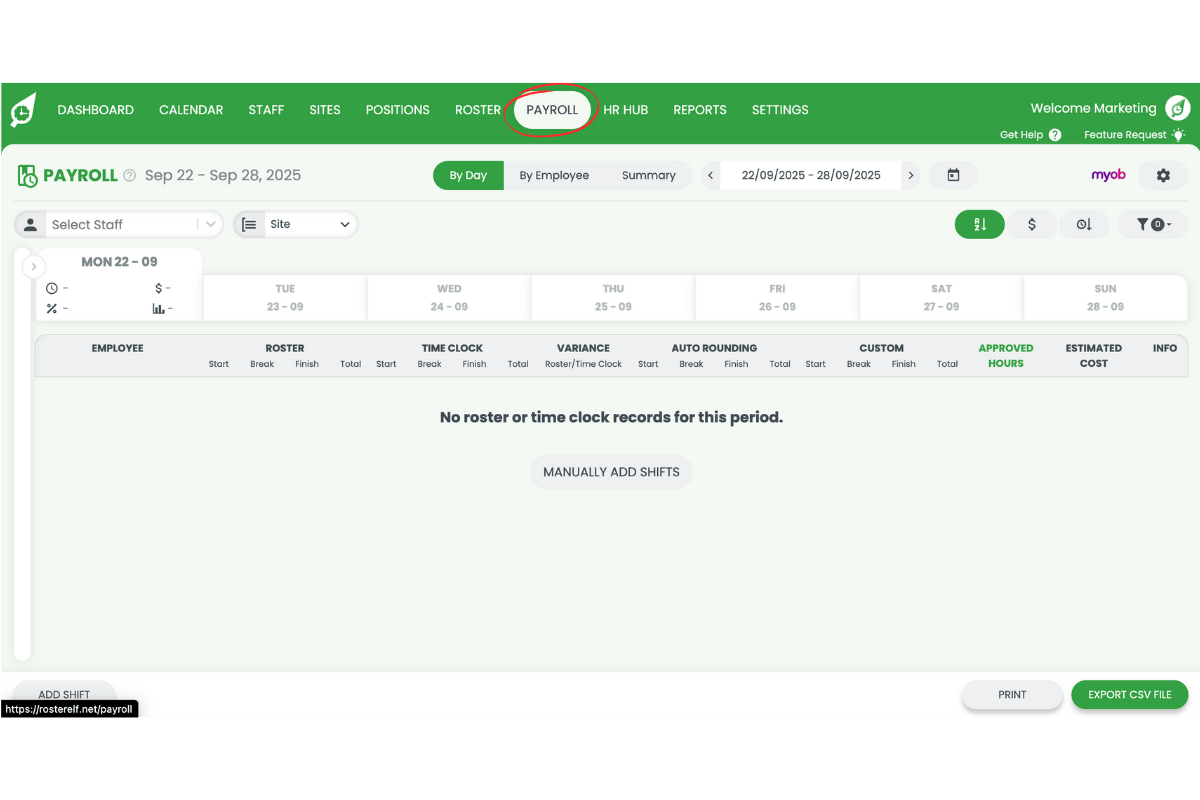
3.1.2 Press the settings cog.
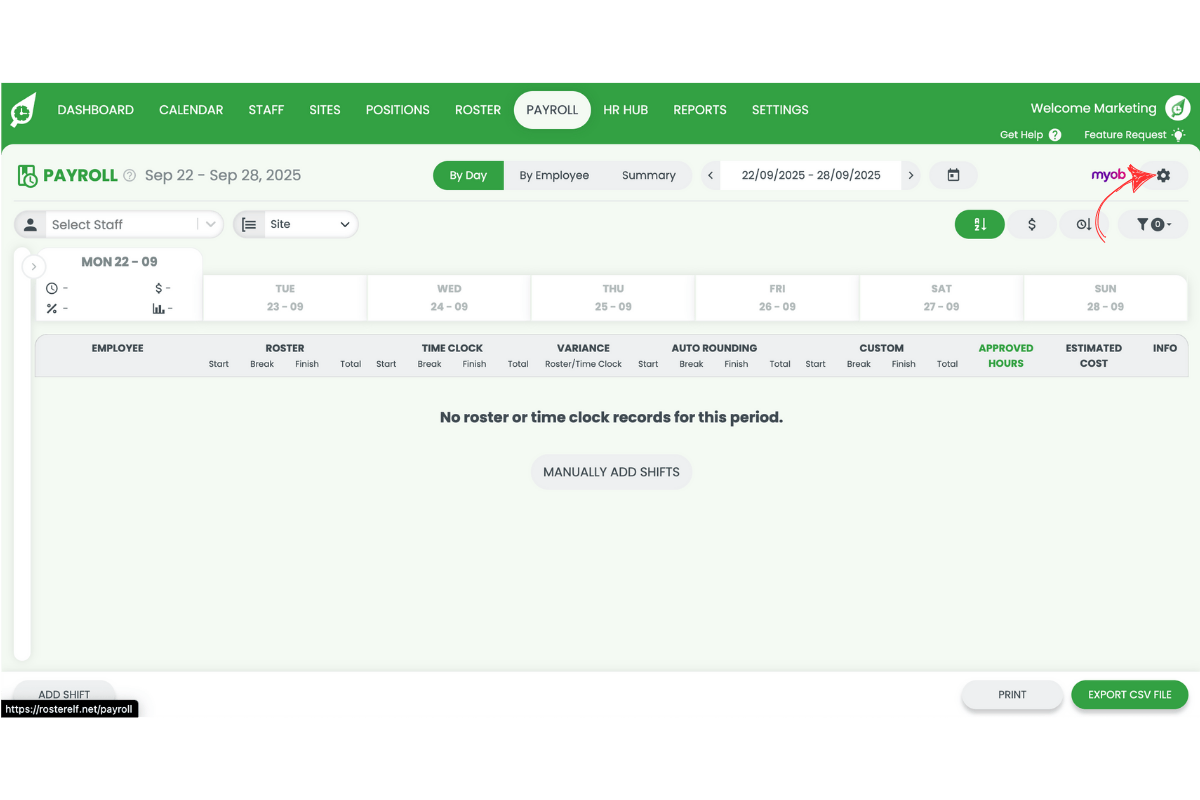
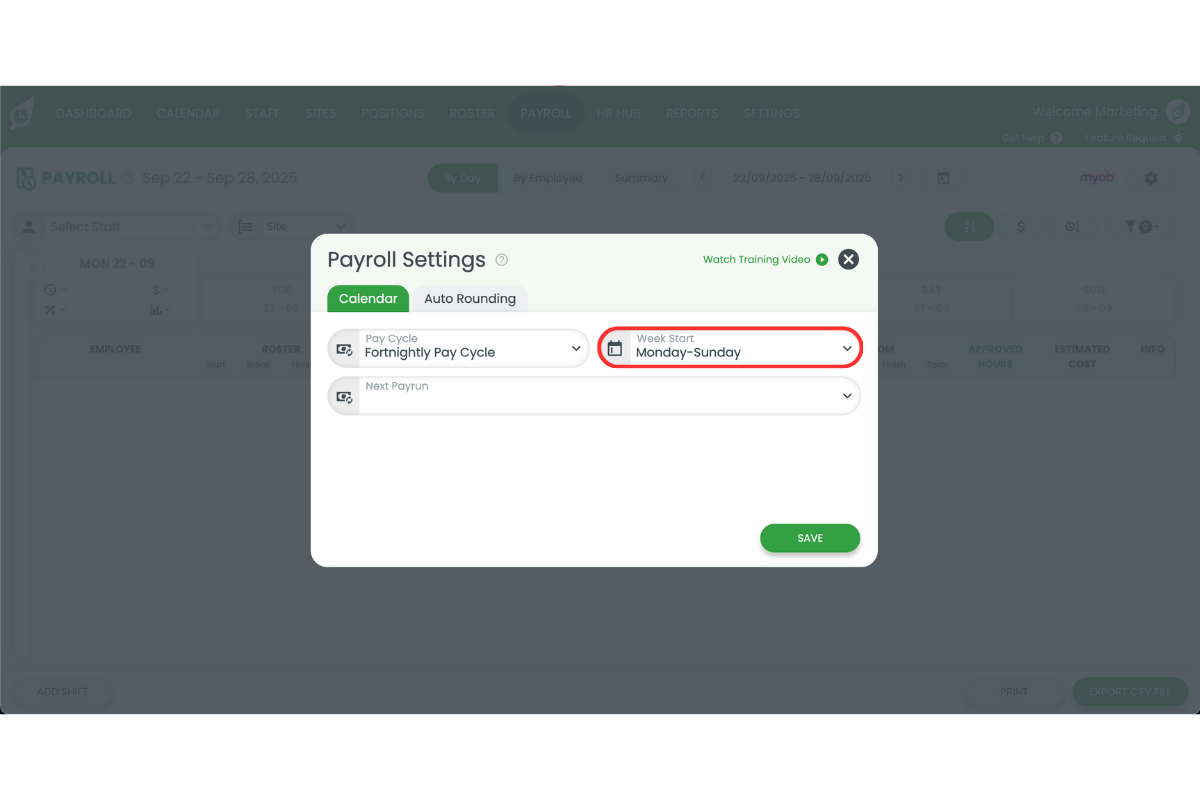
3.1.3 Select weekly, fortnightly, or monthly payroll.
3.1.4 Choose the first day of the cycle.
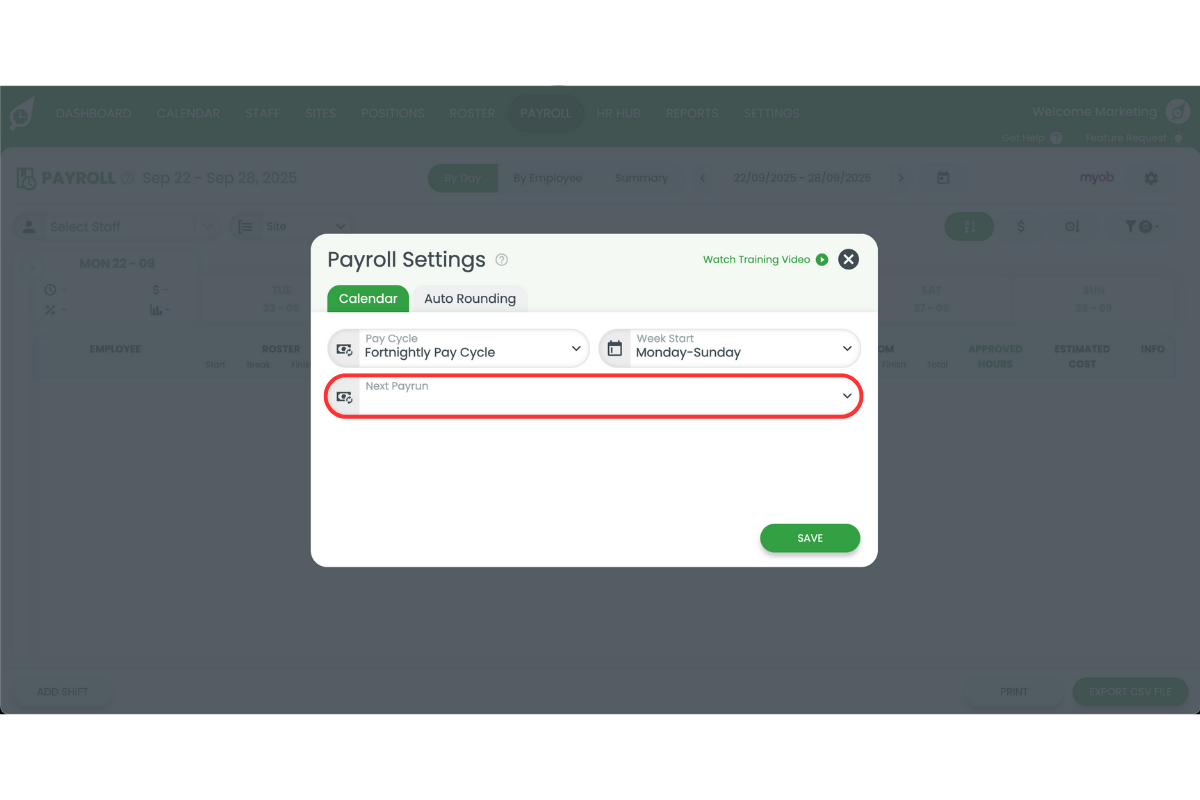
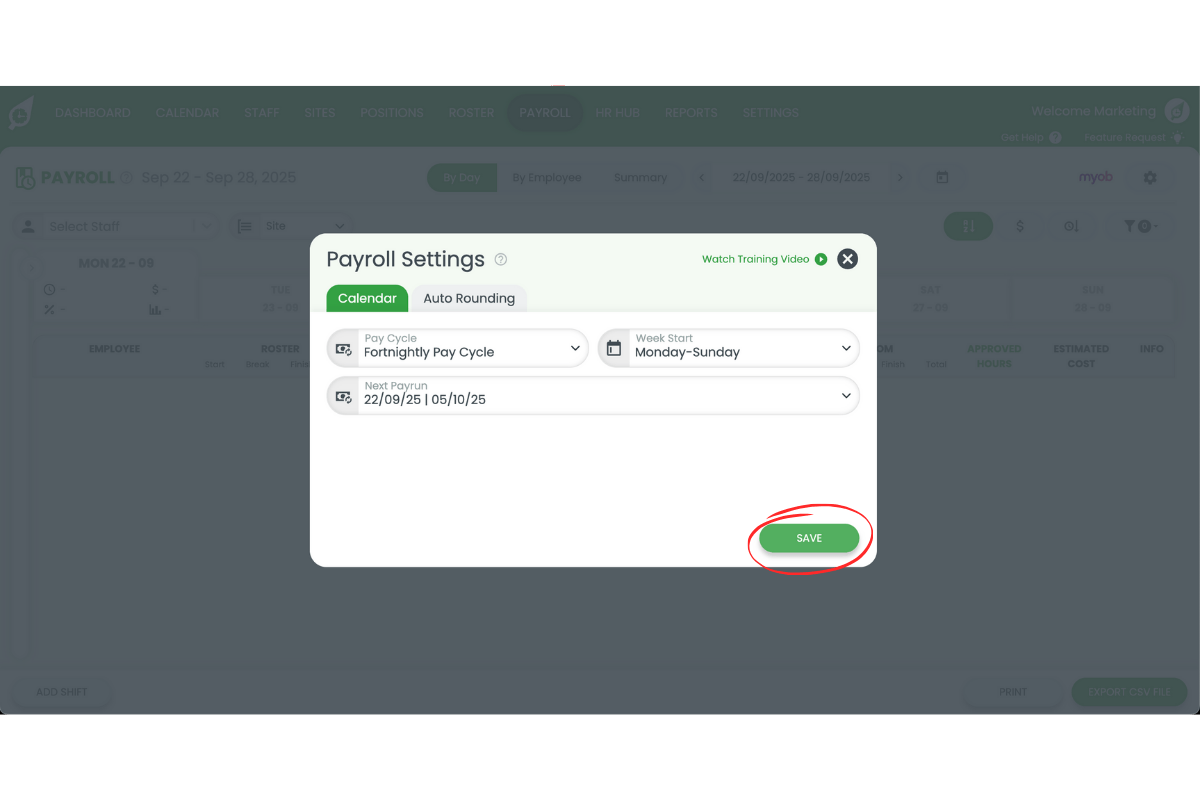
3.1.5 Set your next payrun date.
3.1.6 Save your changes.
Learn how to update pay cycles with our detailed guide: How to update pay cycles and week start days for payroll
Frequently asked questions
1. Why is it important to match staff names in MYOB My Business and RosterElf?
Matching staff names ensures both systems recognise the same employee. Even small differences in capitals or spacing can cause payroll errors or failed exports.
2. How do I create pay templates in RosterElf for MYOB My Business?
Go to Settings > Payroll in RosterElf, select the plus symbol, and enter a new pay template. Copy the pay item name directly from MYOB, check formatting, and save. This keeps wages accurate when exporting to payroll.
3. What happens if pay item names don't match between RosterElf and MYOB?
If names differ, timesheets may not sync correctly. This can result in missing or incorrect payroll data. Always copy pay item names exactly, including special characters and spaces.
4. How do I adjust my pay calendar for MYOB My Business integration?
In RosterElf, open the Payroll tab, press the settings cog, and select your cycle—weekly, fortnightly, or monthly. Then set the first day of the cycle and save your changes to align with MYOB.
5. What are the benefits of completing the full setup for MYOB My Business?
A complete setup reduces payroll mistakes, ensures staff are paid correctly, and keeps records consistent. It also saves time during pay runs and supports compliance with workplace laws.