Request leave on the mobile app
Need a day off or a longer break? The RosterElf iPhone and Android apps let you submit leave requests in minutes. Your request goes straight to managers, who approve or decline it and trigger an email notification back to you. When approved, the roster blocks out the dates so you are not scheduled by accident. This guide walks you through opening the Leave screen, filling the form and confirming that your request was sent. You will see every step on-screen and learn what happens after submission, keeping everyone informed and rosters accurate without extra calls or paperwork.
1. Submit a leave request
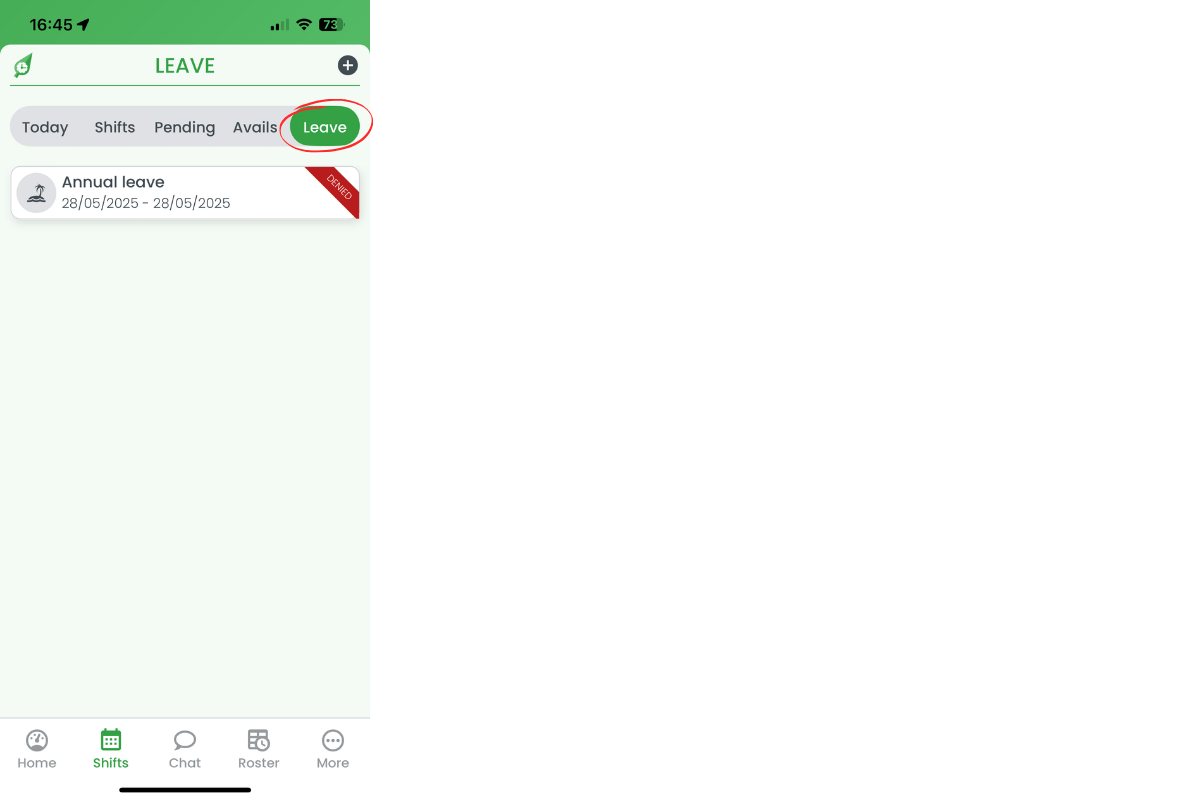
The Leave tab inside the Shifts screen holds all your current requests. From here you can add new leave, specify dates and reasons, then send the form to your manager for approval.
1.1 open the leave tab
1.1.1 Tap Shifts in the bottom menu, then select Leave on the top bar.
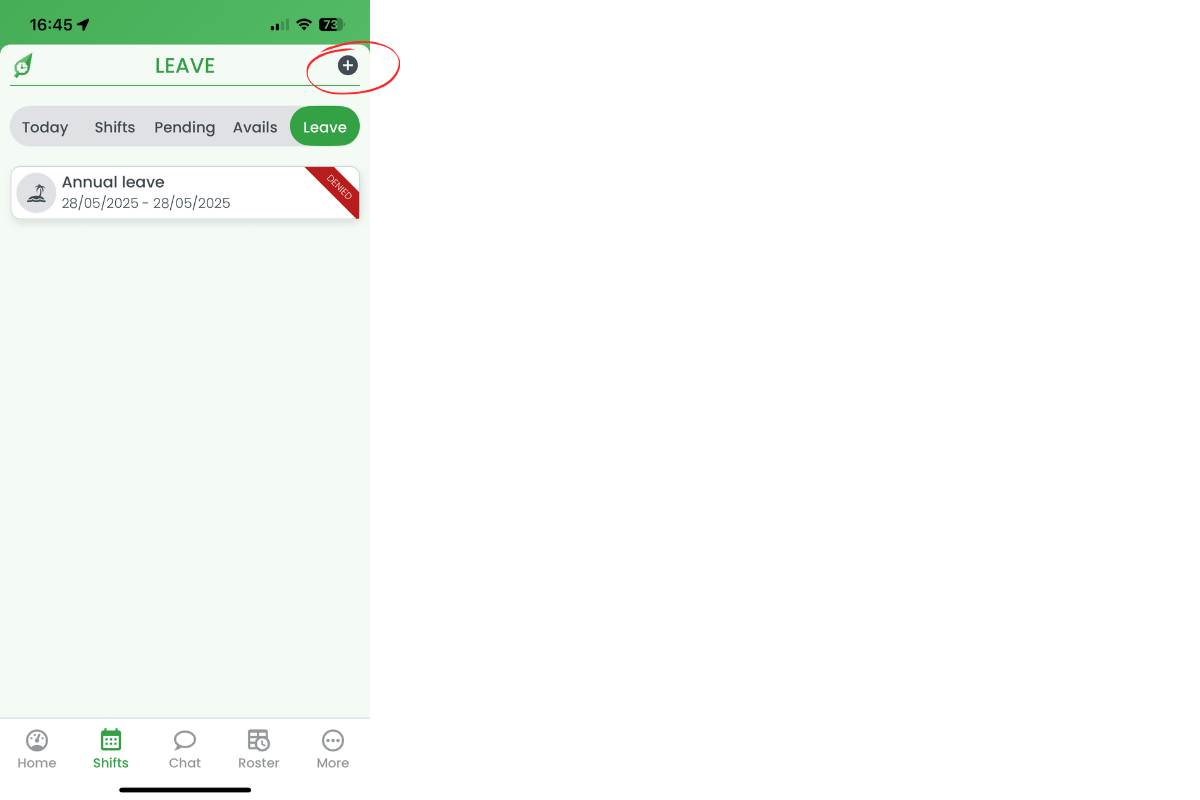
1.2 add a new request
1.2.1 Tap the + icon in the top-right corner to open the Add Leave form.
1.3 complete the leave form
1.3.1 Choose the Leave type, set From and To dates and enter a brief reason.
1.3.2 Press Request leave to send the form for approval.

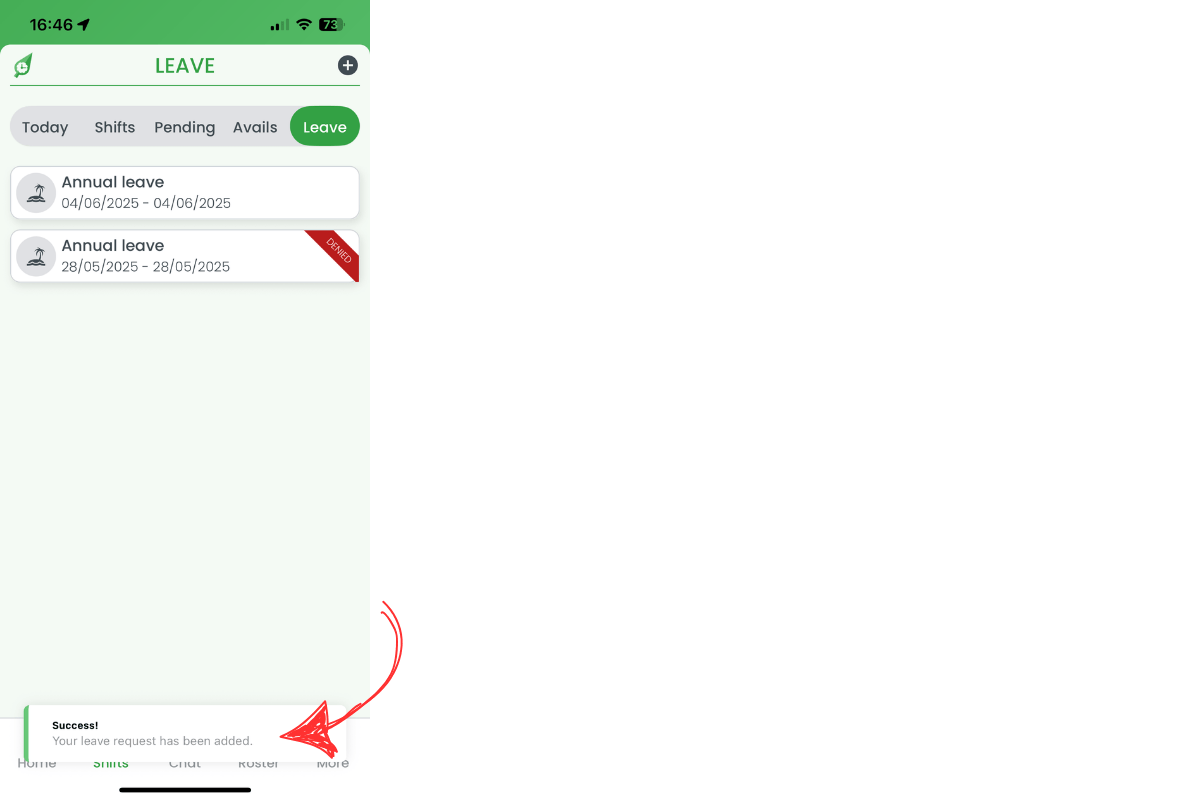
1.4 confirm submission
1.4.1 A green success banner appears at the bottom of the screen confirming your request was added.
2. After you submit
Your manager reviews the request. You receive an email once it is approved or declined, and the Leave list updates with the status ribbon. Approved dates block your availability automatically, preventing accidental rostering.
Note: Can staff amend a leave request in RosterElf? No, once the request has been submitted, only Admins, Assistant Managers and Managers can amend the request.
Frequently asked questions
1. Can I edit a leave request after submitting?
No, once leave has been entered, you can’t amend the date. You will need to delete the leave and submit another request.
2. How do I cancel a pending request?
From the webapp, tap the request, choose Delete and confirm to remove it before approval.
3. What leave types are available?
Options include annual, personal, parental, unpaid and other custom types set by your employer.
4. Why can't I submit overlapping dates?
The app prevents duplicate leave requests that conflict with existing approvals to maintain clear records.
5. When will I know the decision?
You will receive an email and push notification as soon as your manager approves or declines the request.
6. Can I delete my approved leave request?
No, a manager will need to delete the request on your behalf.