Use ChatGPT atlas with RosterElf
Disclaimer
AI-powered tools are provided for convenience and productivity enhancement. These tools use experimental artificial intelligence technologies, which are continuously improving. While every effort is made to ensure accuracy and reliability, results generated by AI may vary and should not be considered definitive or error-free. Users are responsible for reviewing and verifying all AI-produced information before relying on it for business or compliance decisions. RosterElf and its partners make no warranties, express or implied, regarding the accuracy, completeness, or suitability of AI-generated outputs.
This article explains how to use ChatGPT Atlas to access and manage your RosterElf account. ChatGPT Atlas allows you to automate tasks such as rostering, payroll processing, and account setup with AI assistance.
By following this guide, you’ll learn how to install Atlas, sign in with your ChatGPT account, connect to RosterElf, and start automating workflows. Using Atlas helps streamline administrative tasks, reduce manual input, and improve efficiency across your workforce operations.
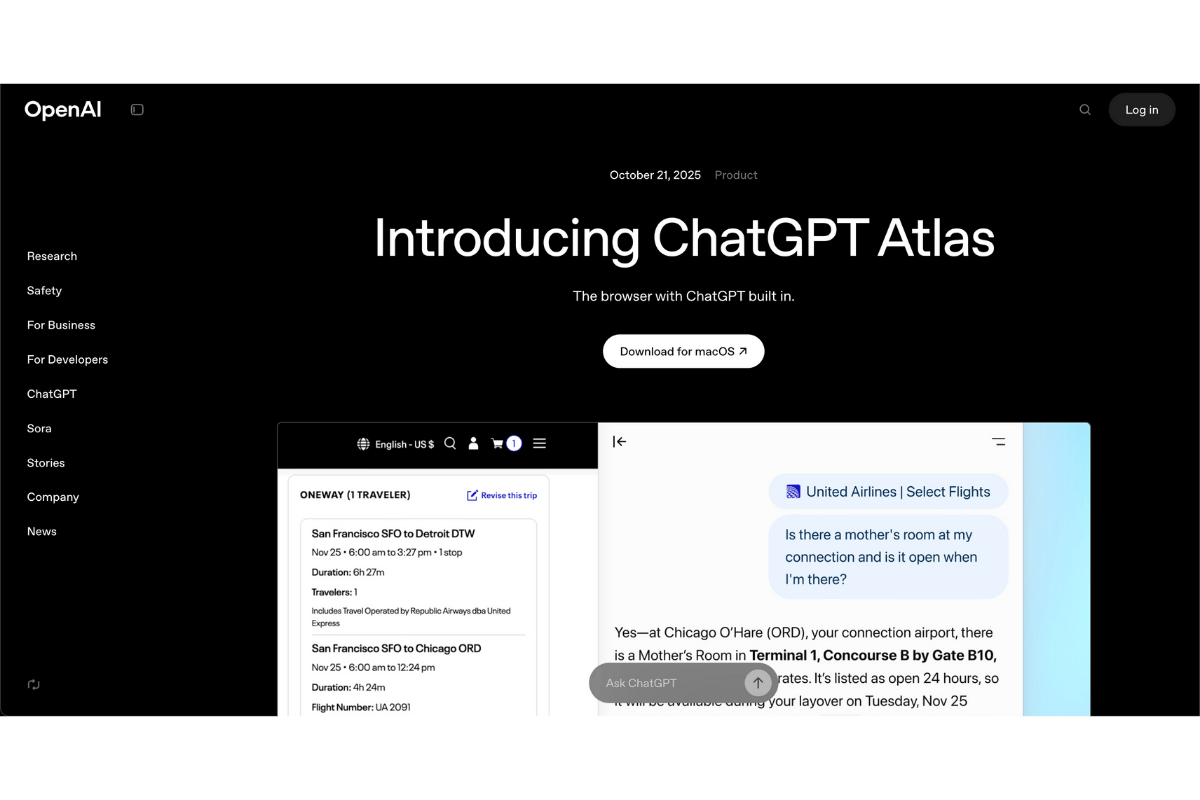
For more information, please head over to ChatGPT here: Introducing ChatGPT Atlas
1. Install ChatGPT cloud atlas
This section explains how to install ChatGPT Atlas on your computer. Installing Atlas enables ChatGPT to securely interact with your browser and external web tools such as RosterElf.
1.1 download and install atlas
1.1.1 Open your browser and visit ChatGPT Atlas.
1.1.2 Click Download or Install Atlas.

1.1.3 Follow the on-screen instructions to complete the installation.
2. Sign in to ChatGPT
After installing Atlas, sign in to your ChatGPT account to activate Atlas access. A premium ChatGPT account is required to use this feature.
2.1 log in to ChatGPT
2.1.1 Open ChatGPT in your browser.
2.1.2 Sign in with your OpenAI credentials.
2.1.3 Confirm your account is on a premium (Pro) plan.
3. Connect to RosterElf
This section explains how to access RosterElf via Atlas. Connecting allows ChatGPT to perform tasks directly in your RosterElf account, such as setting up sites, staff, or rosters.
3.1 sign in to RosterElf
3.1.1 Go to RosterElf.com.
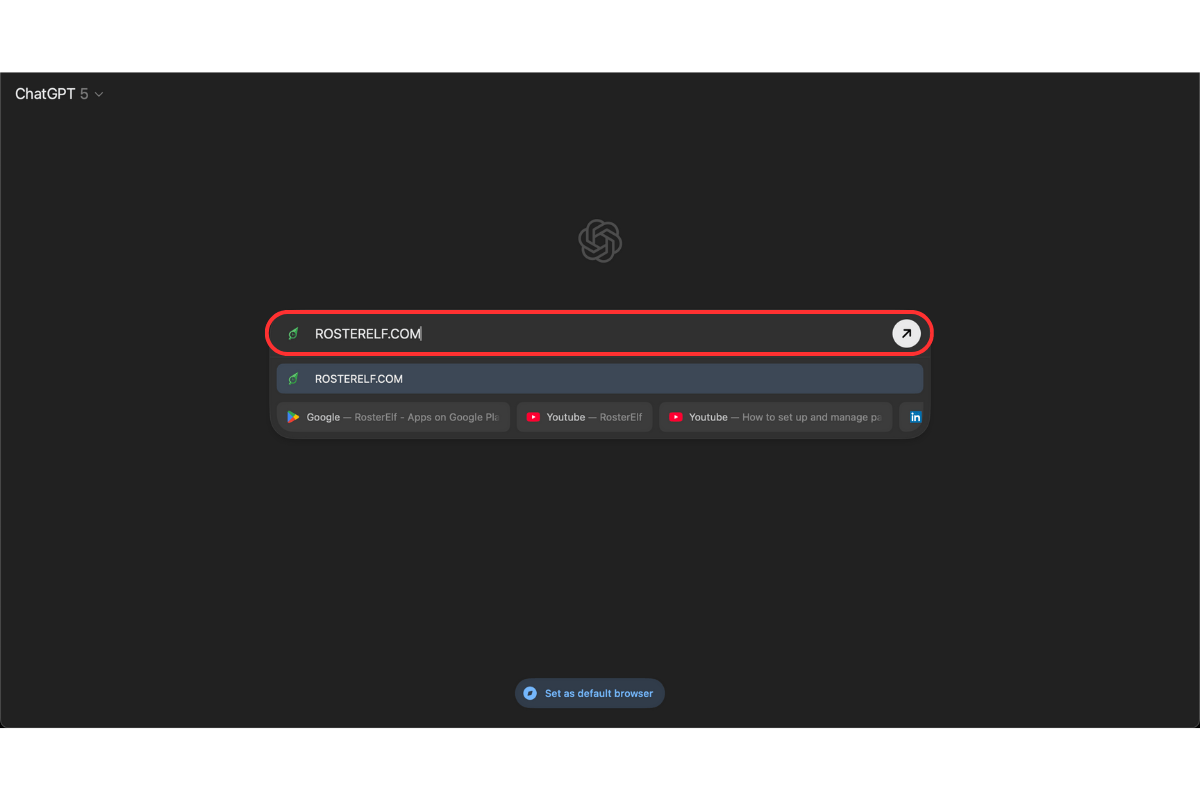
3.1.2 Click Log In.
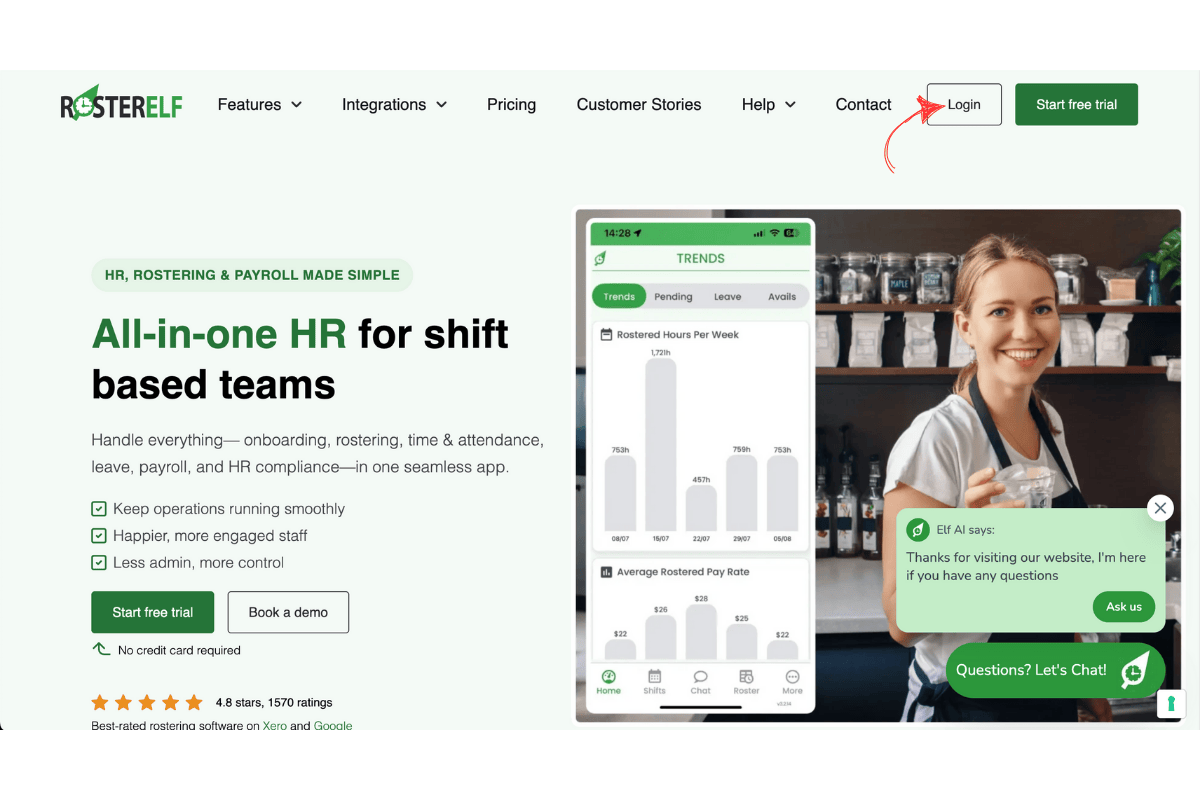
3.1.3 Enter your RosterElf account details and sign in.
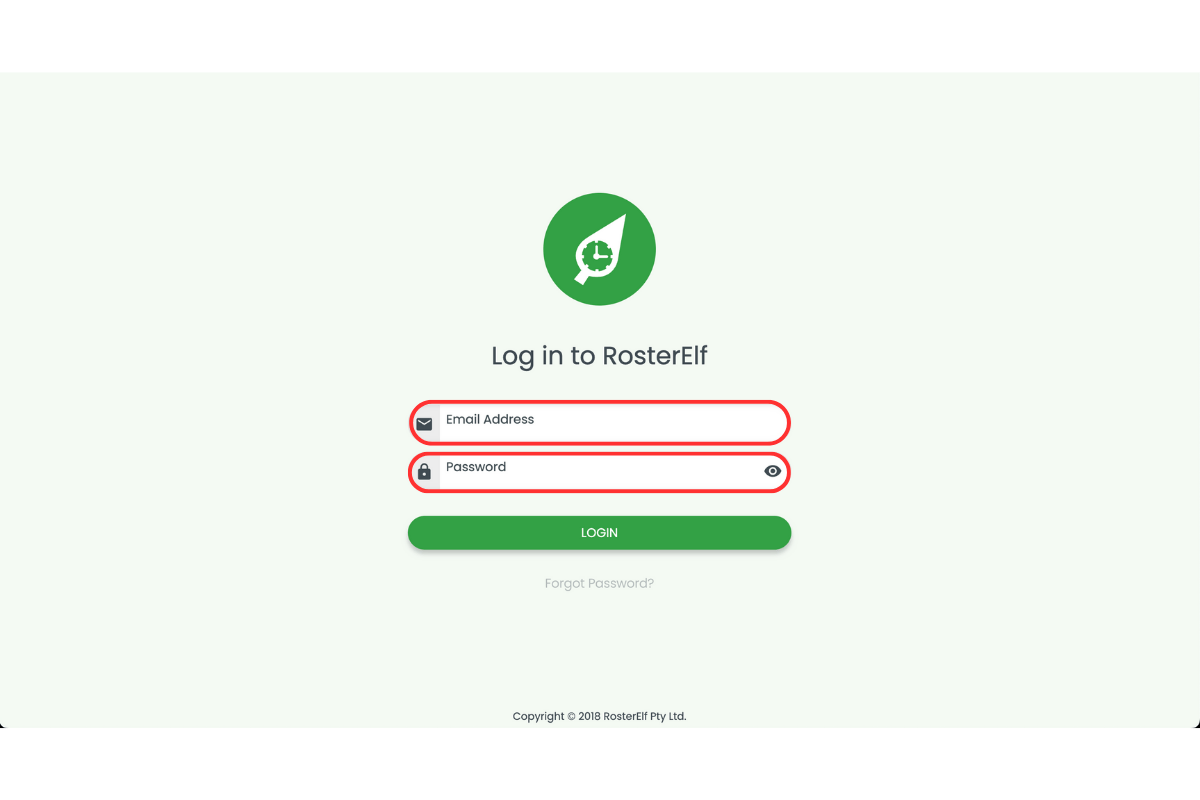
3.1.4 Keep the browser tab open for ChatGPT to connect.
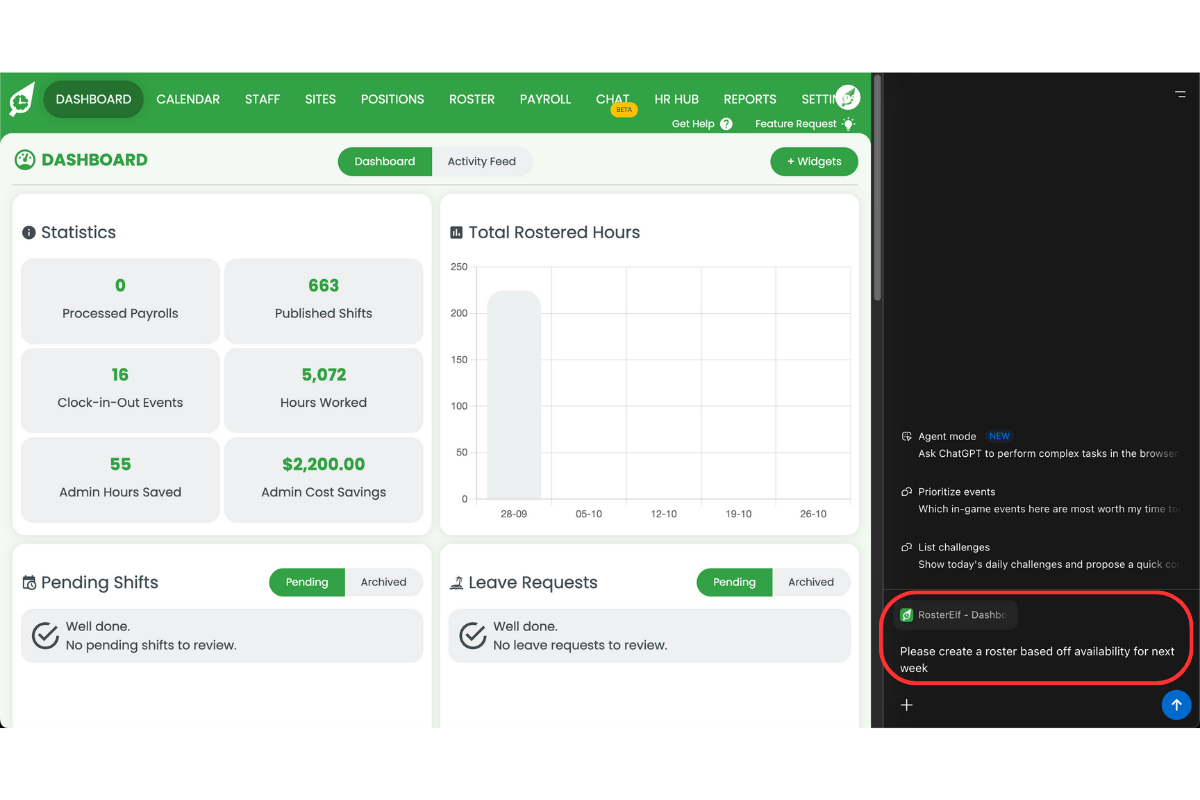
4. Perform automated tasks
Once connected, you can use ChatGPT to automate tasks within RosterElf. These may include creating rosters, adjusting payroll templates, or onboarding new staff.
4.1 request a task
4.1.1 In ChatGPT, type a clear instruction such as: Create a new RosterElf account for my café and add three staff members.
4.1.2 Review ChatGPT’s confirmation before proceeding.
4.1.3 Follow any prompts to finalise or approve actions in RosterElf.
4.1.4 Repeat the process to automate other rostering or payroll tasks.
Frequently asked questions
1. How do I install ChatGPT Cloud Atlas to use with RosterElf?
To install ChatGPT Atlas, visit the official Atlas webpage, click Download, and follow the installation prompts. Once installed, restart your browser. This enables ChatGPT to securely connect with your RosterElf account for automation.
2. Do I need a paid ChatGPT plan to use Atlas with RosterElf?
Yes. Cloud Atlas requires a premium (Pro) ChatGPT account. Free accounts cannot access or automate RosterElf through Atlas. Check your account status under Settings → Plan in ChatGPT to confirm you have an active subscription.
3. How can I connect RosterElf to ChatGPT Atlas?
After installing Atlas and signing in to ChatGPT, open RosterElf.com, log in, and keep the tab open. ChatGPT will automatically detect your active RosterElf session and connect securely through Atlas to perform tasks.
4. What kind of tasks can ChatGPT automate in RosterElf?
You can ask ChatGPT to automate tasks like creating rosters, setting up new staff, adjusting payroll templates, or managing site settings. ChatGPT will provide confirmation prompts before making any changes in your account.
5. Is it safe to connect my RosterElf account through Atlas?
Yes. Atlas uses secure browser-based communication to link ChatGPT with RosterElf. Your credentials remain encrypted, and ChatGPT only performs actions you authorise directly through verified sessions.