Set up payroll for smartly
This article explains how to set up payroll for Smartly in RosterElf. Correct payroll setup ensures your employee data exports accurately and matches the structure required by Smartly. Completing these steps helps prevent payroll errors, reduces manual adjustments, and ensures staff are paid correctly.
In this guide, you will learn how to configure position rate types, assign Smartly staff IDs, map payroll rule names, and set department codes. Each step focuses on aligning RosterElf fields with Smartly requirements so data transfers cleanly. The process is simple and repeatable, making it easy to apply across multiple staff, positions, and sites.
Following this setup is essential before running your first payroll export to Smartly. Once complete, your payroll data will flow correctly between systems, saving time and improving accuracy. Use this guide whenever you onboard new staff, add positions, or create new sites to keep your payroll configuration consistent.
1. Set rate types for smartly payroll
This section explains how to set the correct rate type for Smartly using the position ID in RosterElf. Adding the required identifier to each position ensures Smartly recognises the rate correctly during payroll processing. This setup helps prevent rate mismatches and pay errors. You must complete this step for every position that syncs to Smartly.
Learn more about positions here: Introduction to positions
1.1 update the position ID for smartly
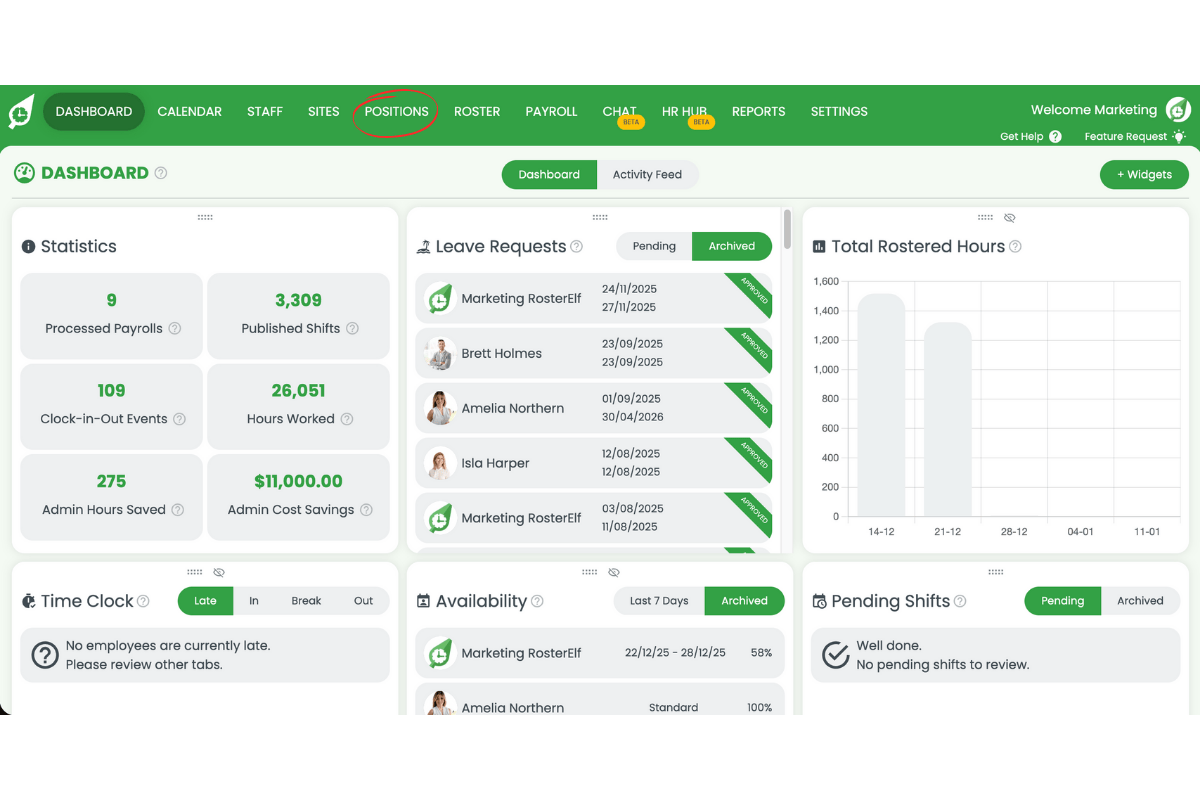
1.1.1 Open RosterElf.
1.1.2 Select the Positions tab.
1.1.3 Select a position.

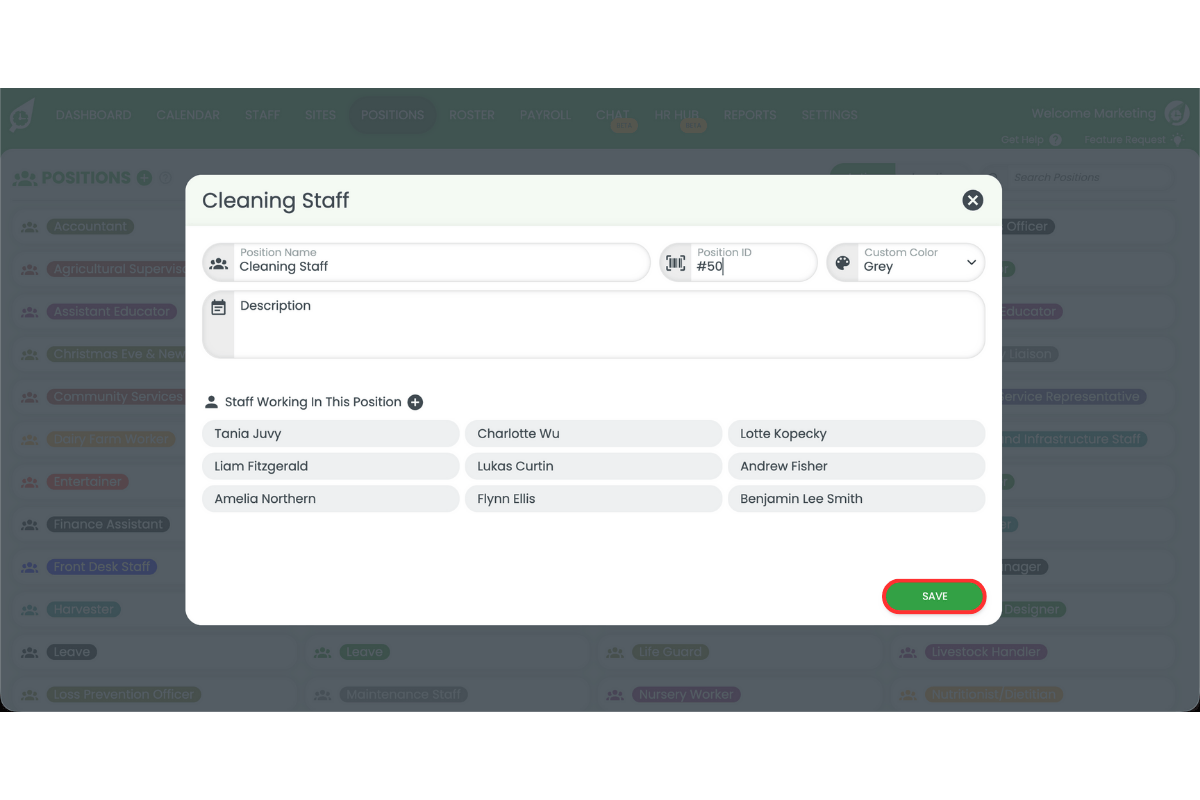
1.1.4 Add #50 to the Position ID field.
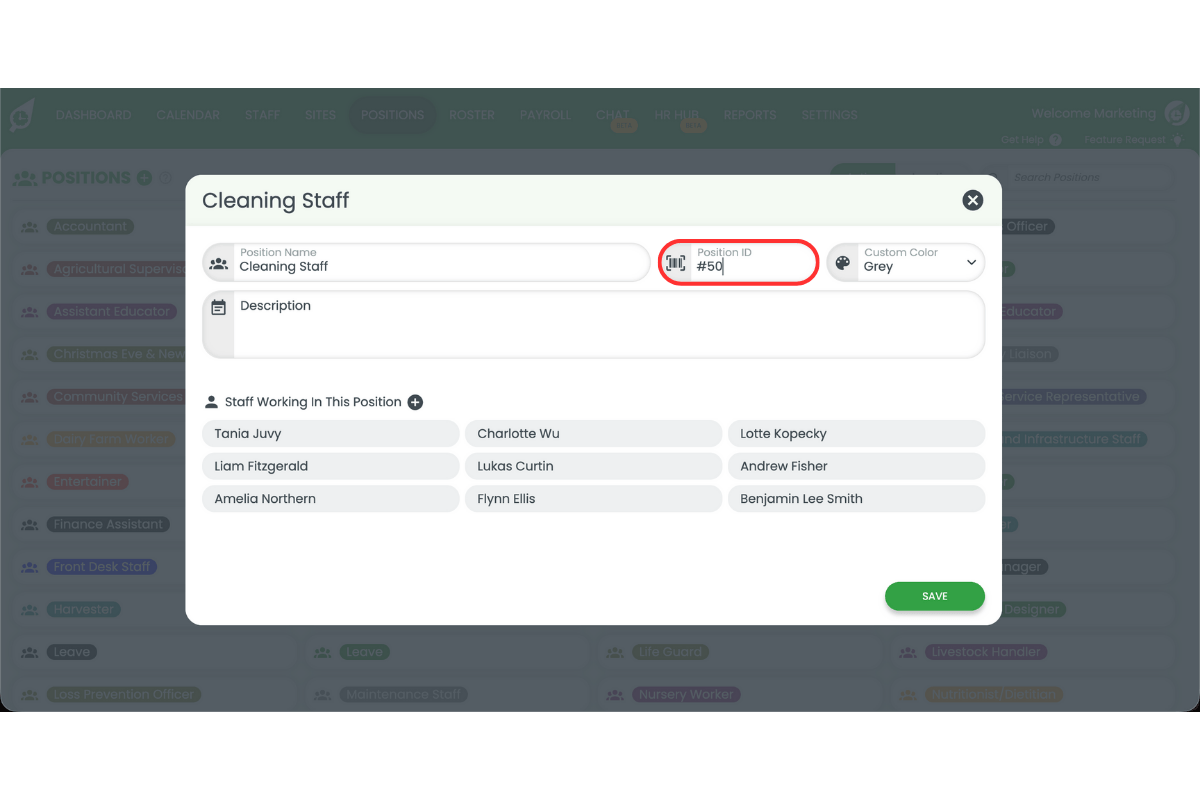
1.1.5 Press Save.
1.1.6 Repeat these steps for each position.
2. Set staff IDs for smartly payroll
This section explains how to assign Smartly staff IDs in RosterElf. Each staff member must have their Smartly ID added to ensure payroll data matches the correct employee record. Completing this step avoids duplicate staff records and ensures accurate pay processing.
Learn more about staff here: Adding staff manually
2.1 add smartly staff IDs
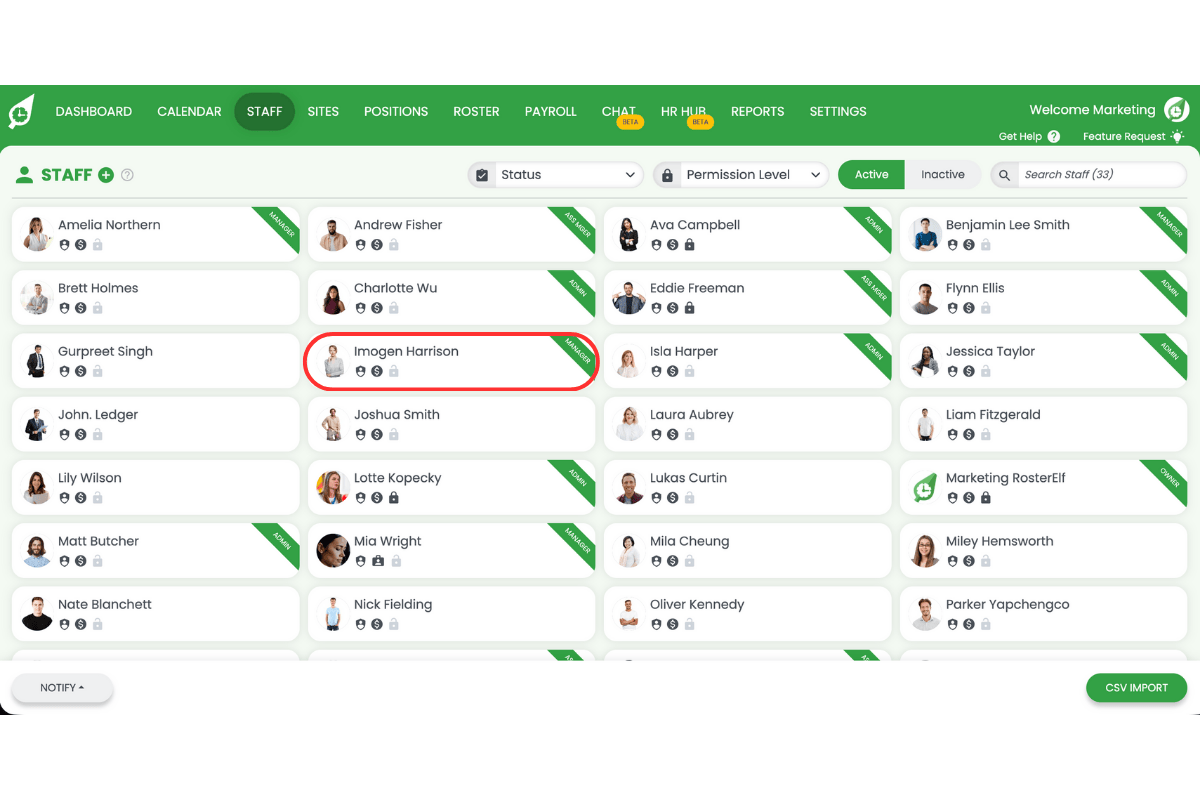
2.1.1 Open the Staff tab.

2.1.2 Select a staff member.
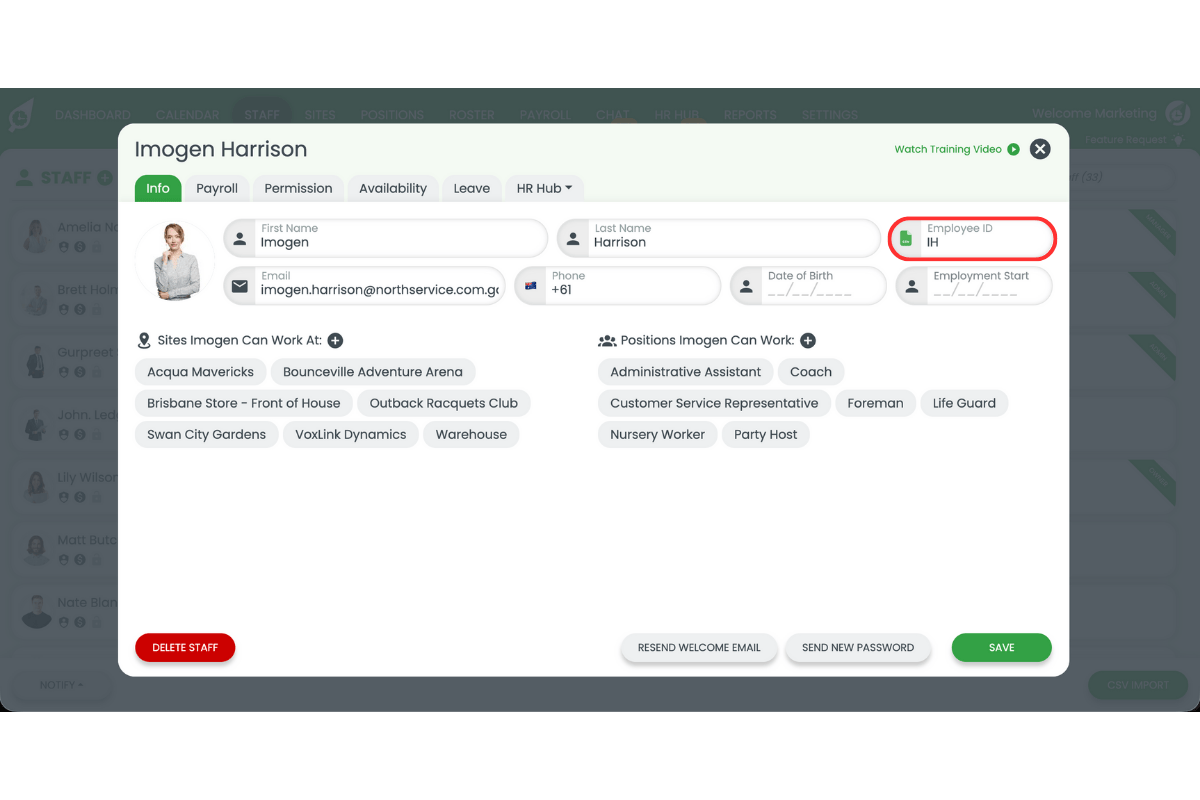
2.1.3 Enter their Smartly ID in the staff ID field.
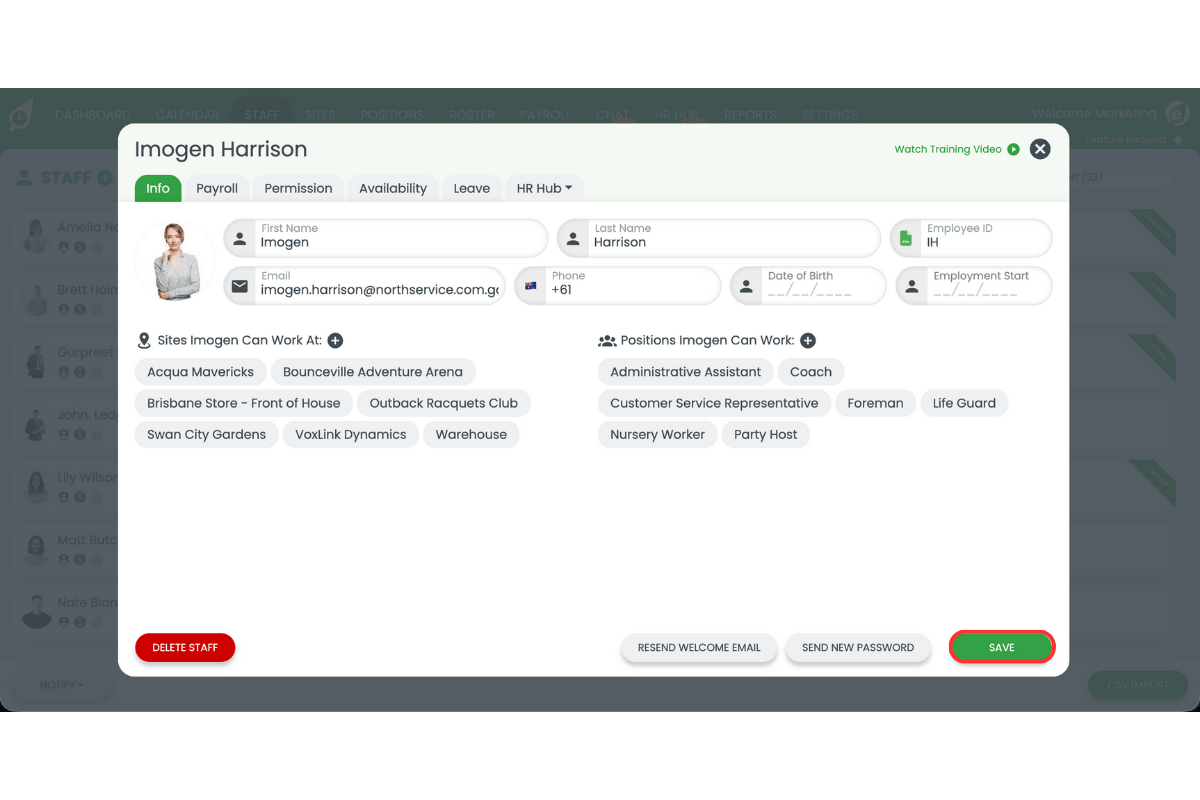
2.1.4 Press Save.
2.1.5 Repeat these steps for each staff member.
3. Set payroll rule names for smartly
This section explains how to map payroll rules to Smartly using custom payroll names. Matching payroll rule names ensures earnings export correctly and apply the right rules in Smartly. This step is required for every payroll rule you use.
Learn more about pay templates here: Introduction to pay templates
3.1 configure payroll rule names
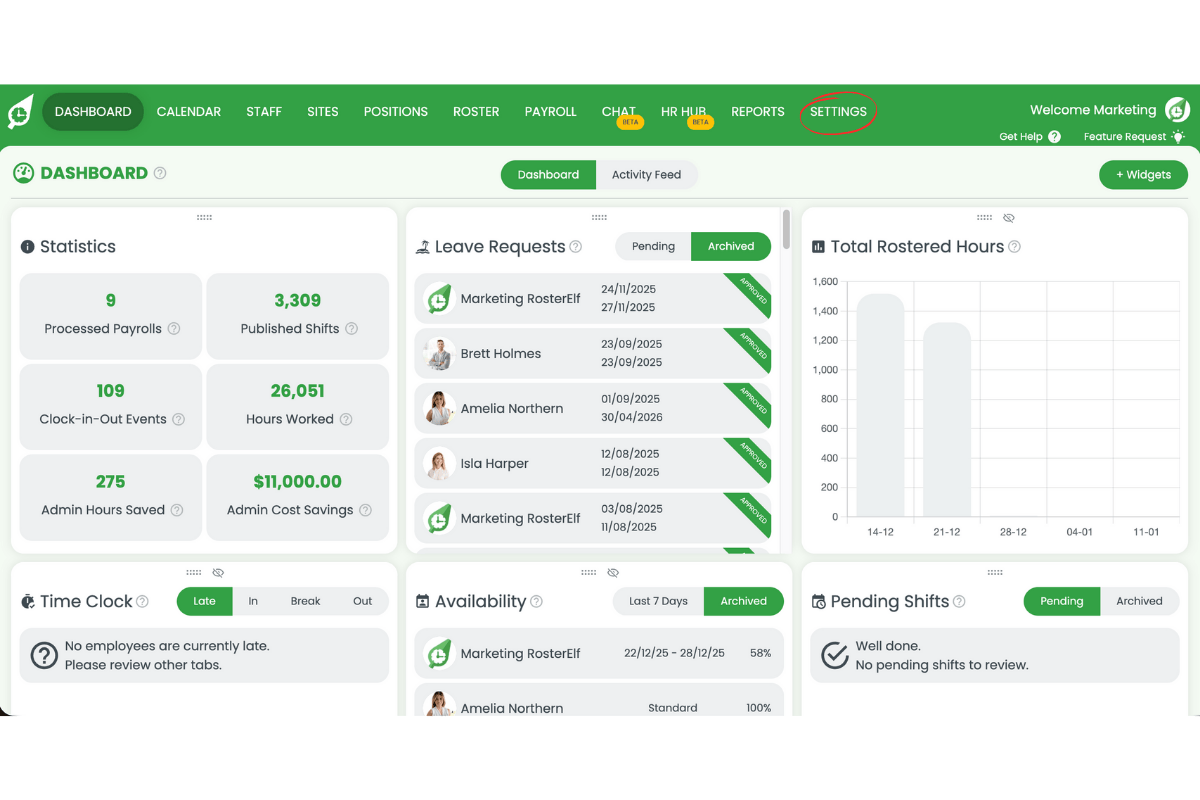
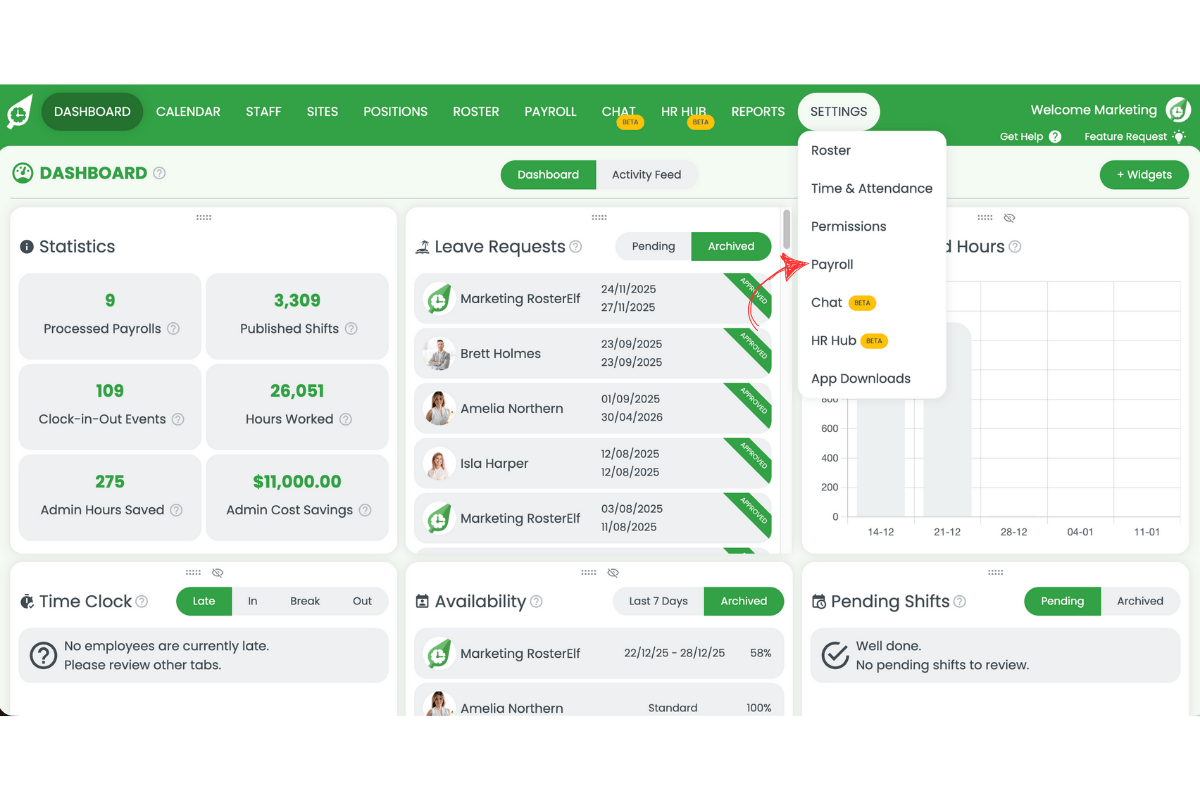
3.1.1 Open Settings.
3.1.2 Select Payroll.
3.1.3 Select your pay template.
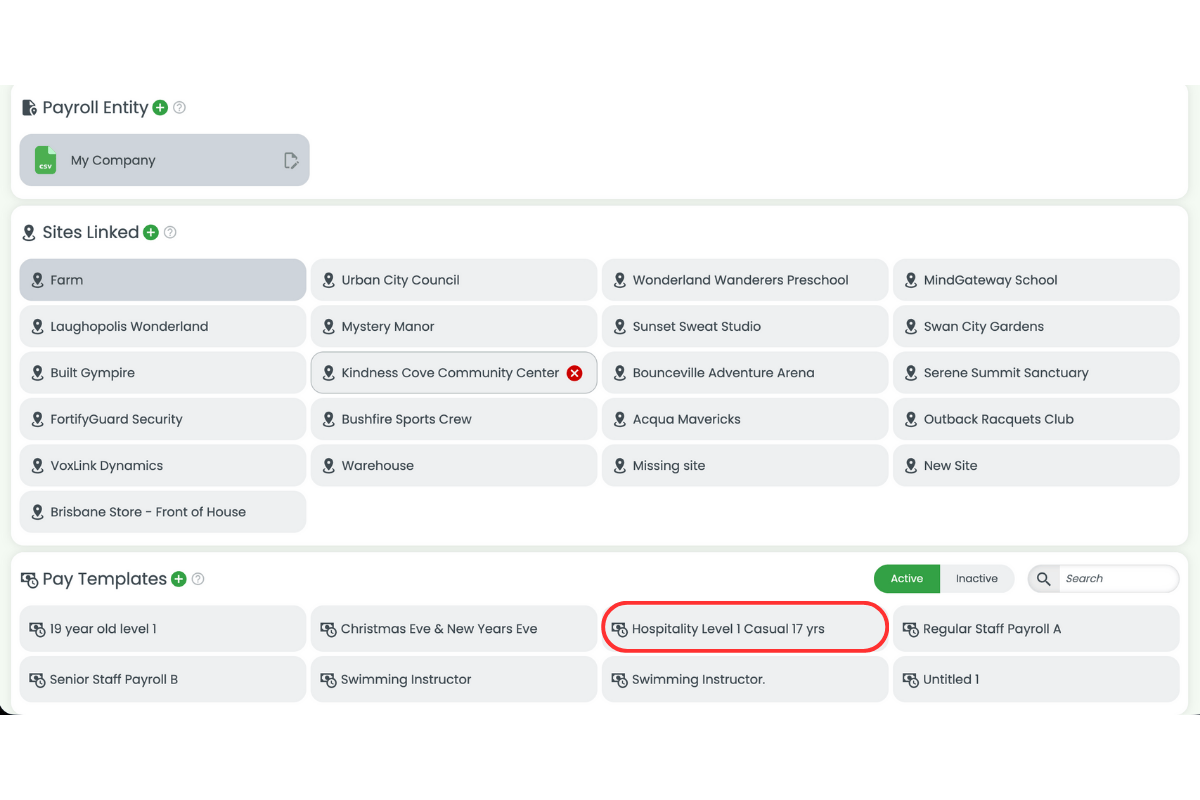
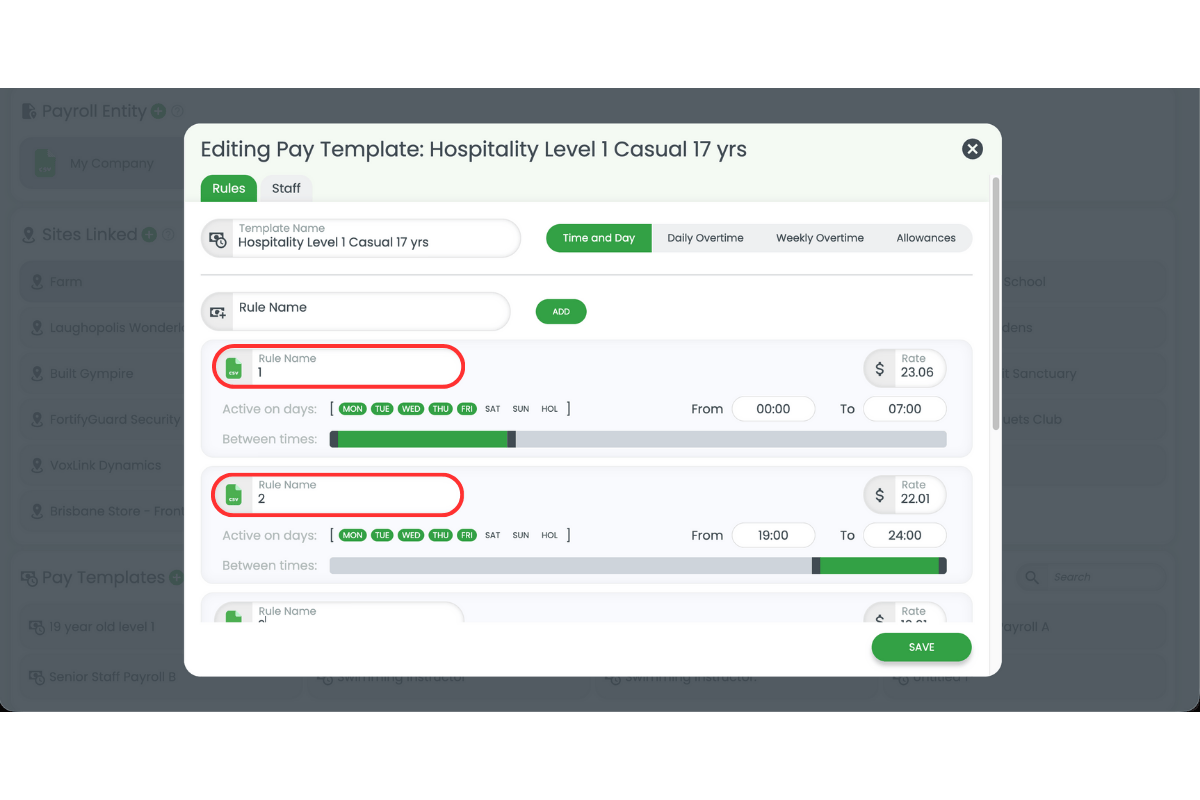
3.1.4 Enter the matching Smartly payroll rule in the Custom name field.
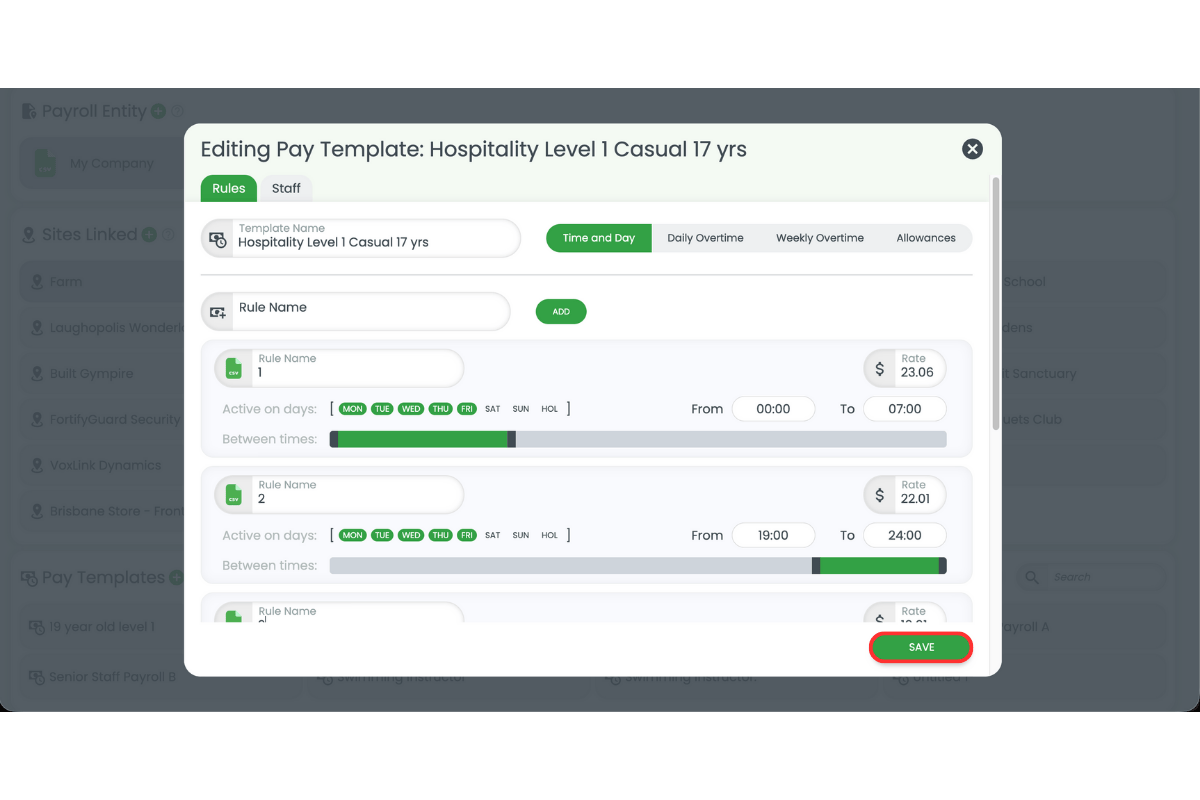
3.1.5 Press Save.
3.1.6 Repeat these steps for each payroll rule.
4. Set department codes for smartly
This section explains how to add department codes for Smartly using sites in RosterElf. Department codes ensure hours export to the correct cost centre in Smartly. This setup helps maintain accurate reporting and payroll allocation.
Learn more about sites here: Introduction to sites
4.1 add department codes to sites
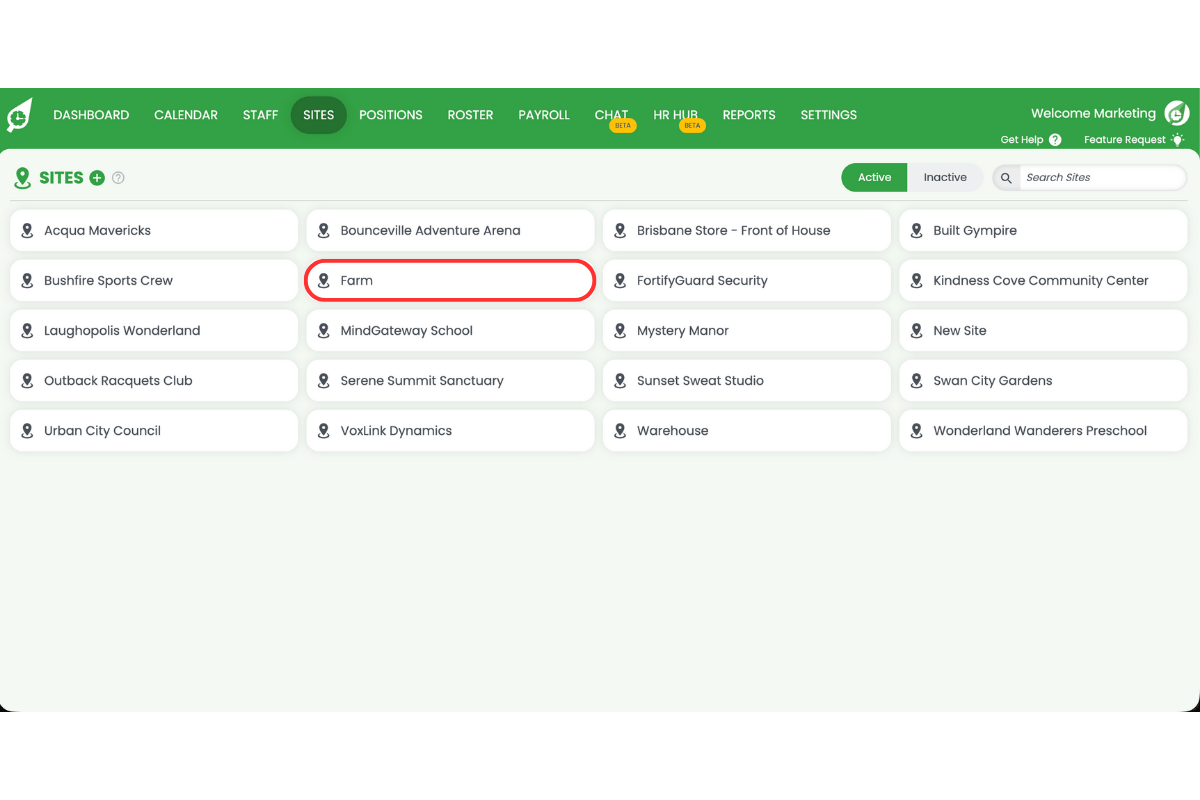
4.1.1 Open the Sites tab.

4.1.2 Select a site.
4.1.3 Enter the department code from Smartly in the Site ID field.
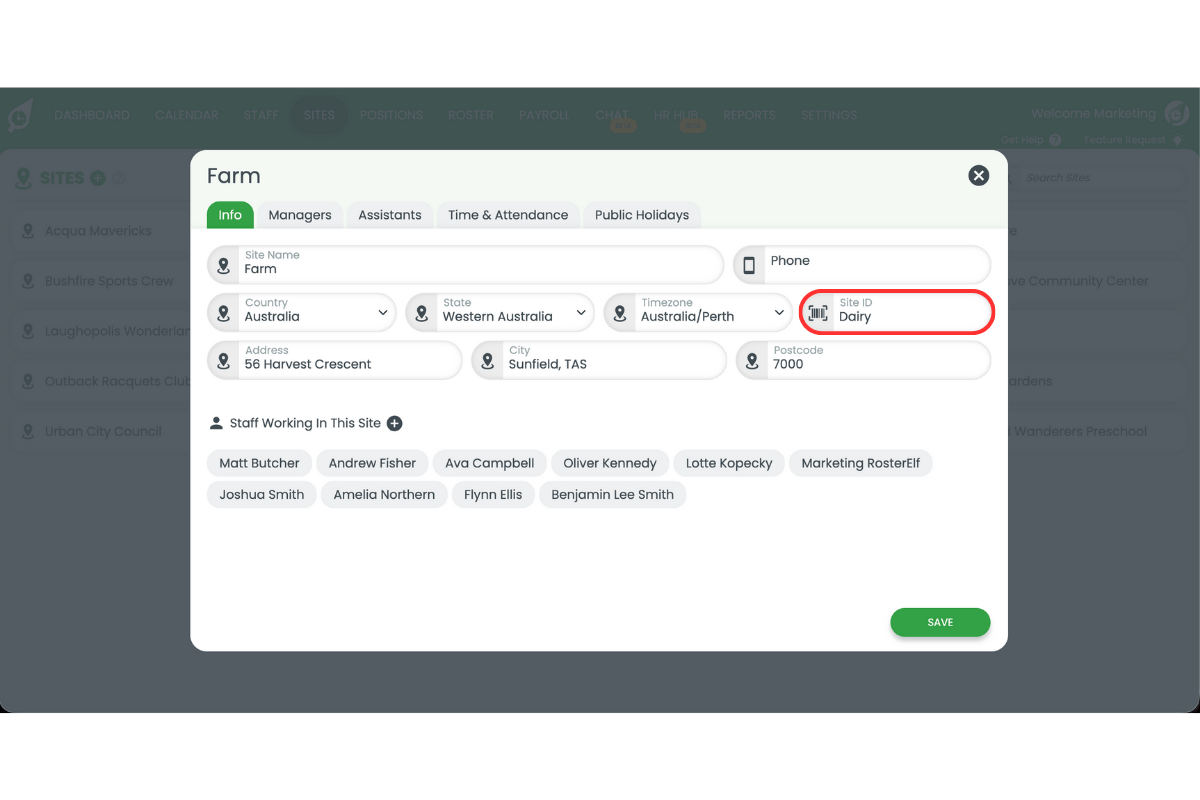
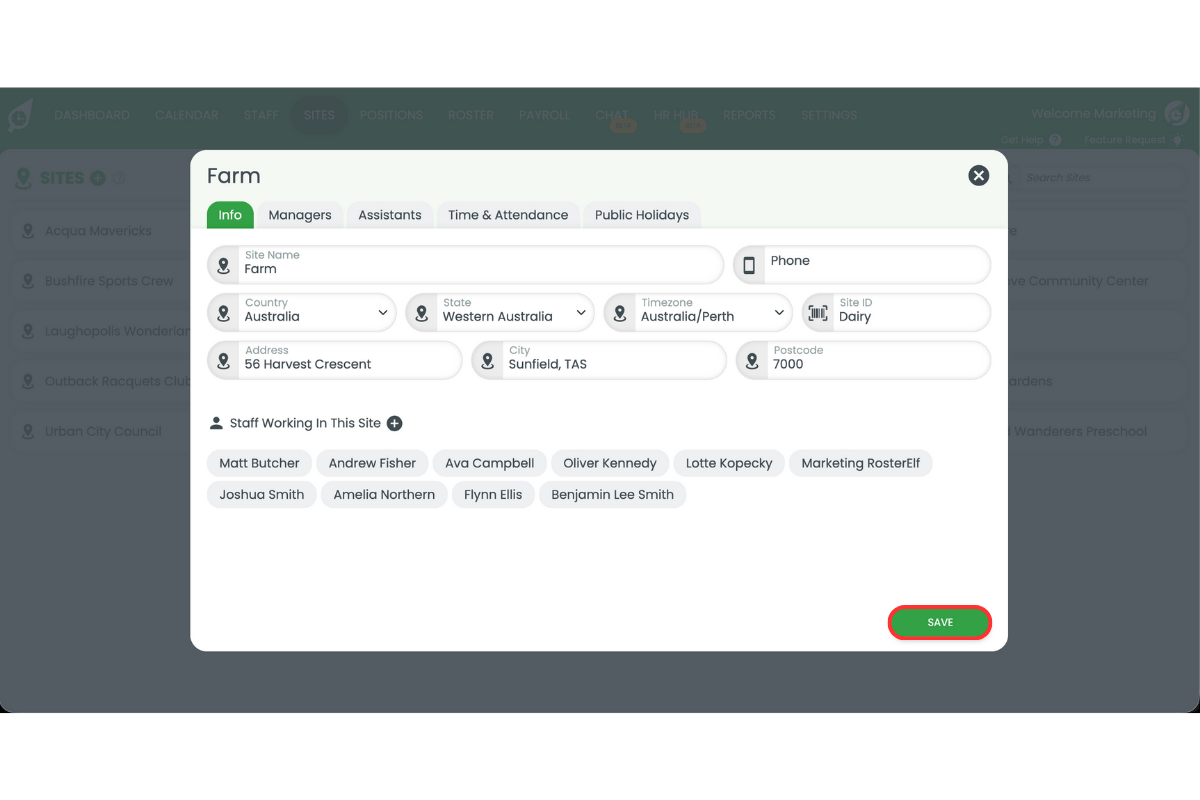
4.1.4 Press Save.
4.1.5 Repeat these steps for each site.