How to change the account owner on RosterElf
Changing the account owner in RosterElf ensures that the new person gains full access to account permissions and responsibilities. This process helps maintain accurate management and ensures the right individual controls all features and information. Follow the steps below for a smooth transition to a new account owner.
1. Log in as the current account owner
To begin the transfer process, you must log in with the existing account owner’s credentials. This is crucial to ensure that only authorised users can make changes to the account ownership.
1.1 log in to RosterElf
1.1.1 Use the current account owner’s login details.
1.1.2 Ensure you have access to all account settings.
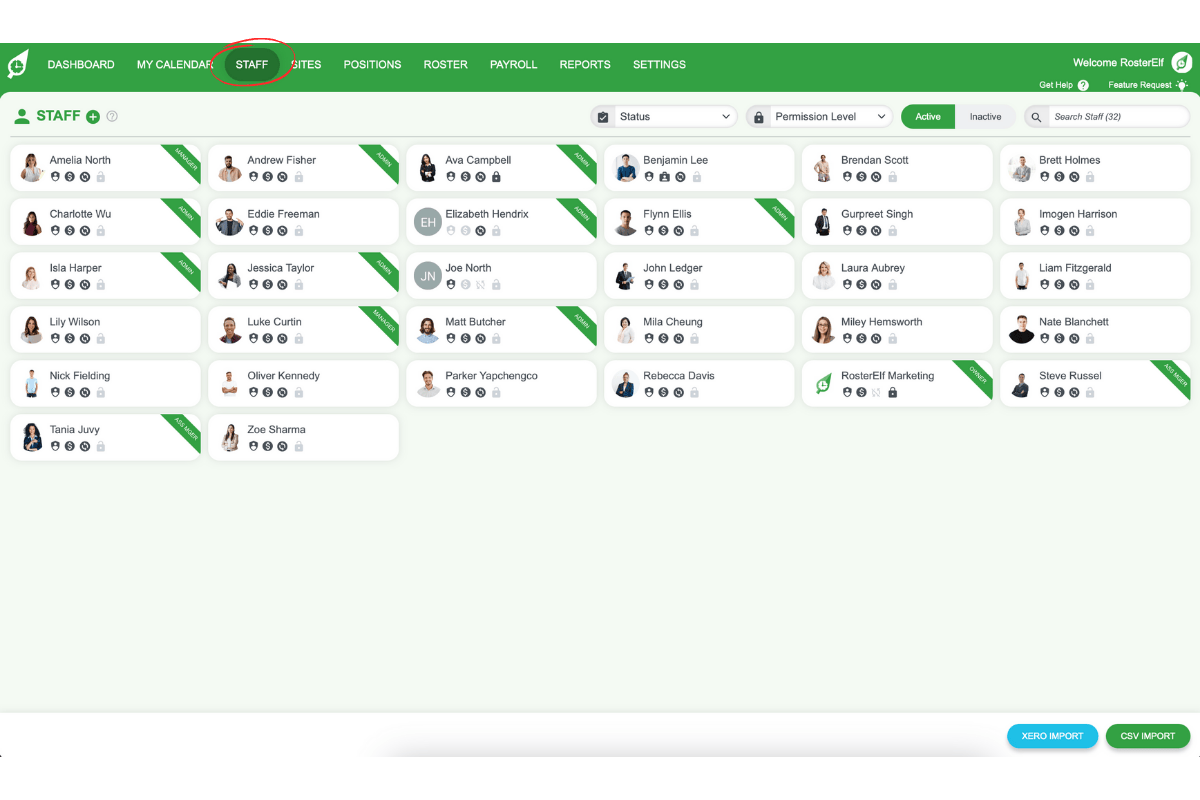
2. Access the staff tab
Accessing the Staff tab allows you to view and manage details of the current owner. This is the first step in updating ownership information.
2.1 navigate to the staff tab
2.1.1 Go to the top menu in RosterElf.
2.1.2 Click on the Staff tab to view staff members.
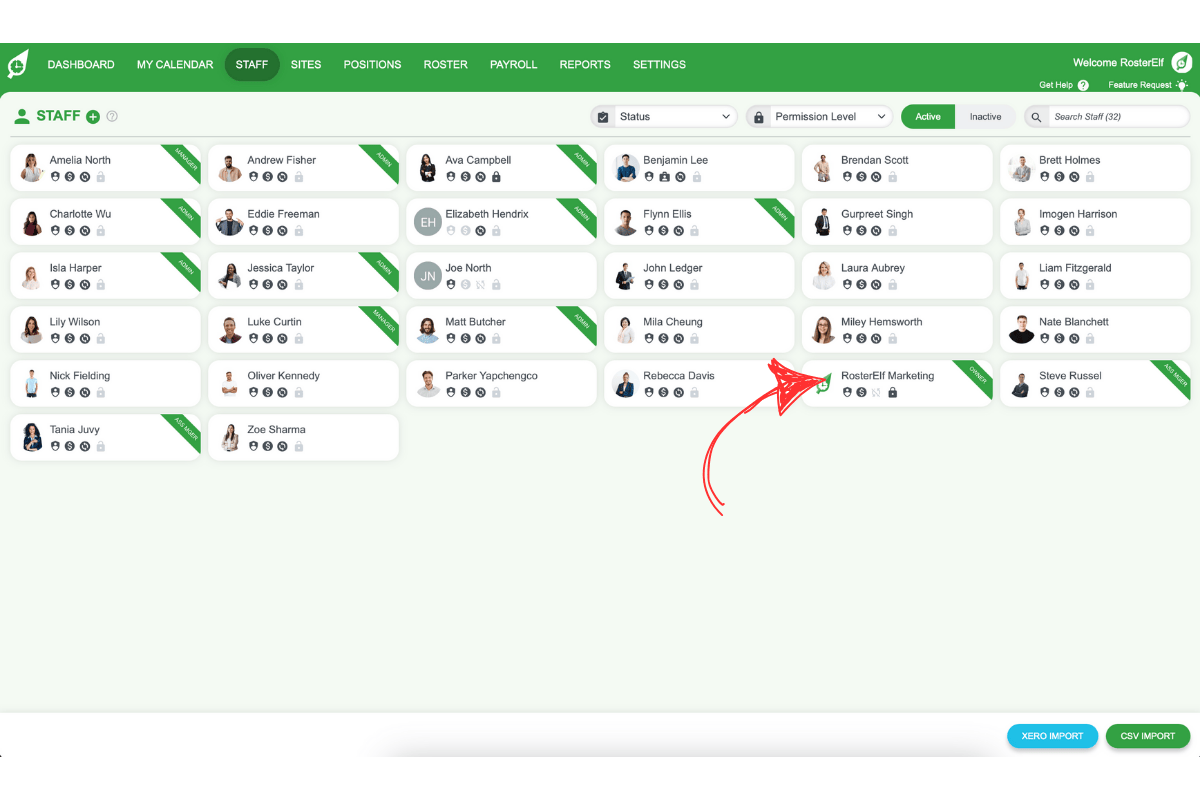
2.2 select the owner's staff card
2.2.1 Locate the staff card of the current account owner.
2.2.2 Click on the card to open the details.
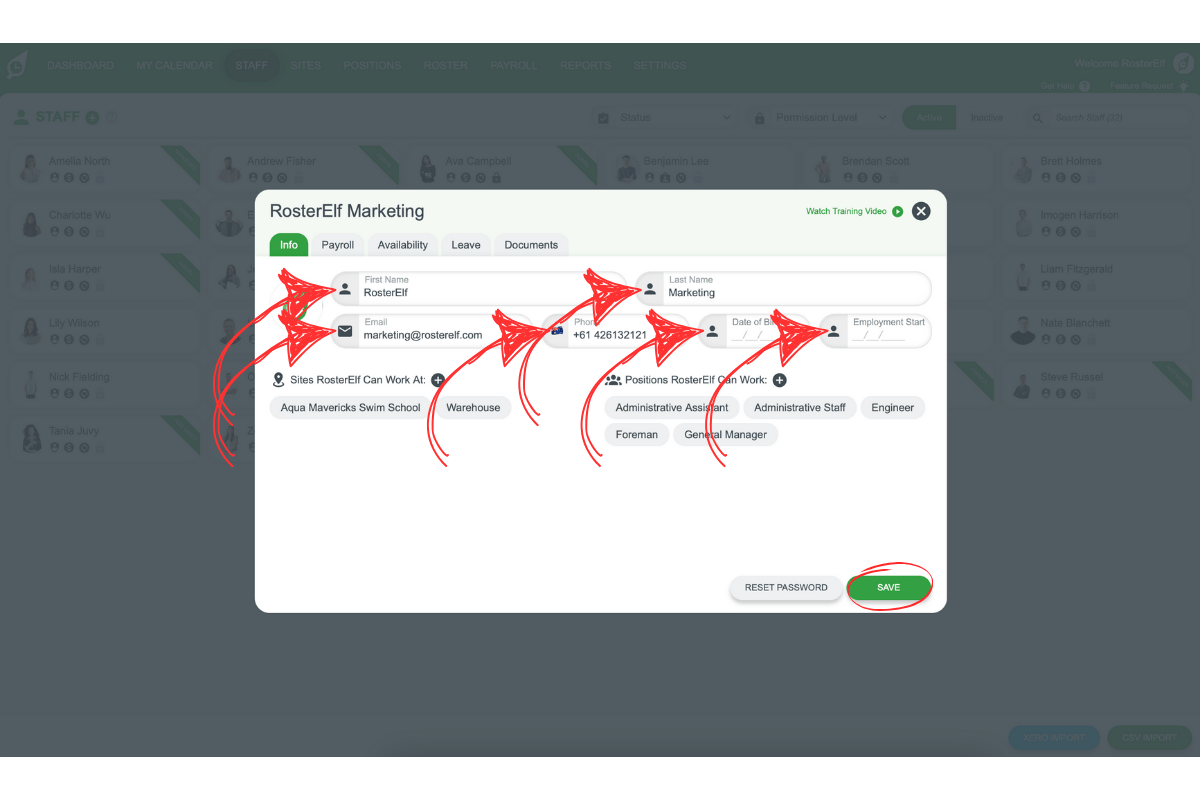
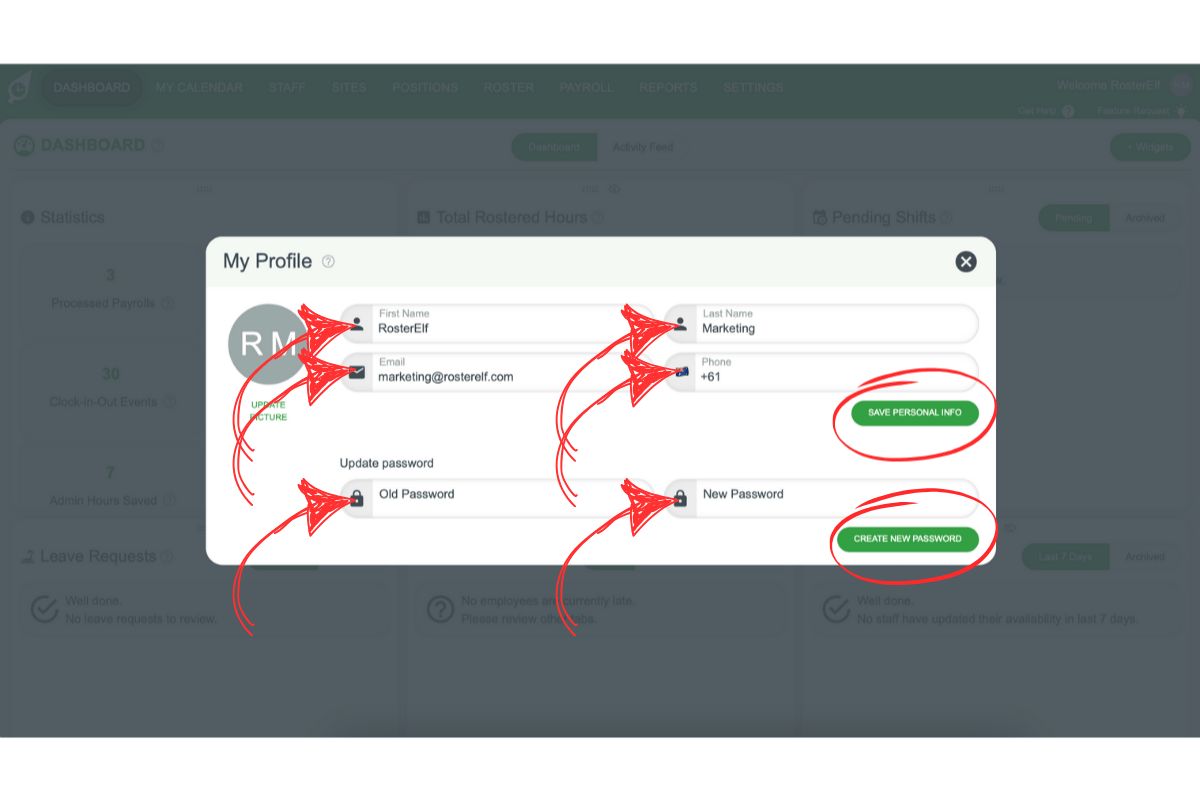
3. Update owner's details
You can update the owner’s details, including their email address, to transfer account ownership to a new user.
3.1 enter new owner information
3.1.1 Replace the current owner’s details with the new owner’s information.
3.1.2 Confirm the email address for accuracy.
4. Update account information
Accessing the Account Info tab allows you to update additional account details. This ensures all records are current and reflect the new owner’s information.
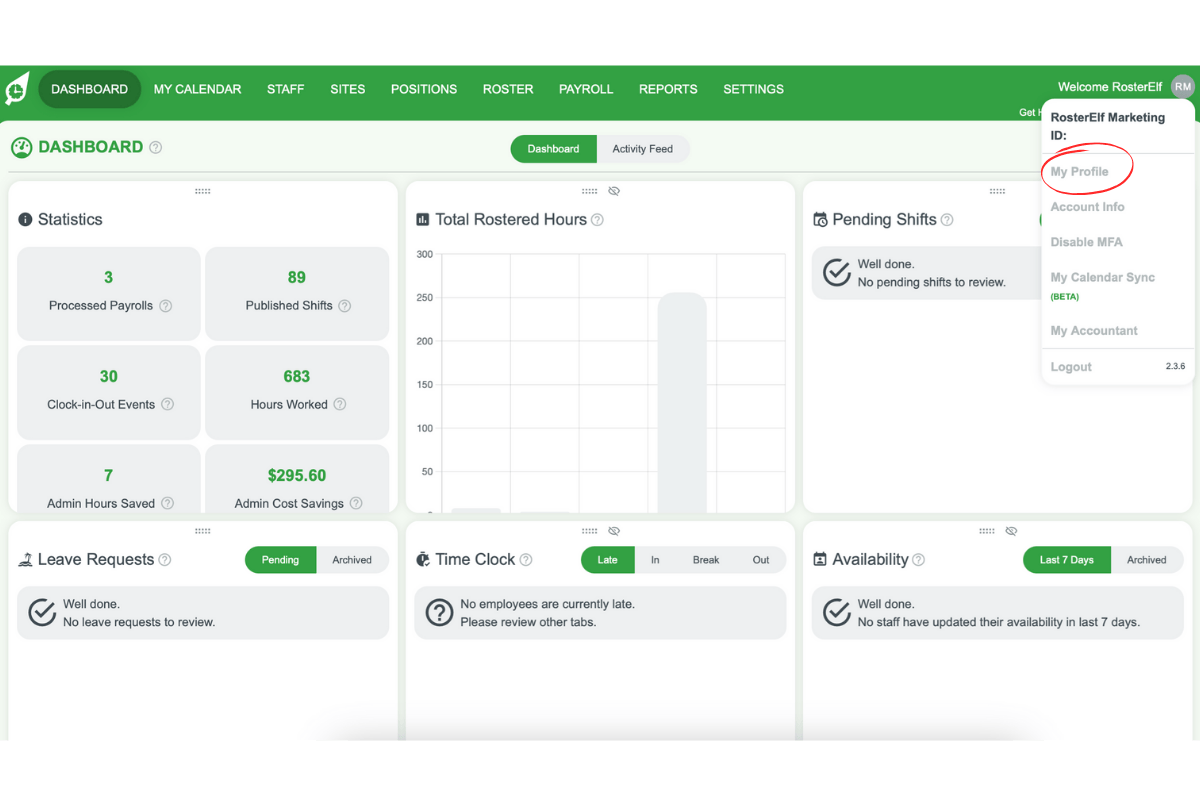
4.1 Go to account info
4.1.1 Click on your account name in the top-right corner.
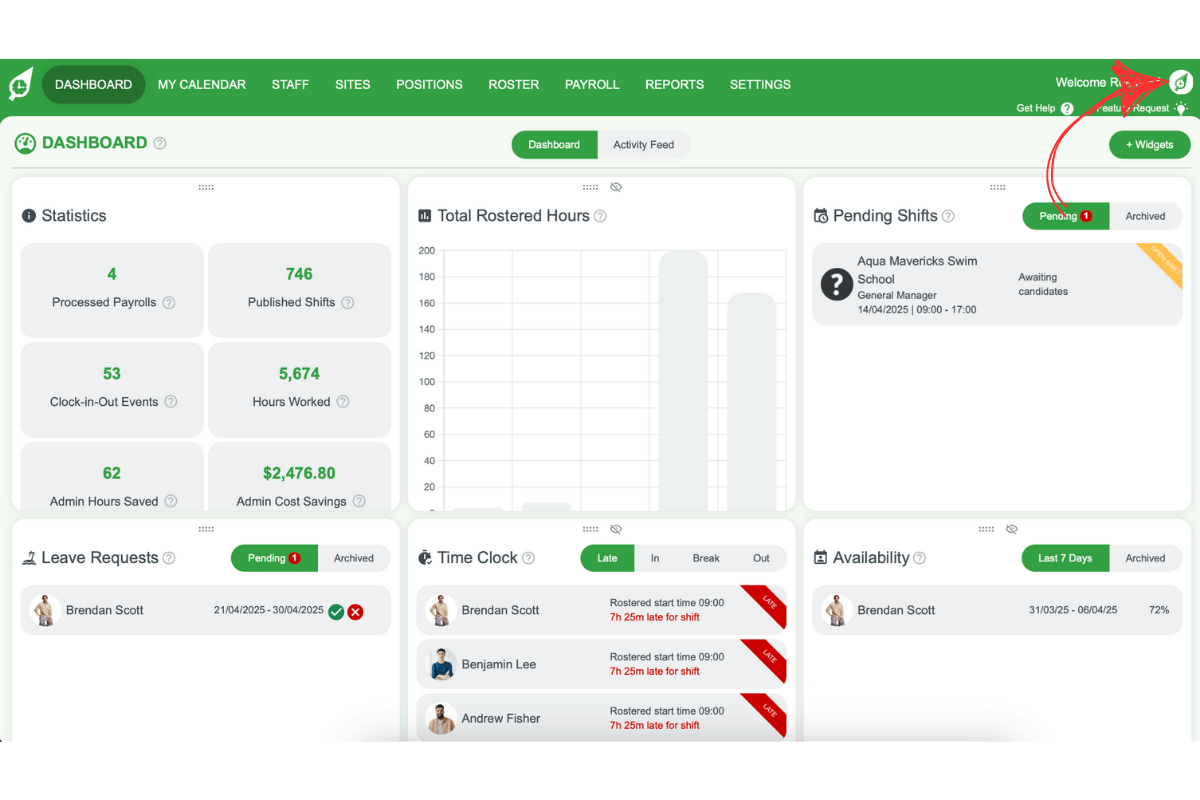
4.1.2 Select Account Info from the dropdown menu.
4.2 edit account information
4.2.1 Review the current account details.
4.2.2 Update any necessary fields with the new owner’s details.
5. Update billing information
Updating billing information is essential to ensure that future invoices are sent to the new account owner.
5.1 change billing details
5.1.1 Navigate to the Billing tab.
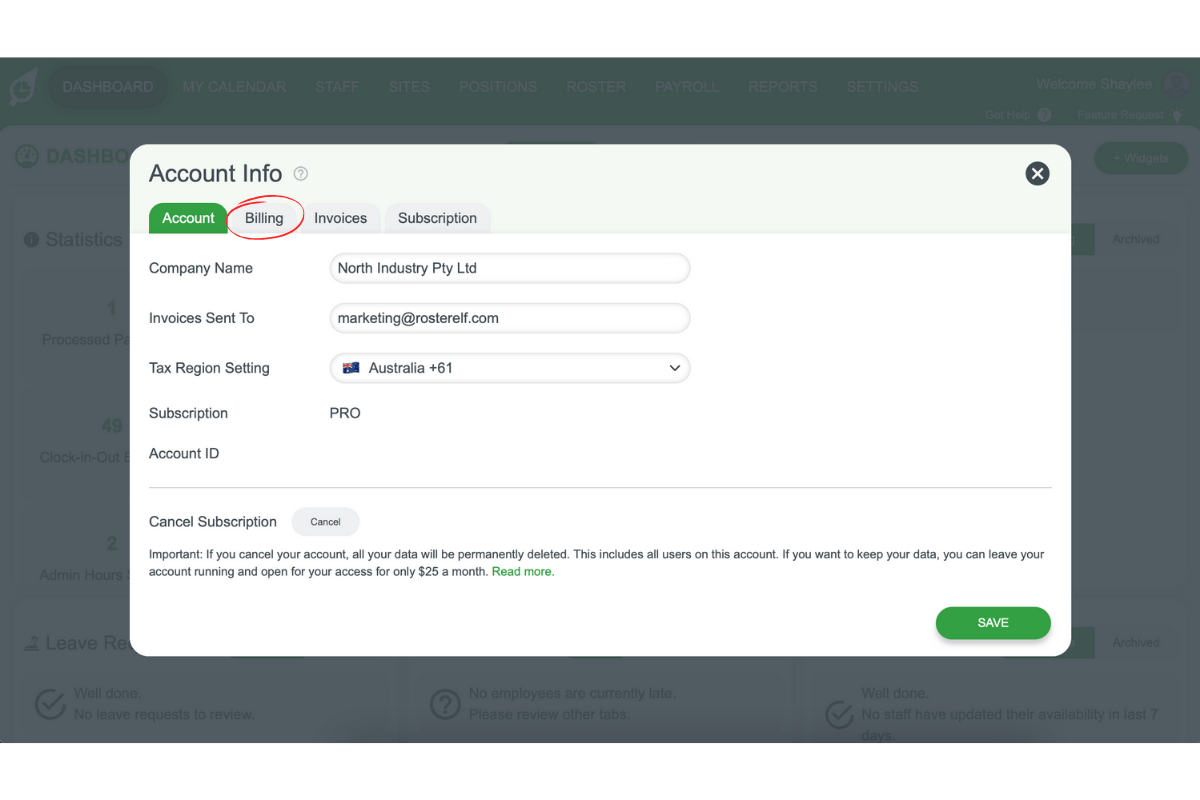
5.1.2 Update the invoicing details with the new owner’s information.
Tips for a smooth transition
- Double-check all updated details for accuracy
- Ensure the new owner has received their login details
- Keep a record of the changes for reference
Frequently asked questions
1. How do I change the account owner in RosterElf?
Log in as the current owner, access the Staff tab, select the owner’s staff card, update their details with the new owner’s information, and adjust the account and billing details accordingly.
2. Why is it important to log in as the current account owner?
Logging in as the current account owner ensures that only authorised users can change the account ownership. This step maintains the security of sensitive account information.
3. Where can I find the Staff tab in RosterElf?
The Staff tab is located in the top menu of RosterElf. Navigate there to view and manage the current owner’s details, which is necessary for transferring ownership.
4. What information do I need to update for the new account owner?
You need to update the new owner’s details, such as their name and email address, in the staff card, account info, and billing details.
5. How can I ensure a smooth transition to the new account owner?
Double-check all updated details for accuracy, make sure the new owner has received their login credentials, and keep a record of the changes made.