Staff availability and leave overlay on the roster
In this article, we’ll explain how to use the Staff Availability and Leave Overlay feature when rostering. This feature helps ensure that you accurately consider each team member’s availability and leave when scheduling shifts. By following this guide, you’ll learn to identify staff availability at a glance on the roster, enhancing your rostering accuracy and efficiency.
1. Enabling the availability overlay
This section covers how to activate the Staff Availability and Leave Overlay feature on the roster. Once enabled, this feature allows you to instantly view your staff’s availability and leave information directly on the roster screen, making it easier to schedule shifts accordingly.
1.1 activating the overlay
Click the Availability button.
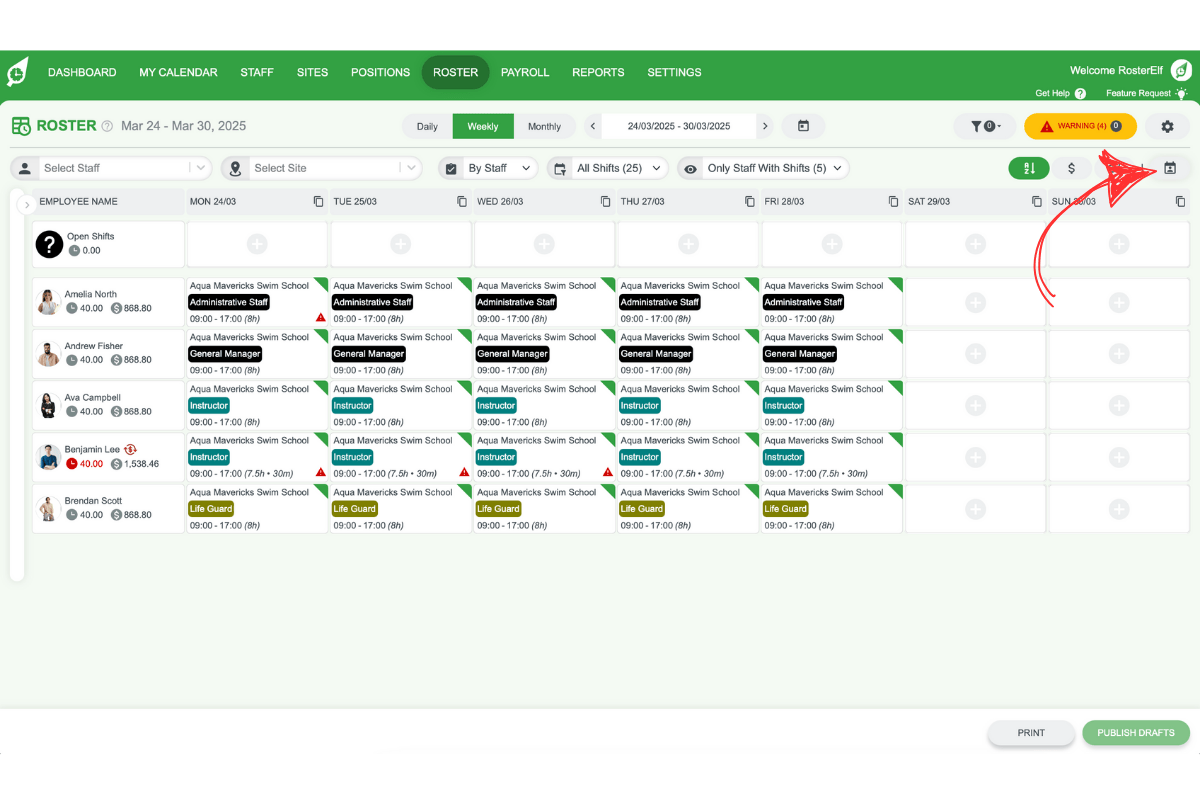
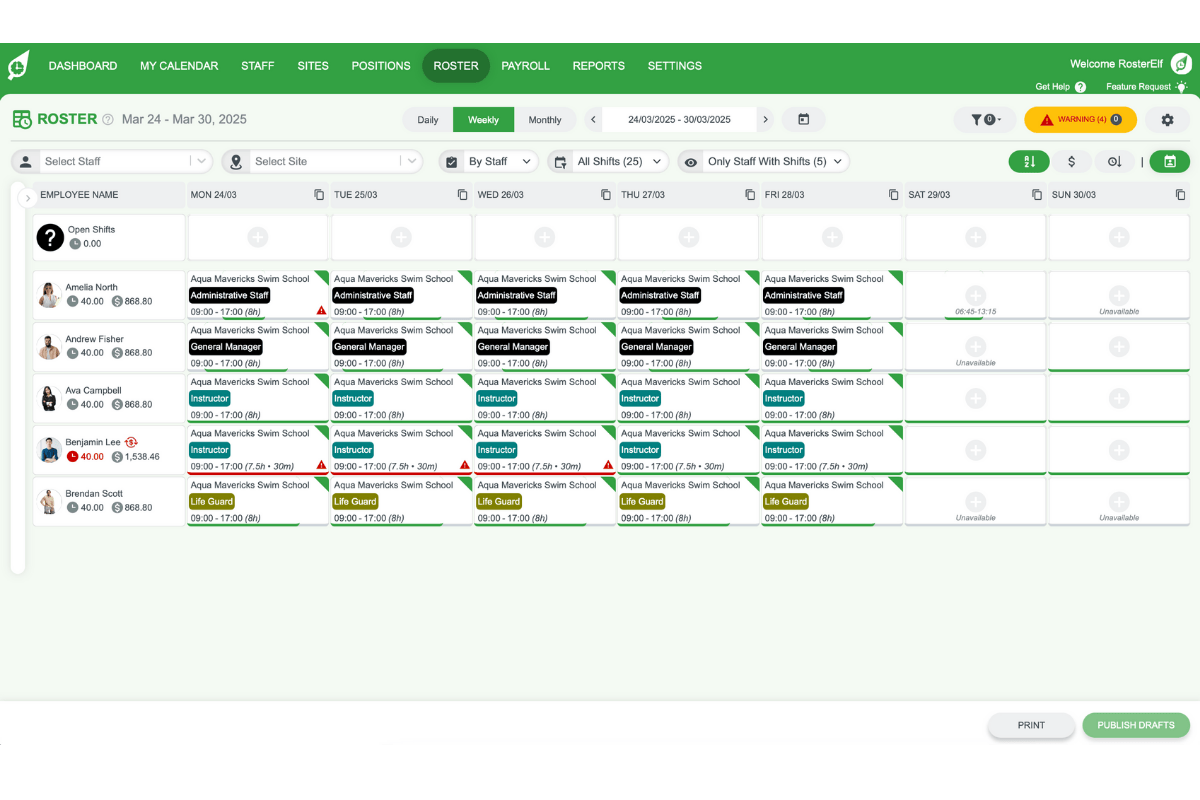
The availability and leave overlay will appear on the roster screen.
2. Weekly and monthly views
In weekly and monthly views, the overlay displays availability and leave with simple visual indicators. This section outlines how to interpret the overlay, so you can easily identify each employee’s availability.
2.1 full availability
A green line appears across the roster cell, covering the entire shift.
No time is shown under the plus button.
2.2 partial availability
A green line only appears for the available hours of the shift.
The available timeframe is shown under the plus button.
2.3 unavailable
No line appears on the roster cell.
Unavailable is written under the plus button.
2.4 On leave
A red line runs across the roster cell.
Leave is displayed under the plus button.
3. Daily view details
The daily view provides detailed insights into each shift, showing the exact availability and leave for each team member. This view is especially useful for identifying overlapping shifts or shifts scheduled during unavailable periods.
3.1 availability
Full or partial availability shows as green shading over the available hours.
3.2 unavailable
No shading appears for unavailable hours.
3.3 On leave
Red shading covers the time period marked as leave.
3.4 shifts on the roster
Each shift is displayed on top of the shading.
Overlapping shifts and shifts during leave are easily identifiable.
Frequently asked questions
1. How do I enable the availability and leave overlay on the roster?
To enable the availability and leave overlay, click the Availability button on your roster screen. This action will display your team’s availability and leave status directly on the roster.
2. What do the green and red lines mean in the availability overlay?
In the overlay, a green line signifies availability: a full green line for complete availability and a partial line for limited hours. A red line indicates the team member is on leave.
3. How can I tell if a staff member is unavailable for a shift?
If a staff member is unavailable, no line will appear on the roster cell, and Unavailable will be shown under the plus button.
4. What does the daily view show for availability and leave?
The daily view provides a detailed look, with green shading for available hours and red shading for leave periods, allowing for clear visibility of availability for each shift.
5. How do overlapping shifts appear on the roster?
Overlapping shifts are displayed on top of the availability or leave shading, making it easy to identify scheduling conflicts directly on the roster.