How to edit or delete leave in the dashboard
Learn how to efficiently edit or delete leave entries in your dashboard. This guide explains the steps to make adjustments or remove leave entries, ensuring accuracy and alignment with systems like Xero. For a quick guide to who can delete leave (managers, staff on a browser, or via the mobile app), see manage leave requests.
1. Editing leave in the dashboard
This section covers the steps to edit leave entries using the dashboard. You’ll learn how to update dates, change leave types, and confirm changes with Xero if needed.
1.1 accessing the leave to edit
1.1.1 Click on the dashboard.

1.1.2 Open the archived section of your leave widget.
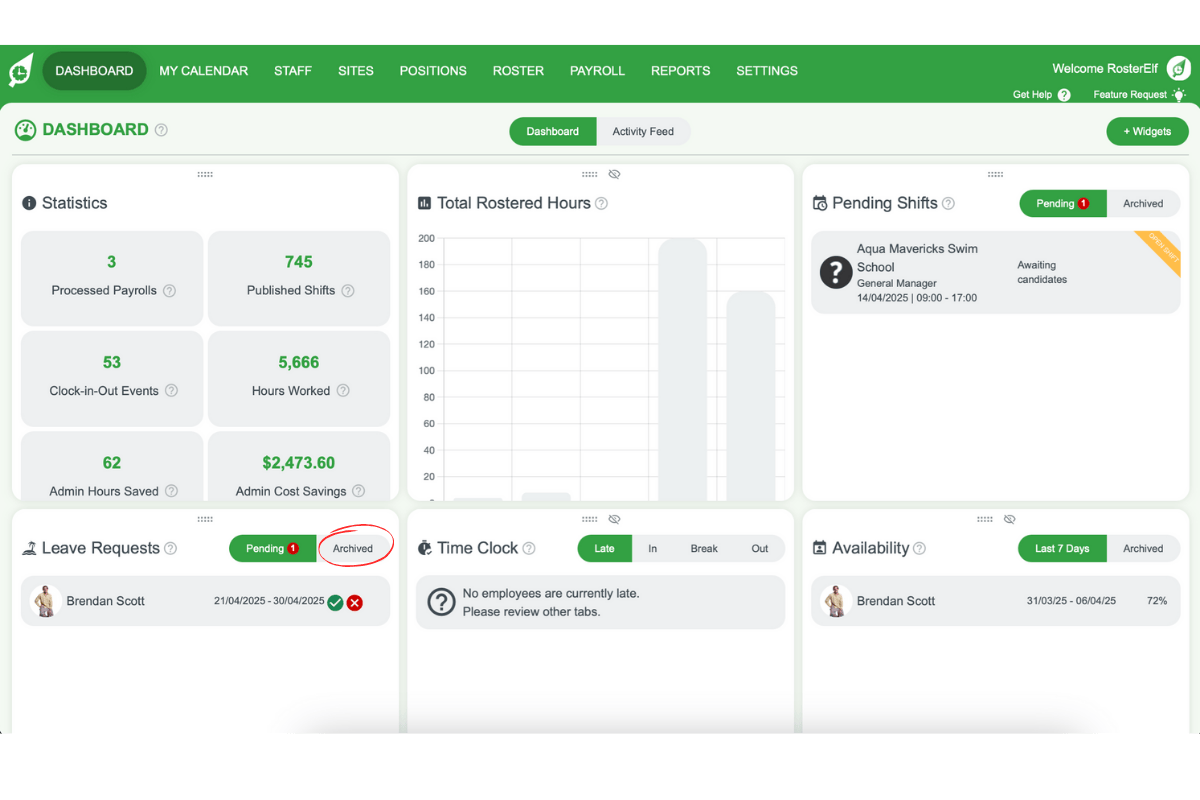
1.1.3 Click on the leave you’d like to amend.

1.2 making changes to the leave
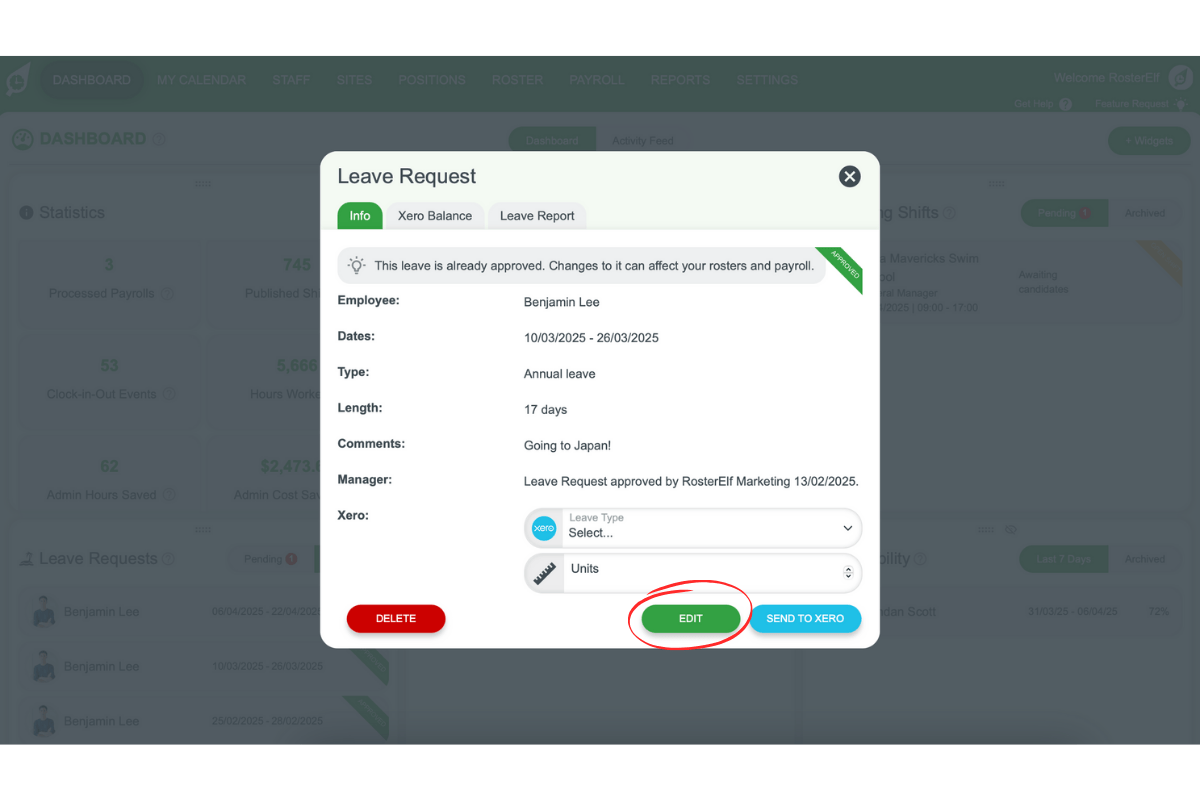
1.2.1 Click edit to open the edit window.
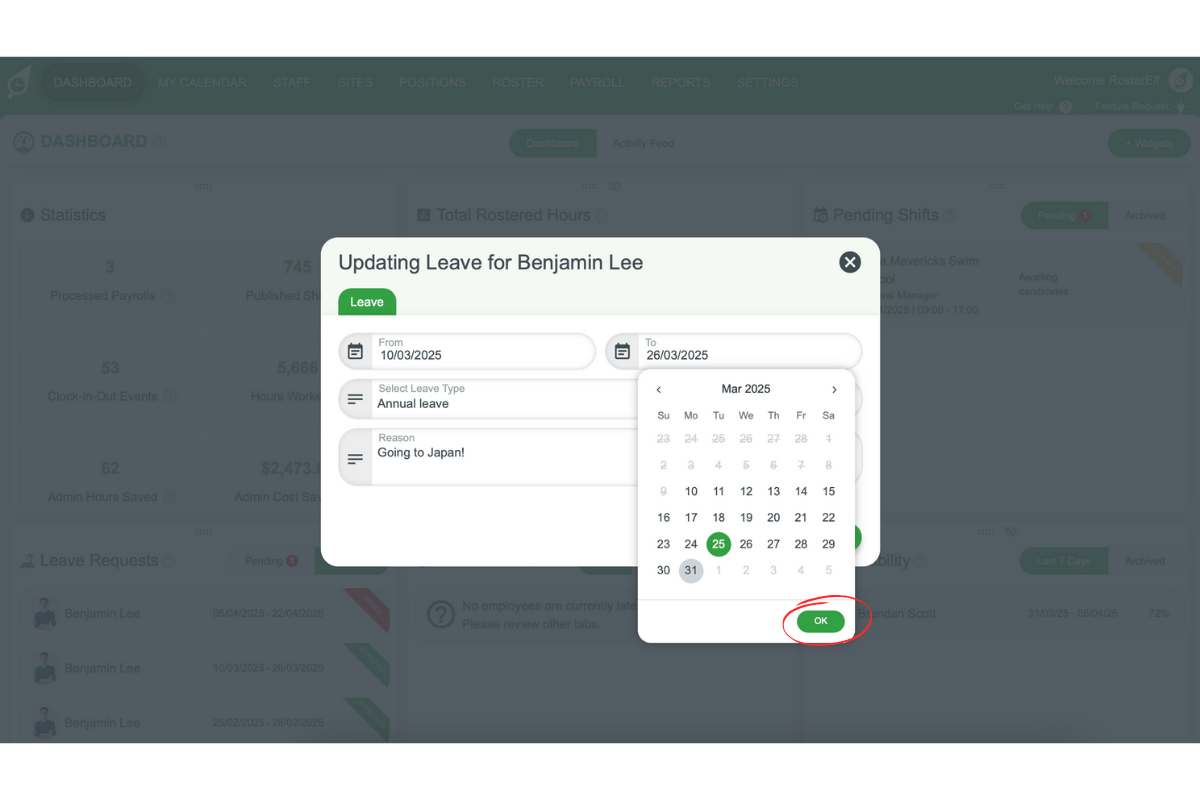
1.2.2 Select the new dates and leave type and hit save.
1.2.3 Confirm the changes if the leave has been sent to Xero.
2. Deleting leave in the dashboard
This section explains how to delete leave entries permanently from your dashboard.
2.1 accessing the leave to delete
2.1.1 Click on the dashboard.

2.1.2 Open the archived section of your leave widget.

2.1.3 Click on the leave you’d like to delete.

2.2 deleting the leave entry
2.2.1 Click delete to open the delete confirmation.
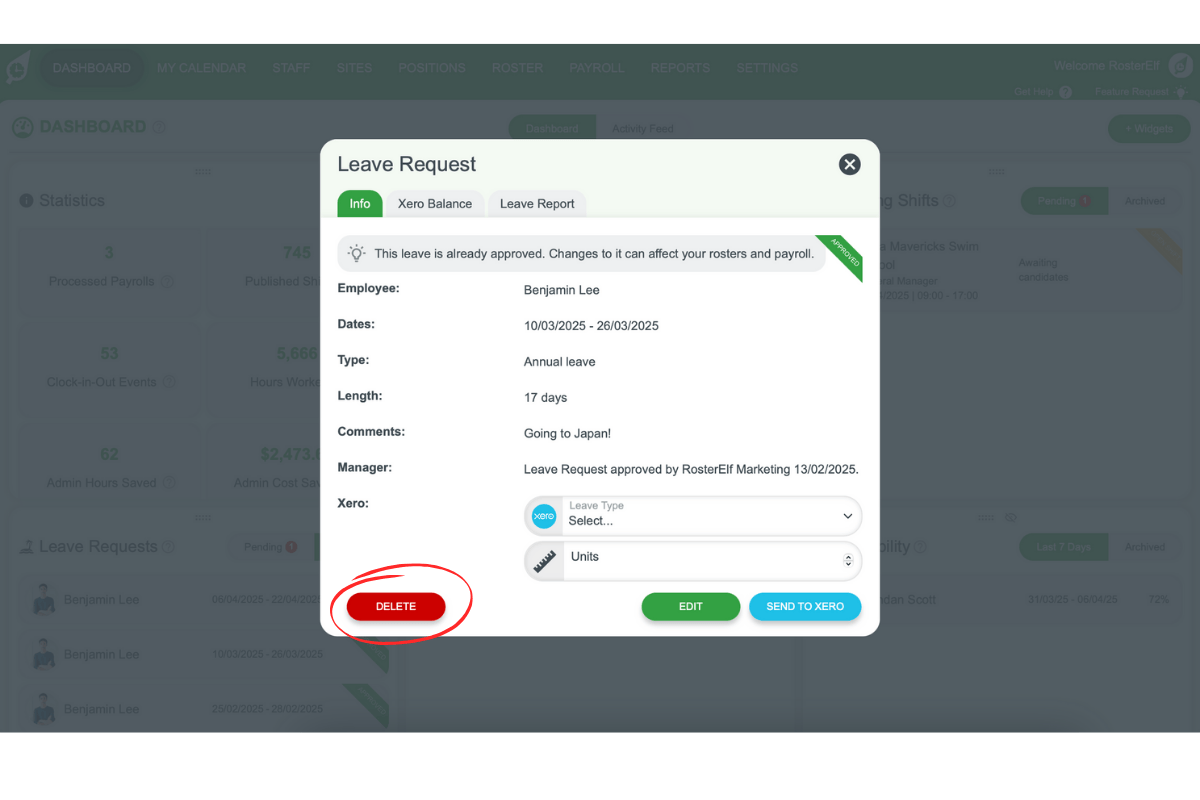
2.2.2 Hit yes, delete to confirm.
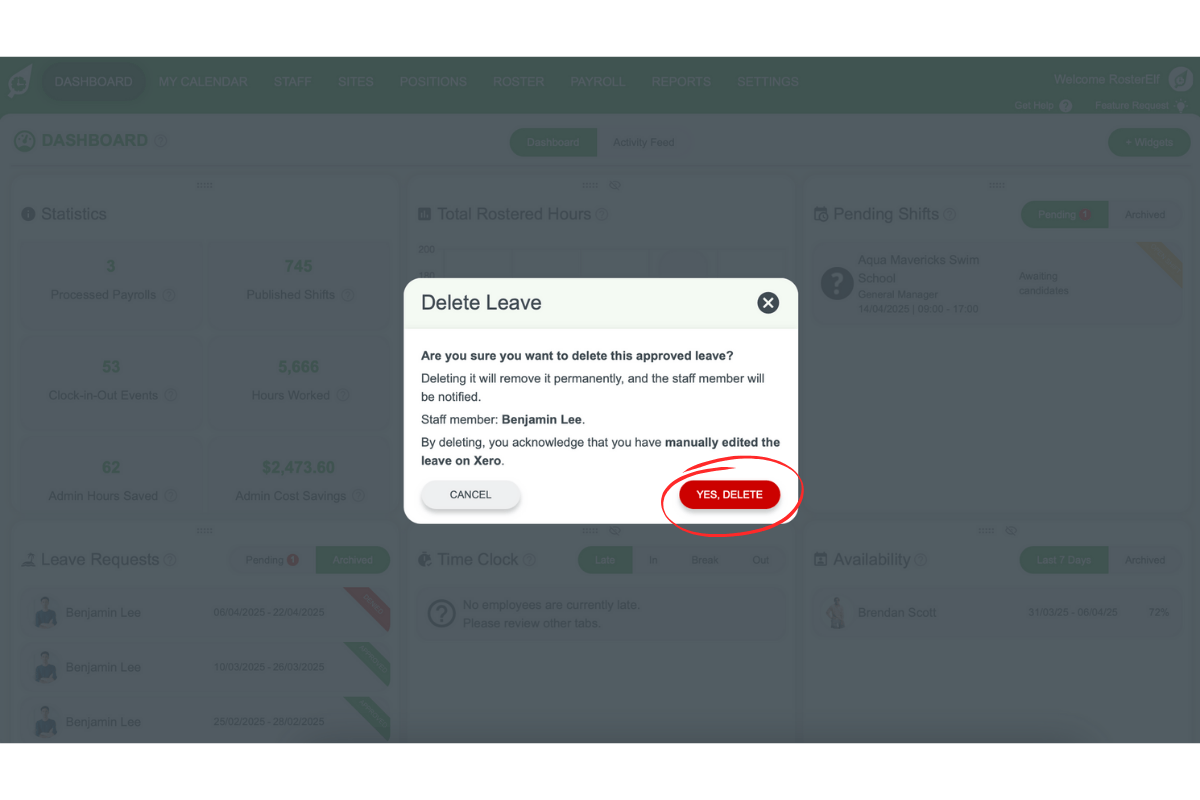
Once confirmed, the leave entry is permanently deleted.
Frequently asked questions
1. How do I edit a leave entry in the dashboard?
To edit a leave entry, click on the dashboard and access the archived section of your leave widget. Select the leave you want to amend, click edit, update the dates or leave type, and confirm the changes if they’ve been sent to Xero.
2. Can I change the leave type after submitting it to Xero?
Yes, you can change the leave type after submission. Access the leave entry, click edit, select the new leave type, and confirm the updates to ensure Xero reflects the changes.
3. How do I permanently delete a leave entry?
To delete a leave entry, access the dashboard and locate the archived section of your leave widget. Select the leave entry, click delete, and confirm by selecting yes, delete. The entry will be removed permanently.
4. What happens if I delete a leave entry synced with Xero?
If you delete a leave entry synced with Xero, the change won’t automatically reflect in Xero. You may need to manually update Xero to ensure your records stay consistent.
5. Where can I find leave entries to edit or delete?
You can find leave entries in the archived section of your leave widget on the dashboard. From there, you can select the specific entry to edit or delete.