How to use chat in the web app
This article explains how to use chat in the RosterElf web app. You will learn how to activate chat, create and edit channels, send direct messages, and manage notifications. By the end, you will know how to manage conversations in both group channels and one-to-one direct chats.
1. Activating chat in the web app
Chat must be activated before you can use it. This section explains how to enable chat for your account.
1.1 enable chat in settings
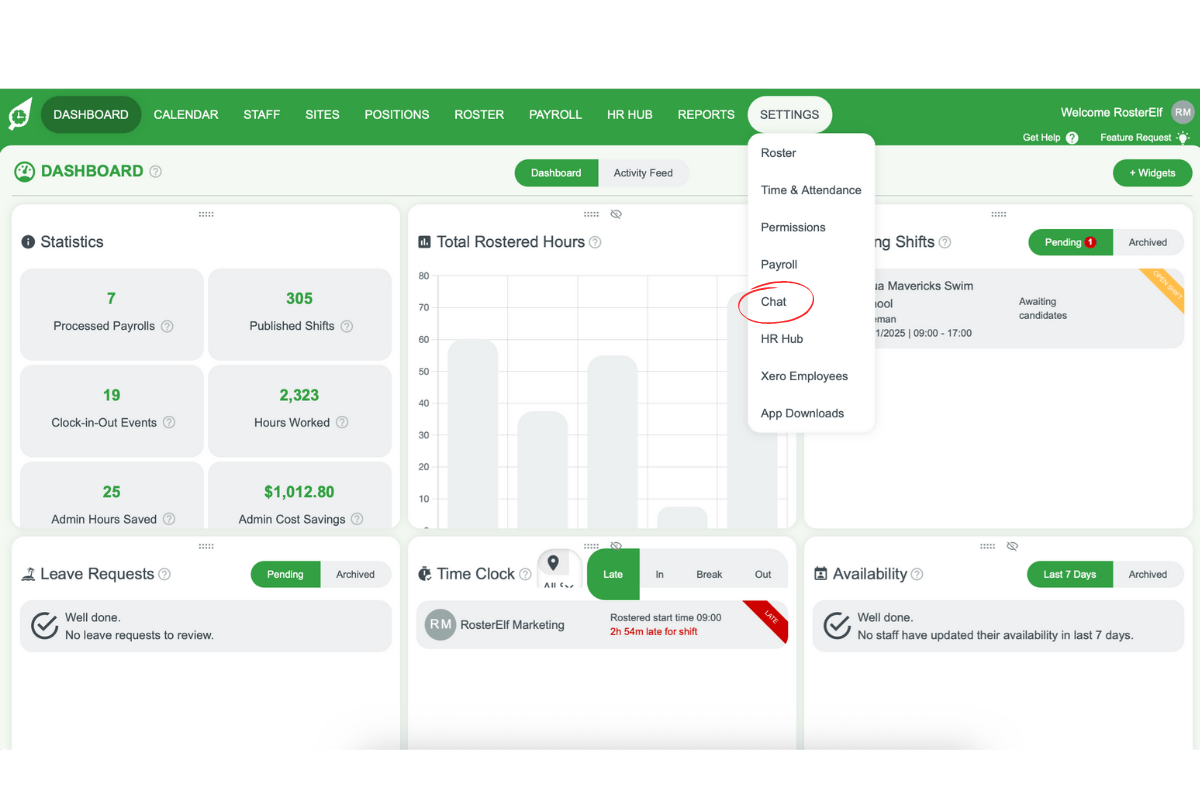
1.1.1 Click Settings in the top-right corner of the screen.
1.1.2 Select Chat from the dropdown menu.
1.1.3 In the chat modal, toggle Enable chat. Green = on, grey = off.
1.1.4 Click Save at the bottom right.
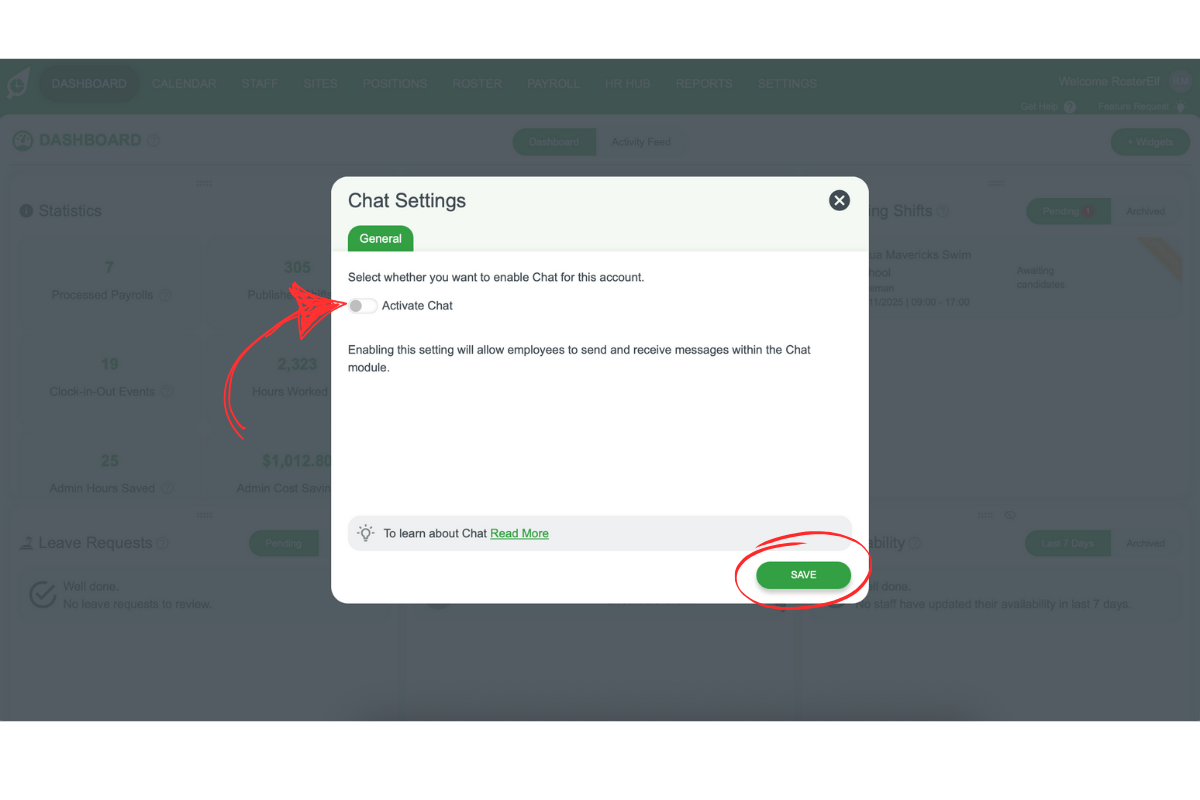
1.1.5 A confirmation message will appear at the bottom right.
2. Managing permissions and notifications
Admins manage chat. This section explains what admins can do and how notifications work.
2.1 permissions
2.1.1 Only admins can create, edit, or delete channels.
2.2 notifications
2.2.1 Mute only silences notifications for the admin who enabled it.
2.2.2 All other channel members still receive notifications.
3. Creating and using channels
Channels let teams collaborate. This section explains how to create, use, and edit channels.
3.1 create a channel
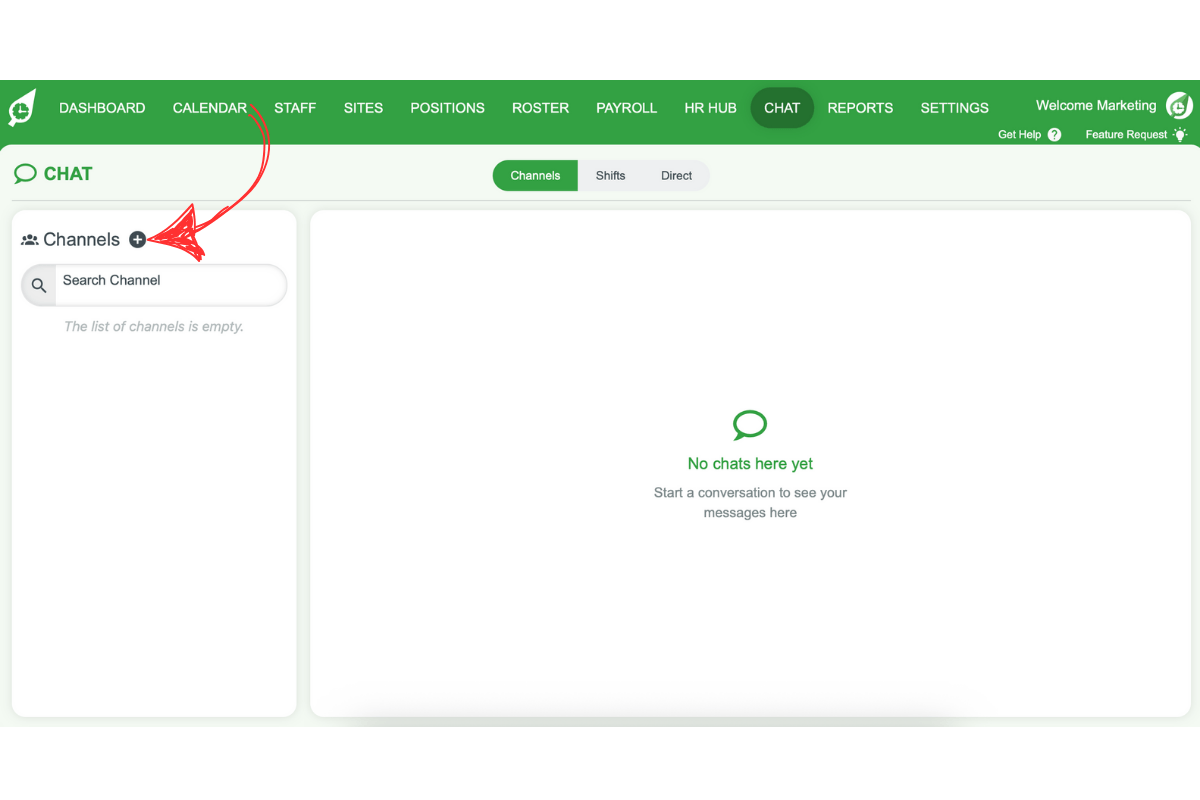
3.1.1 In the top menu, click Chat.
3.1.2 Click the + icon at the top left.
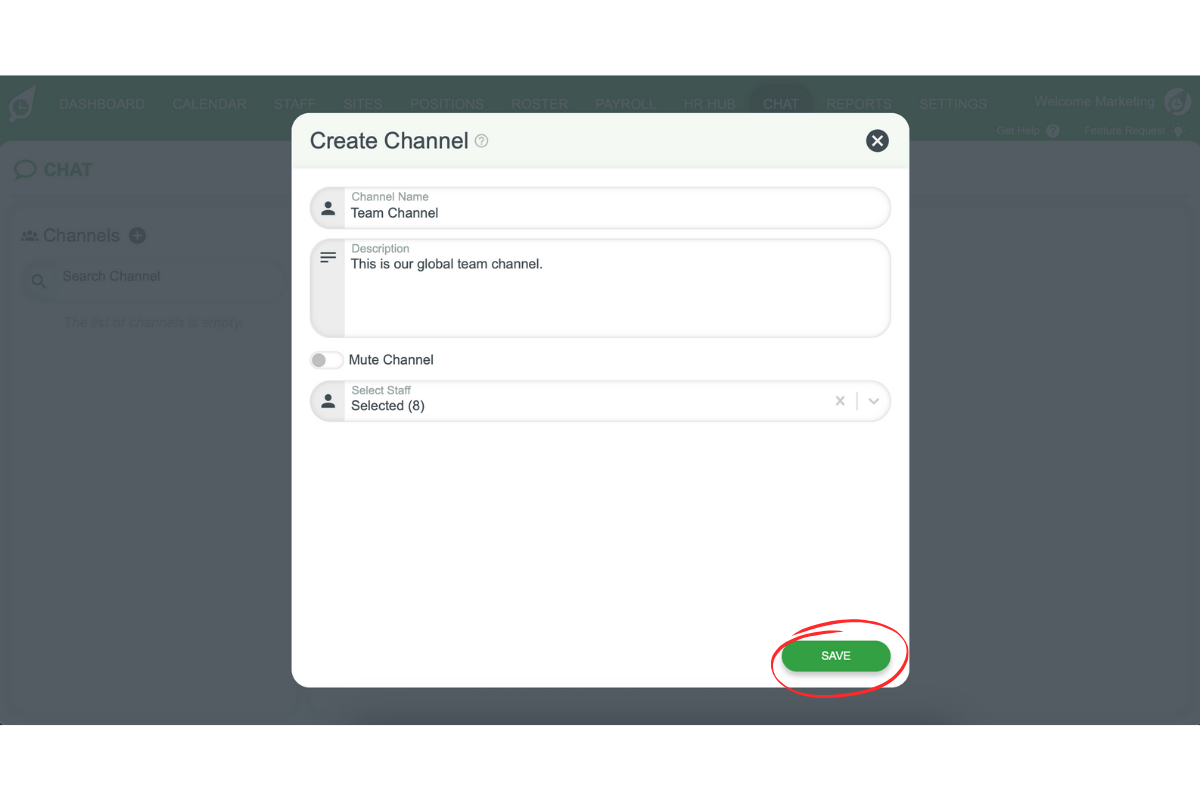
3.1.3 Enter a name and description.
3.1.4 Select staff to join the channel.
3.1.5 Click Save.
3.2 use a channel
3.2.1 Select the channel from the left panel.
3.2.2 Type a message and press Enter.
3.2.3 To upload files, click the Upload icon next to the chat field.
3.3 edit a channel
3.3.1 Hover over the channel and click the Pencil (edit) icon.
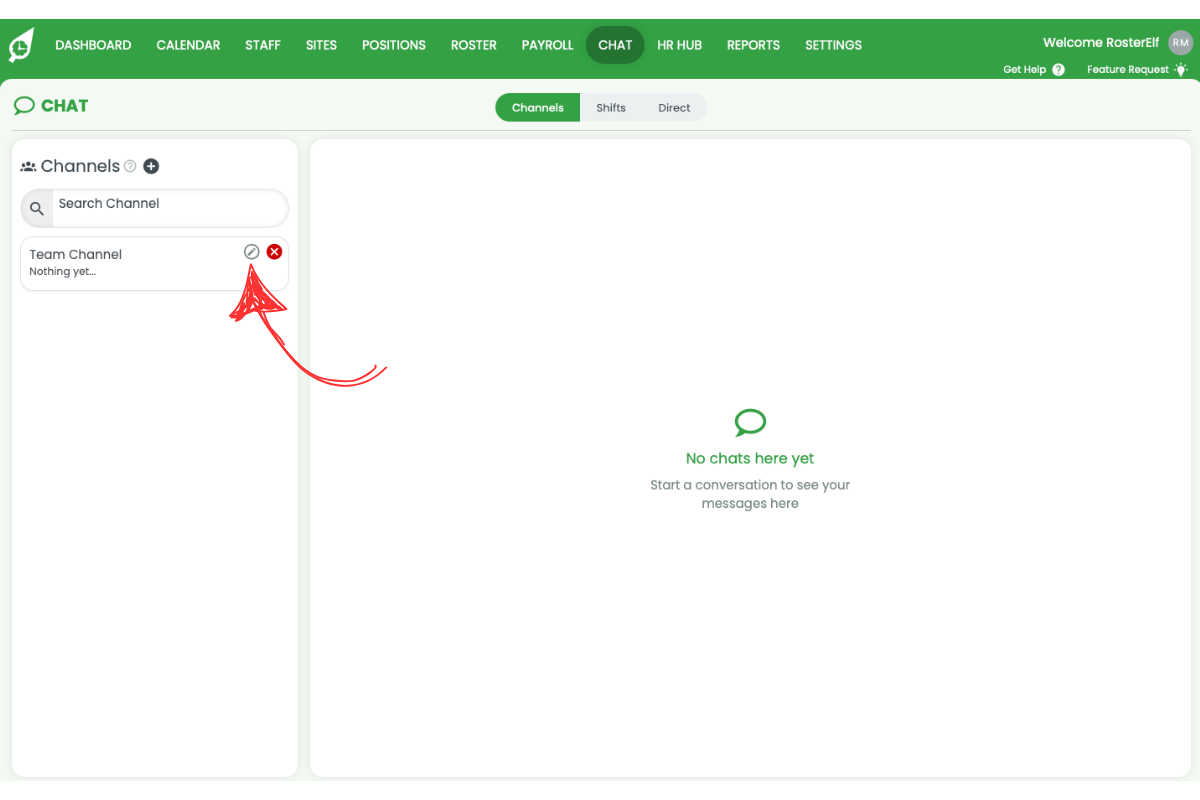
3.3.2 Update name, description, members, or mute settings.
3.3.3 Click Save.
3.4 delete a channel
3.4.1 Hover over the channel and click the Delete (x) icon.
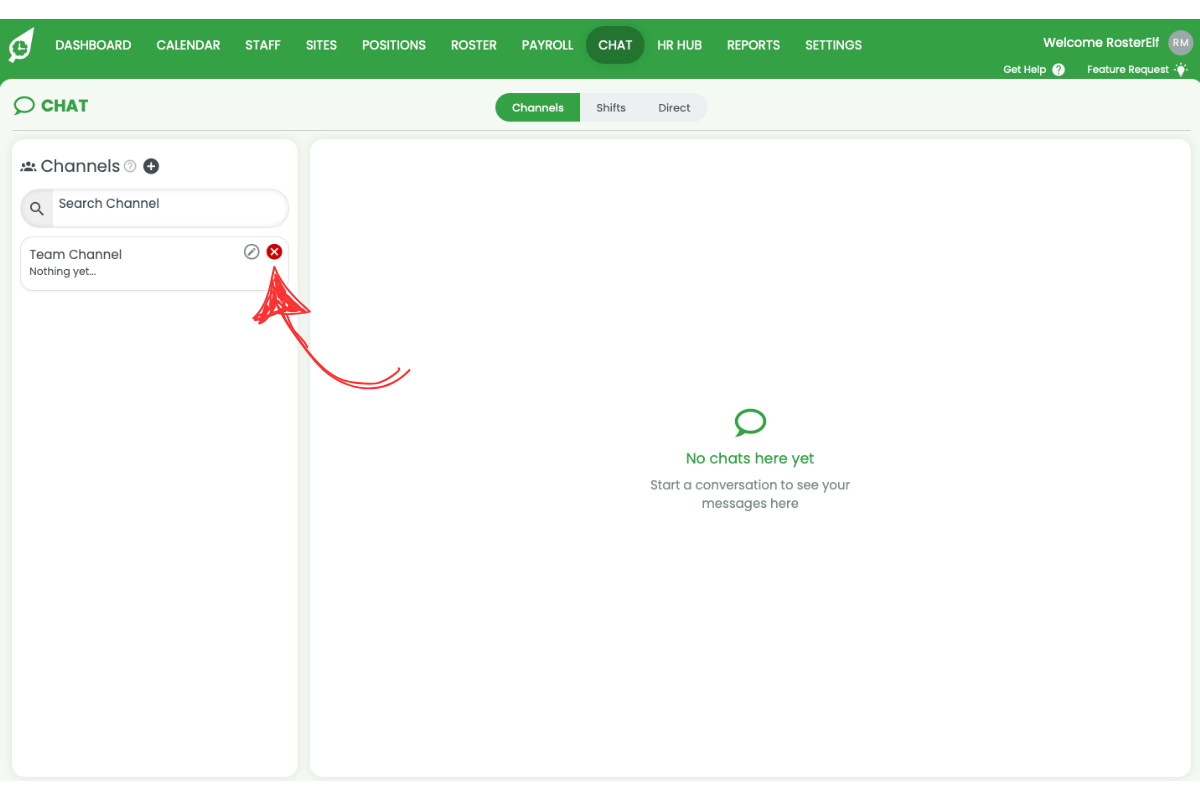
3.4.2 Confirm deletion.
4. Sending direct messages
Direct messages let you chat one-to-one with staff.
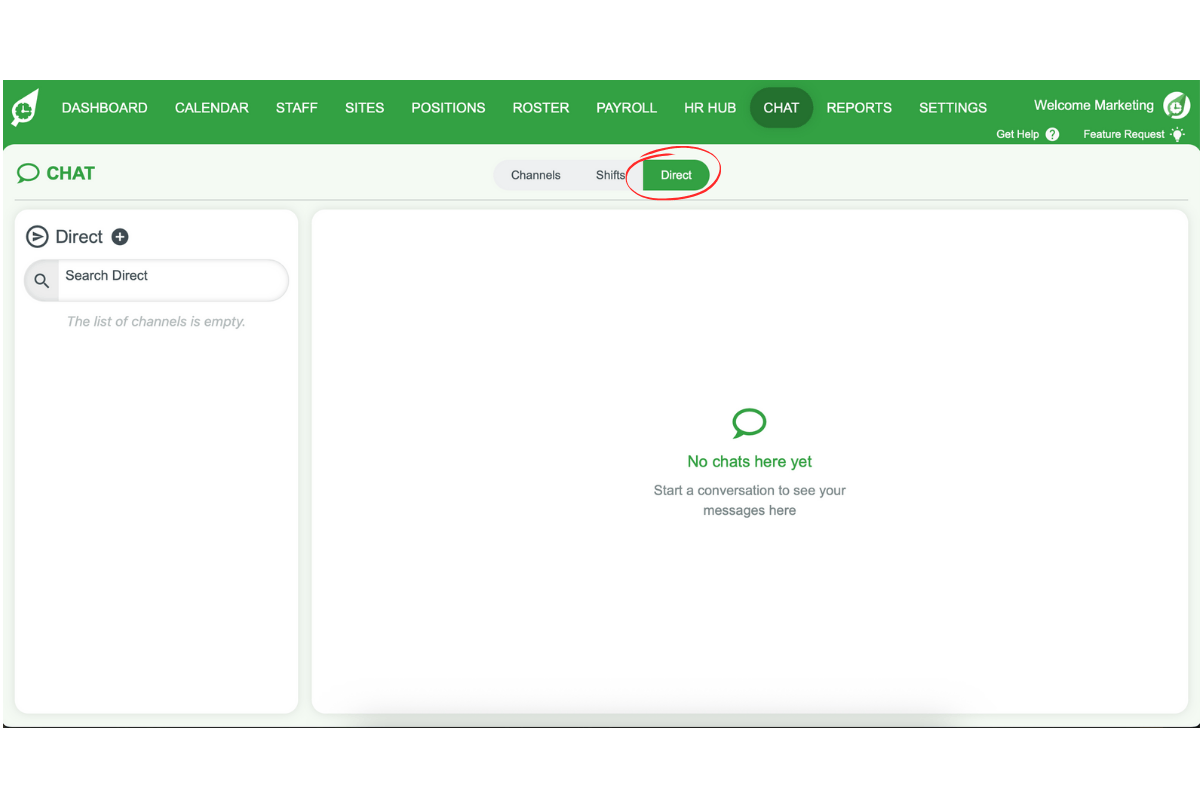
4.1 start a direct message
4.1.1 In the chat interface, click Direct.
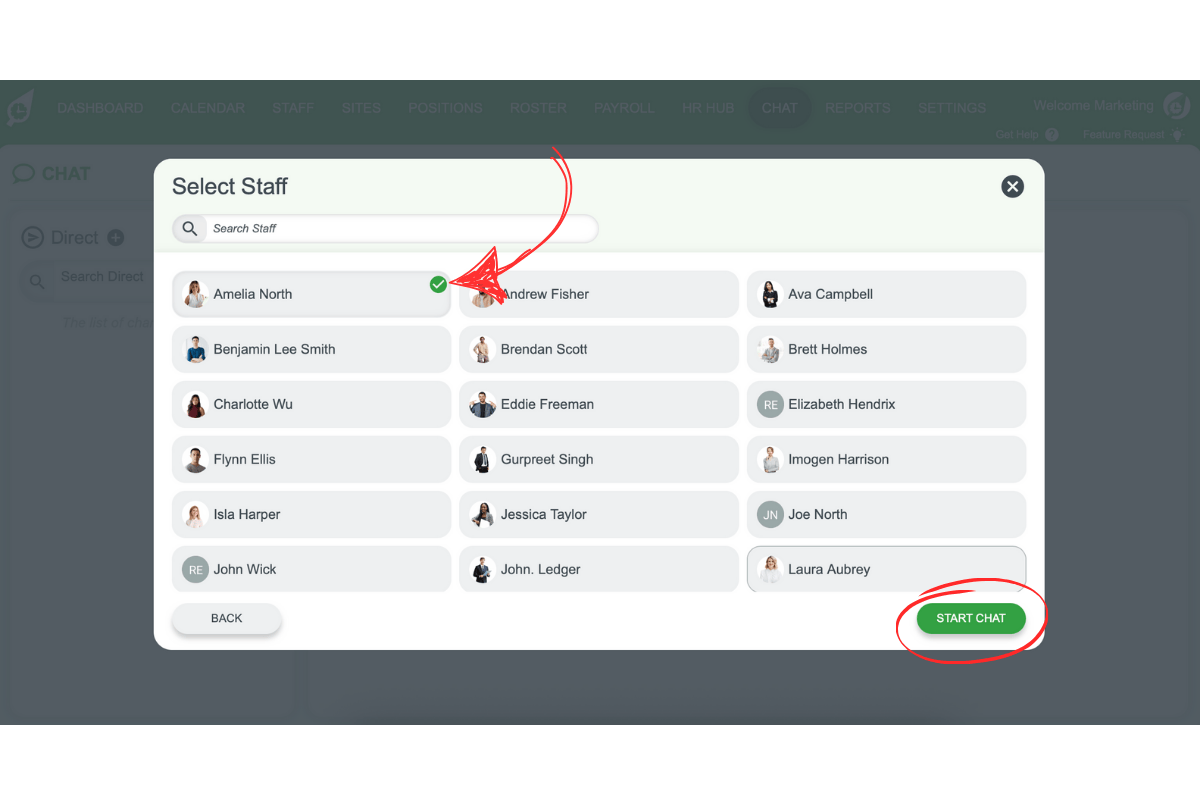
4.1.2 Click the + icon.
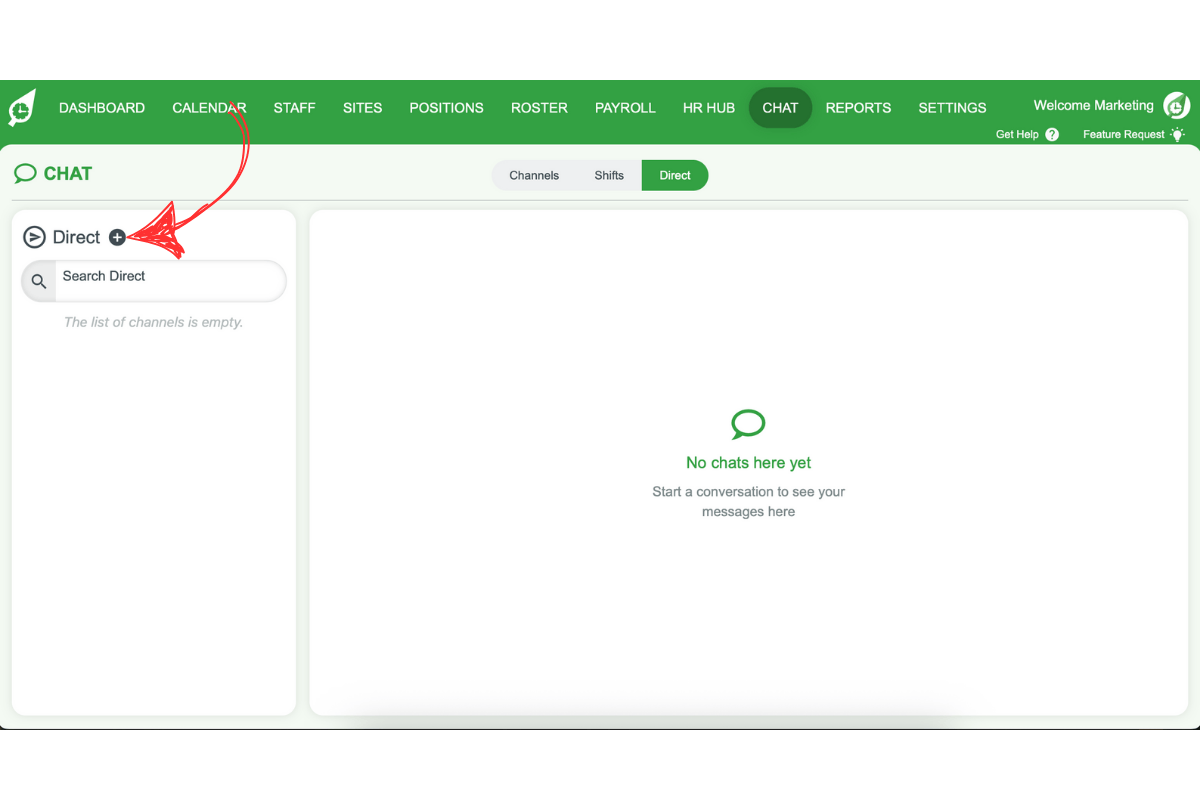
4.1.3 Select a staff member or use the search bar.
4.1.4 Click Start chat.
4.1.5 Use it like a channel (messages, uploads, etc.).
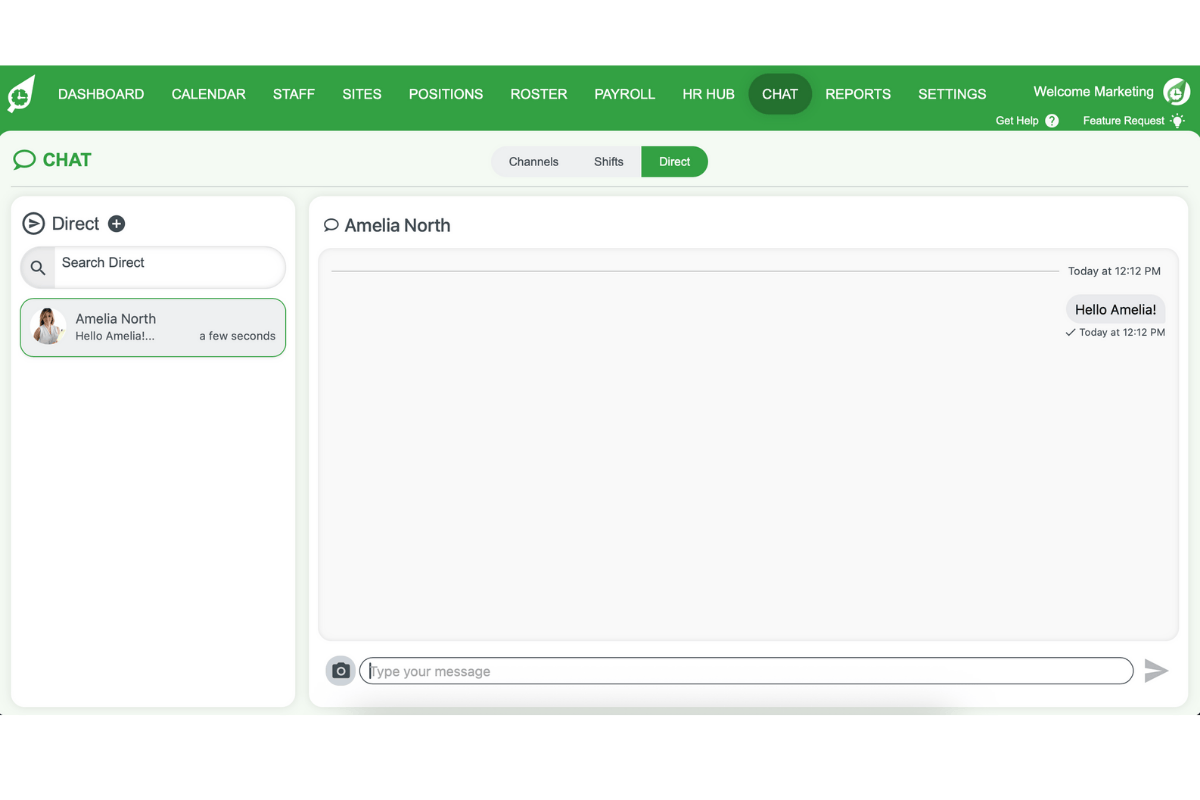
Note
Once started, use direct chat like a channel for messaging and uploads.
Frequently asked questions
1. How do I activate chat in the web app?
Click Settings, select Chat, toggle Enable Chat, then click Save.
2. Can staff create their own channels?
No. Only admins can create, edit, or delete channels.
3. What happens when I mute a channel?
Mute only stops notifications for you. Other members still receive notifications.
4. Can I upload documents and pictures in chat?
Yes. Use the upload icon next to the chat field to attach files and images.
5. Can I send direct messages in the web app?
Yes. Use the Direct tab to start one-to-one conversations with staff members.