Create chat channel for site or position
This article explains how to create a chat channel for a specific site or position in the RosterElf smartphone app. Using chat channels helps you keep communication organised and relevant. With site or position filters, you avoid staff receiving messages that don’t apply to their work, making communication faster and more effective.
1. Create a chat channel
Follow these steps to create a chat channel in the RosterElf smartphone app with site or position filters.
1.1 open chat in the app
1.1.1 Log in to the RosterElf smartphone app.

1.1.2 Press Chat from the main menu.

1.1.3 Tap the plus (+) symbol to start a new channel.

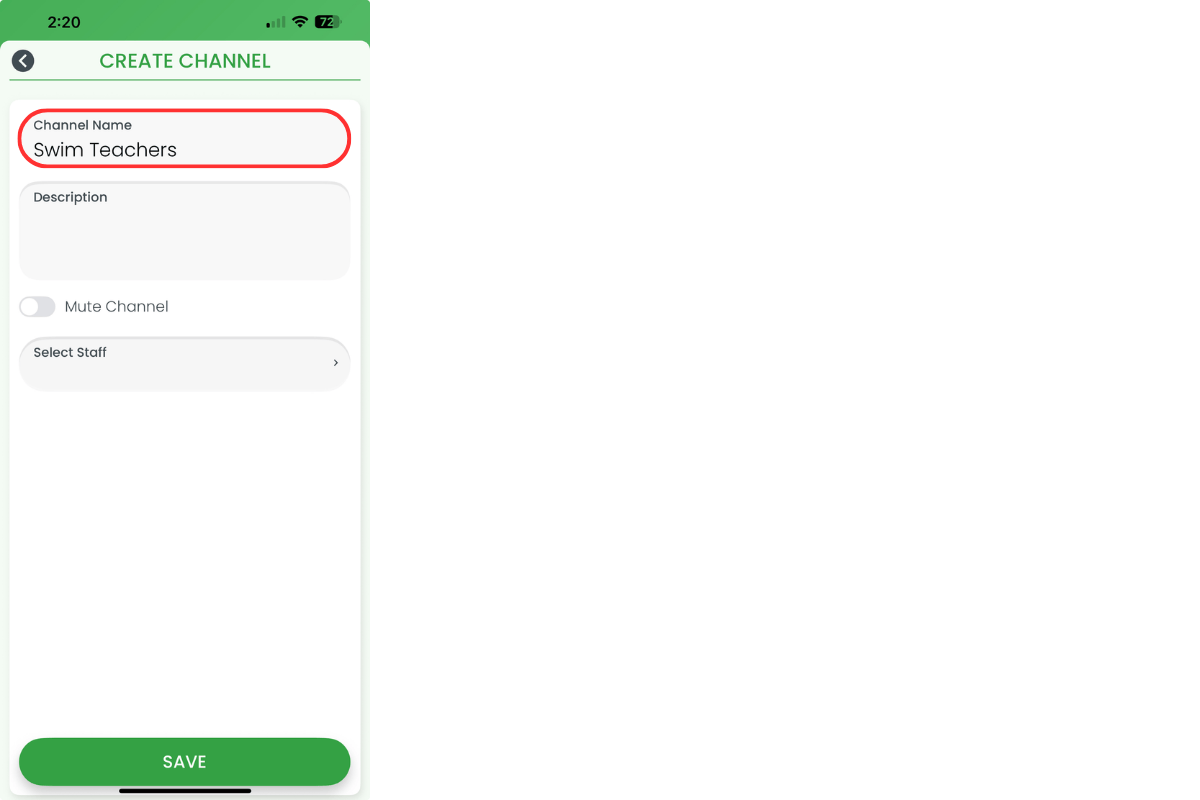
1.2 set up channel details
1.2.1 Enter a channel name.
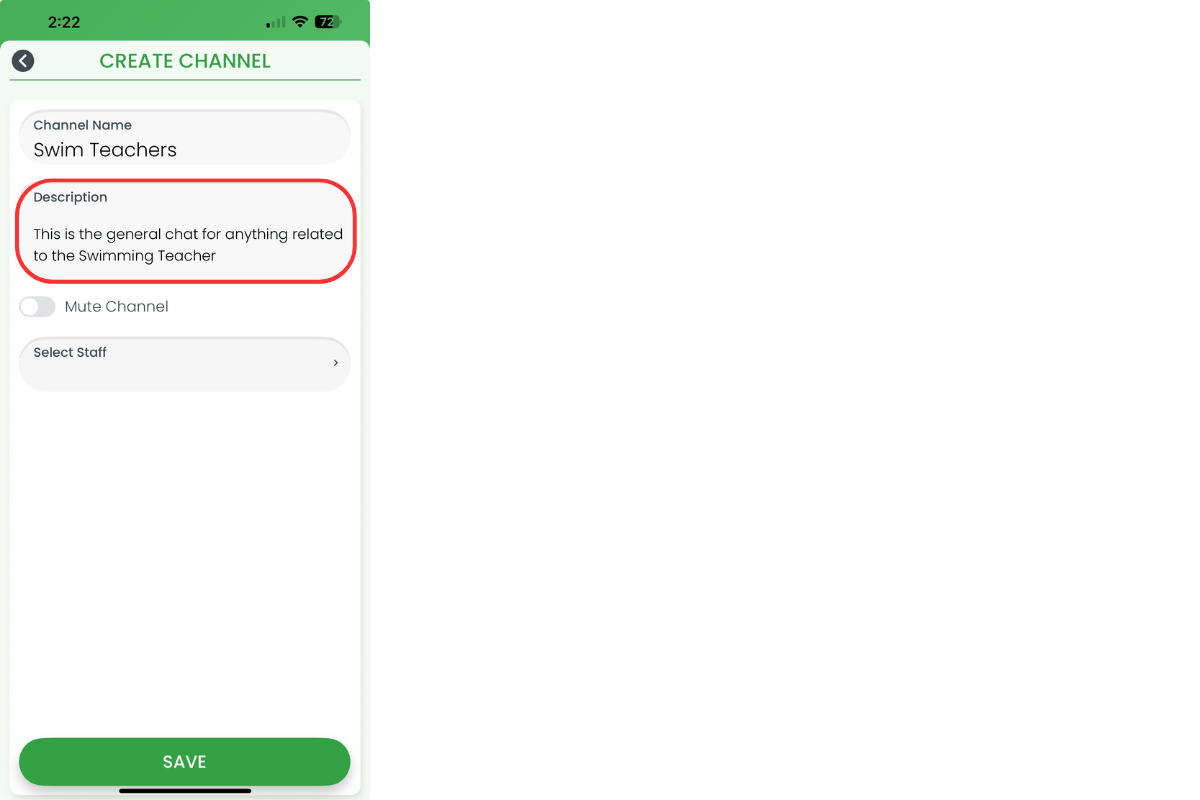
1.2.2 Add a channel description.
1.2.3 Select staff to include in the channel.

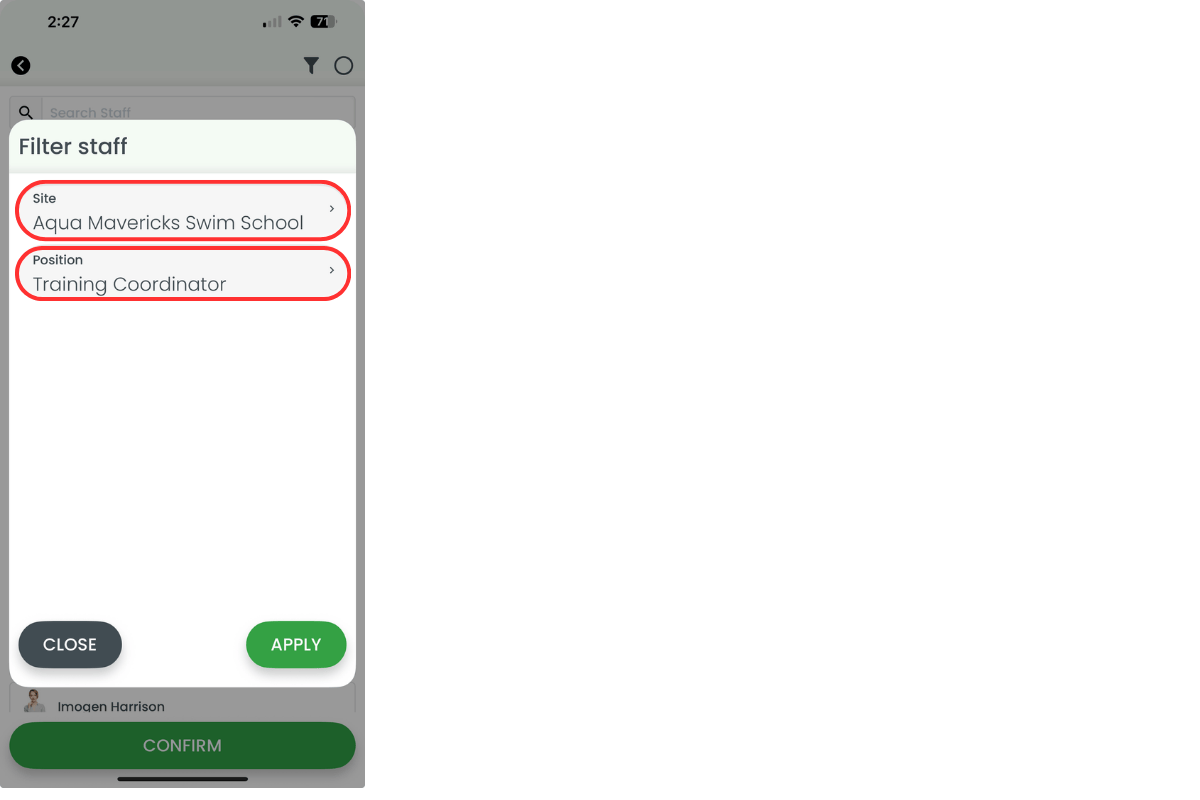
1.3 filter by site or position
1.3.1 Press the filter icon.

1.3.2 Select a site, a position, or both.
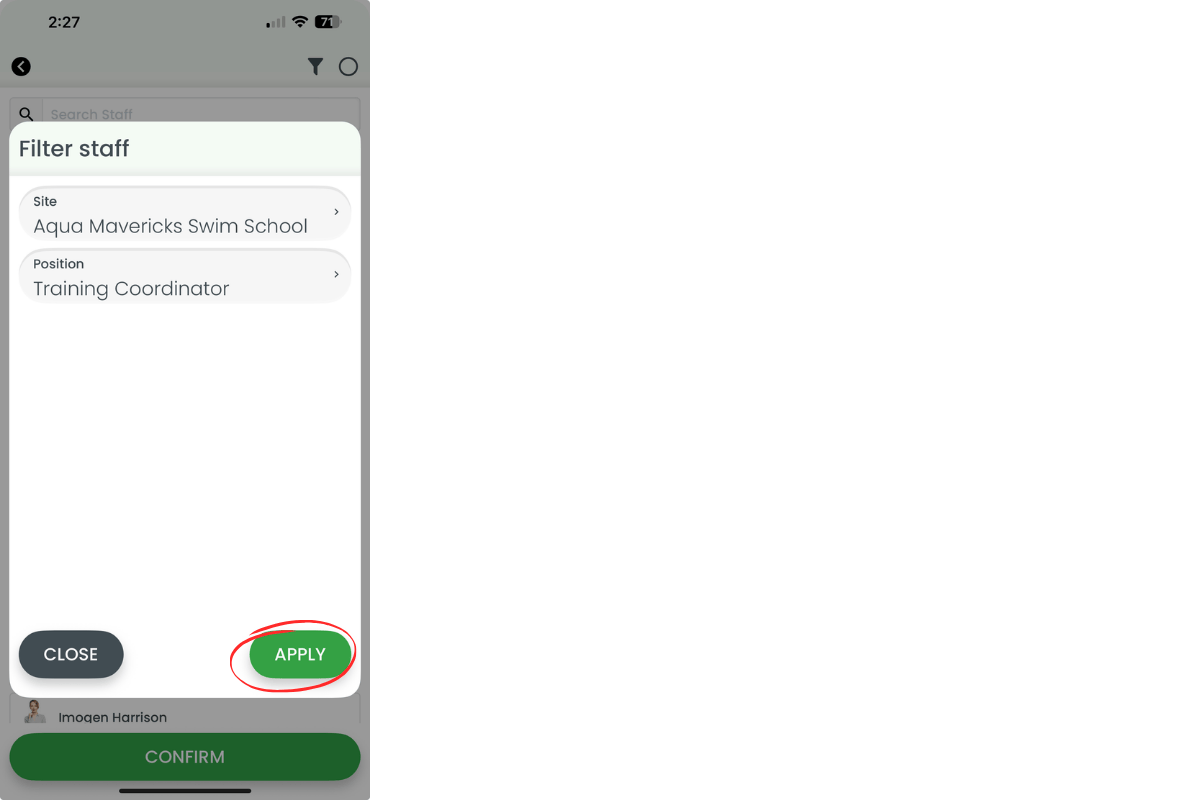
1.3.3 Press Apply.
1.3.4 Press the circle icon to select all staff.

1.3.5 Press Confirm.

1.4 save the new channel
1.4.1 Review the channel details.
1.4.2 Tap Save to finish creating the channel.

Note
Once complete, your staff will have a clear space for site or position-specific communication, reducing confusion and improving team efficiency.
Frequently asked questions
1. How do I create a chat channel for a site or position in RosterElf?
Log in to the RosterElf smartphone app, press Chat, and tap the plus (+) icon. Enter a channel name and description, select staff, then use the filter to choose a site, position, or both. Confirm and save to complete.
2. Why should I use site or position filters when creating chat channels?
Filters keep communication relevant. Staff only see messages that apply to their site or role, which reduces confusion, avoids unnecessary notifications, and improves team efficiency.
3. Can I include both site and position filters in the same chat channel?
Yes. You can filter by site, position, or both when creating a channel. This lets you target communication to a specific location, a role, or a combination of both.
4. Who can I add to a site or position chat channel?
You can add all staff linked to the selected site or position. This ensures only the right team members are included in the conversation.
5. Can I edit a chat channel after creating it?
Yes. Once a channel is created, you can update details like the name, description, or staff members to keep the channel accurate and relevant.