Configure public holiday settings in RosterElf
This guide explains how to set and manage public holiday settings for your RosterElf site. You’ll learn how to navigate to the Public Holidays tab, add custom holidays, and remove ones that don’t apply. Keeping your public holiday settings accurate ensures your roster calendar reflects the correct schedule and that public holiday pay rates are applied properly.
1. Access the public holiday settings
Follow the steps below to navigate to the public holiday settings for your site.
1.1 Navigate to the sites tab
1.1.1 Log in to your RosterElf account.
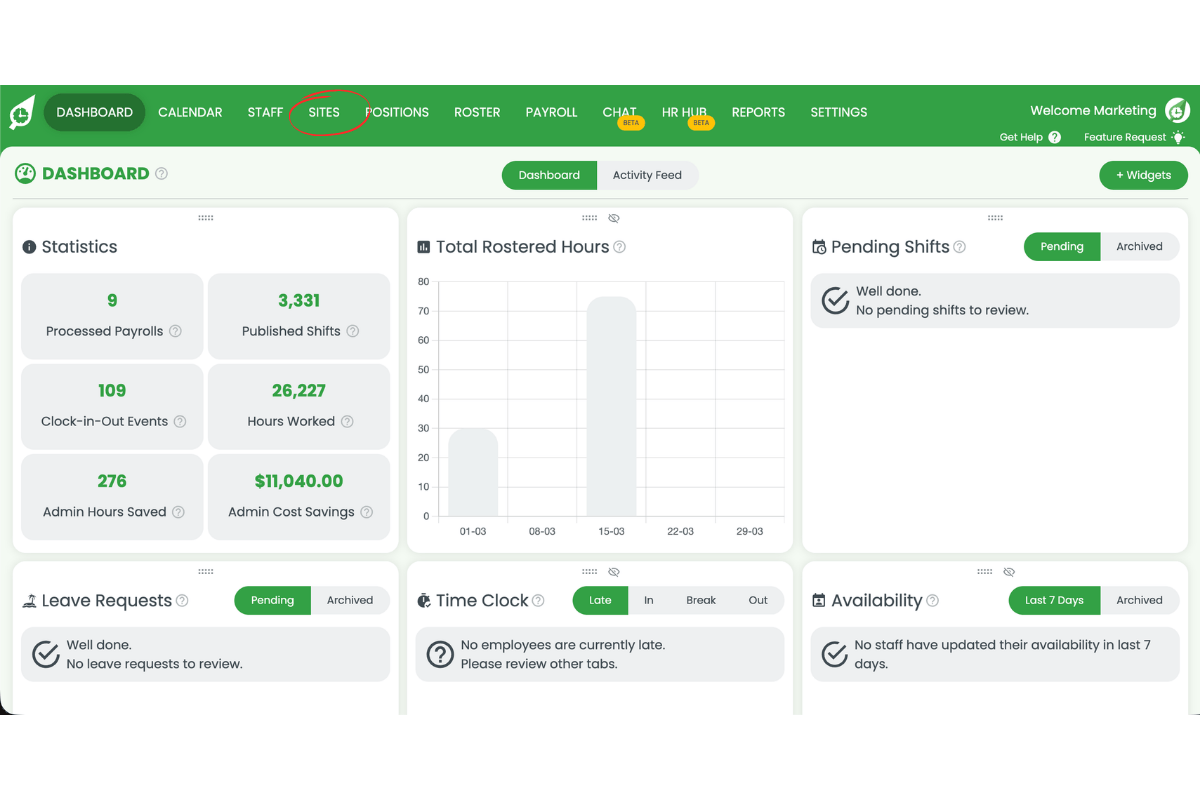
1.1.2 Click on the Sites tab in the main navigation menu.
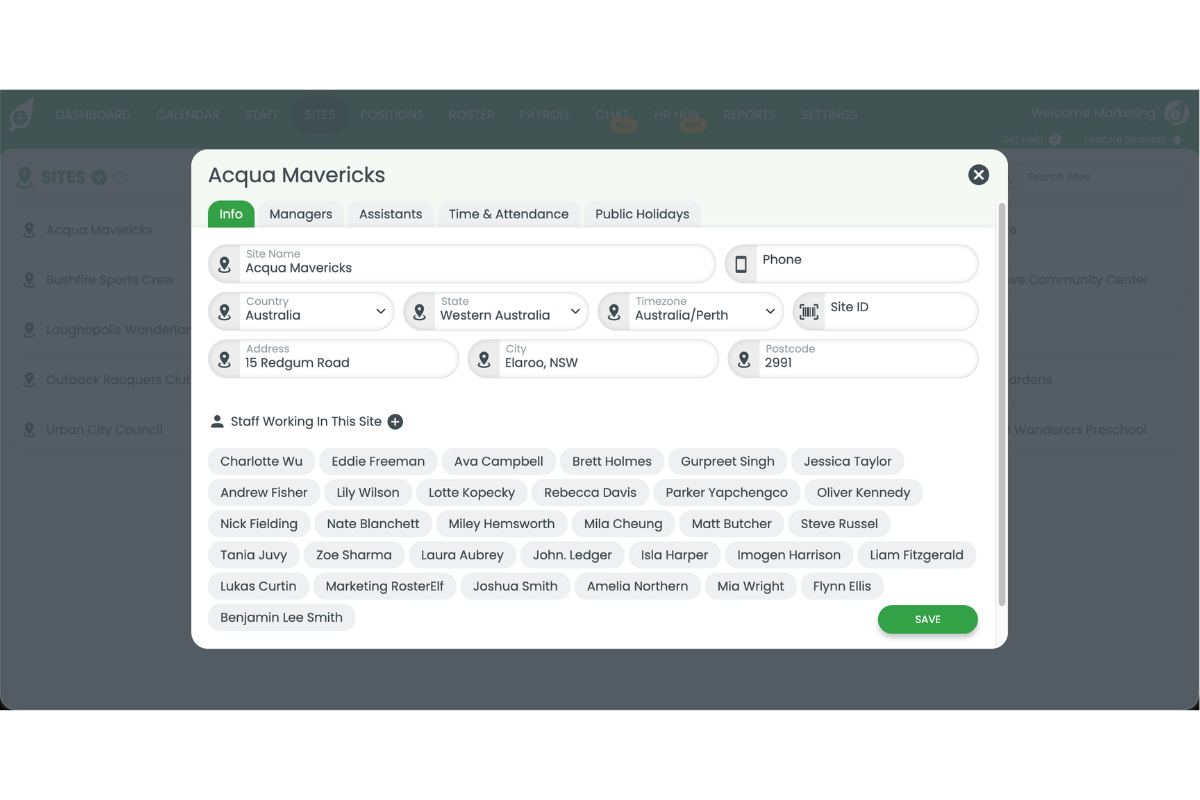
1.2 Select your site
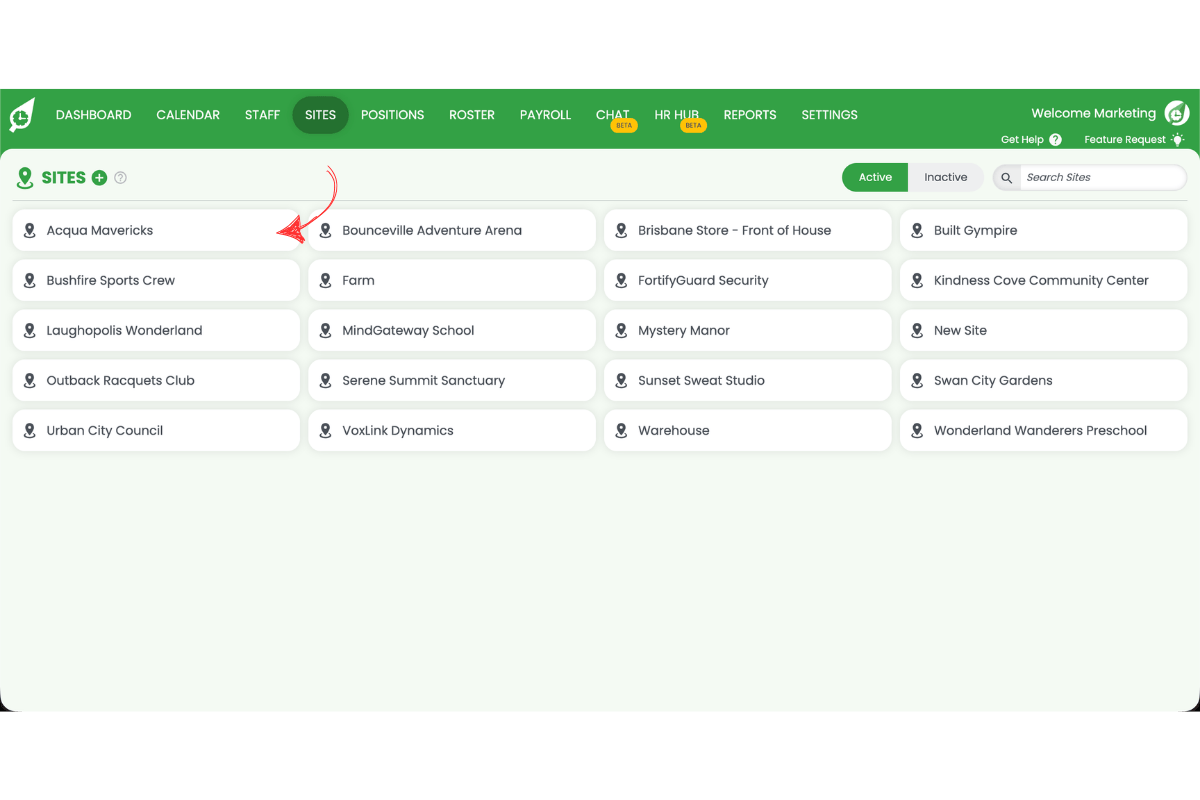
1.2.1 Find the site you want to configure public holidays for.
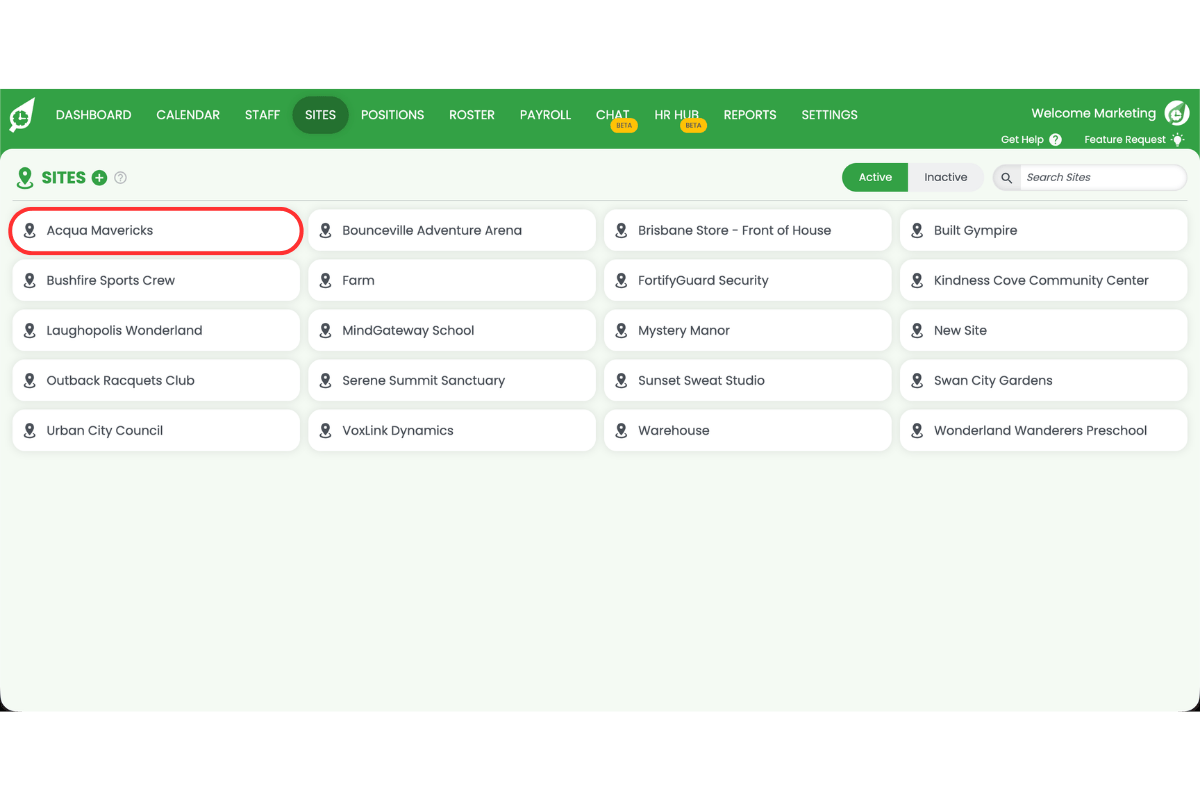
1.2.2 Click on the site name to open its settings.
1.3 Open the public holidays tab
1.3.1 Locate the Public Holidays tab in the site settings panel.
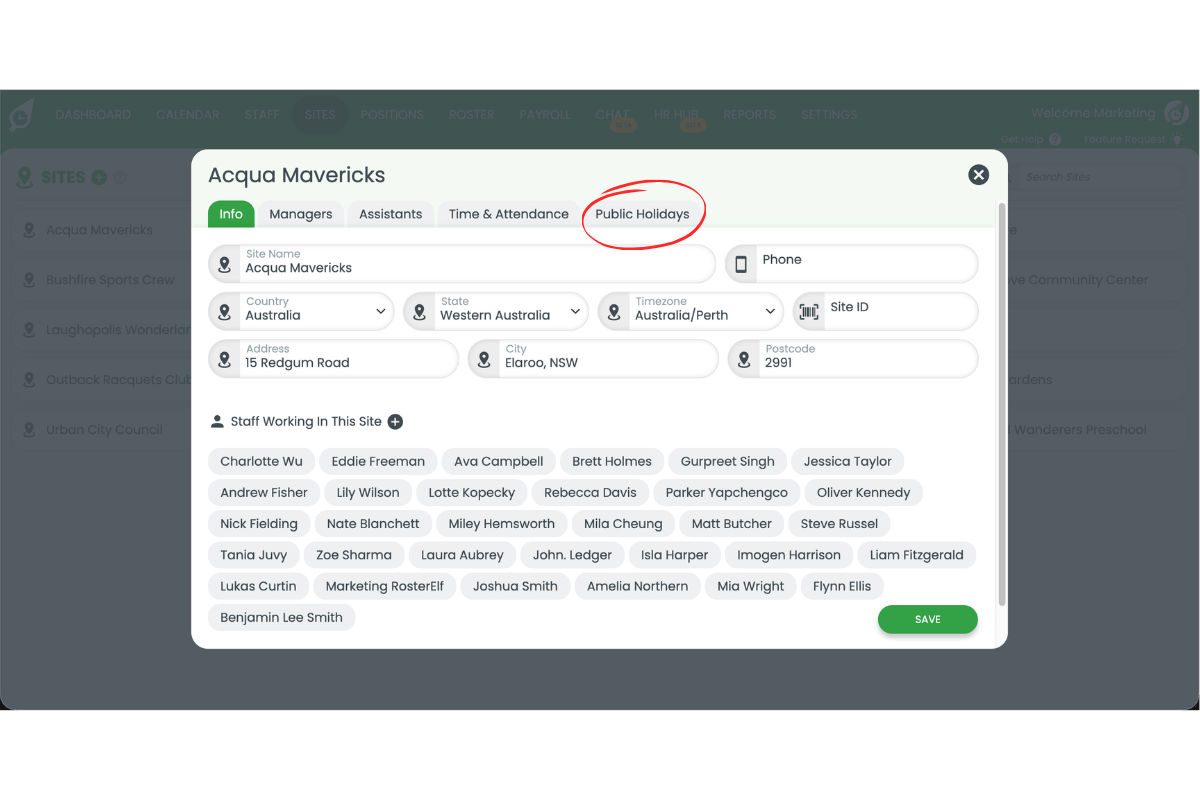
1.3.2 Click on the Public Holidays tab to open the holiday settings.
2. Manage public holidays
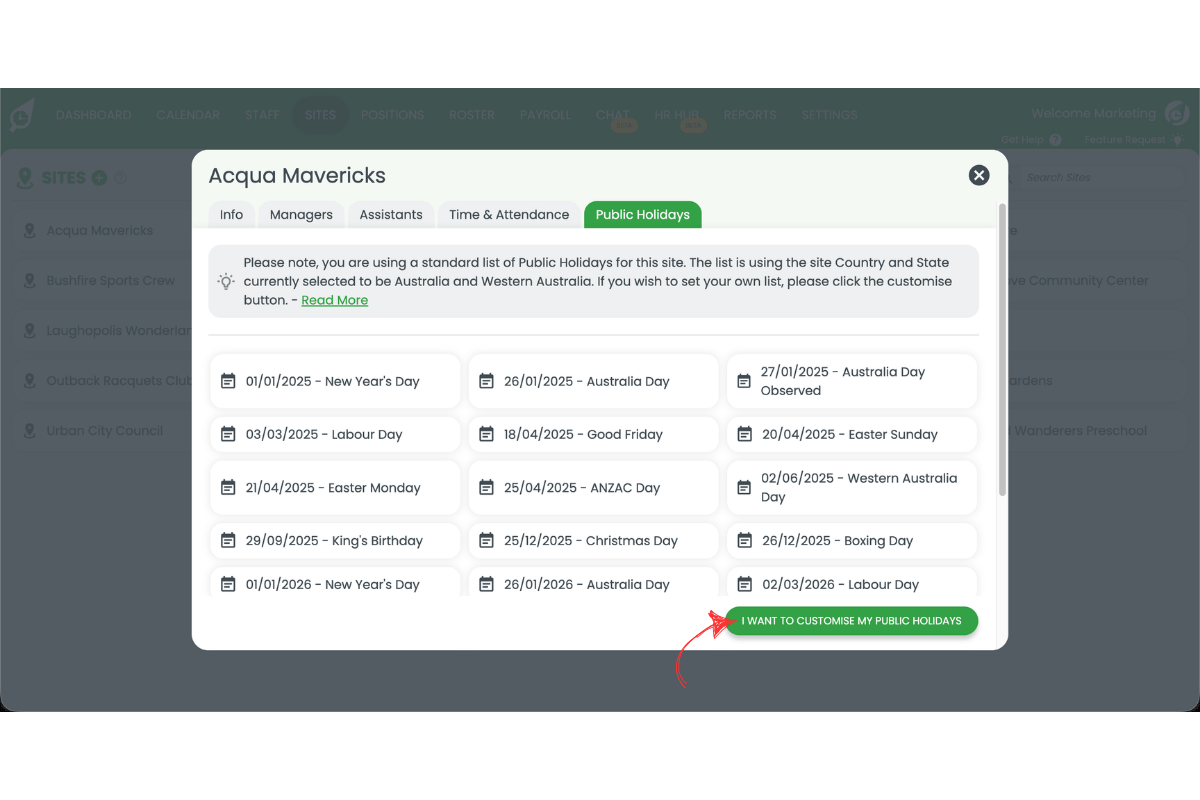
Once you’re in the Public Holidays tab, you can add custom holidays or remove ones that don’t apply to your site.
2.1 Add a public holiday
2.1.1 Click the I want to customise my public holidays button below the default holiday list.
2.1.2 Click Add a single day or Import from a list to add your holiday.
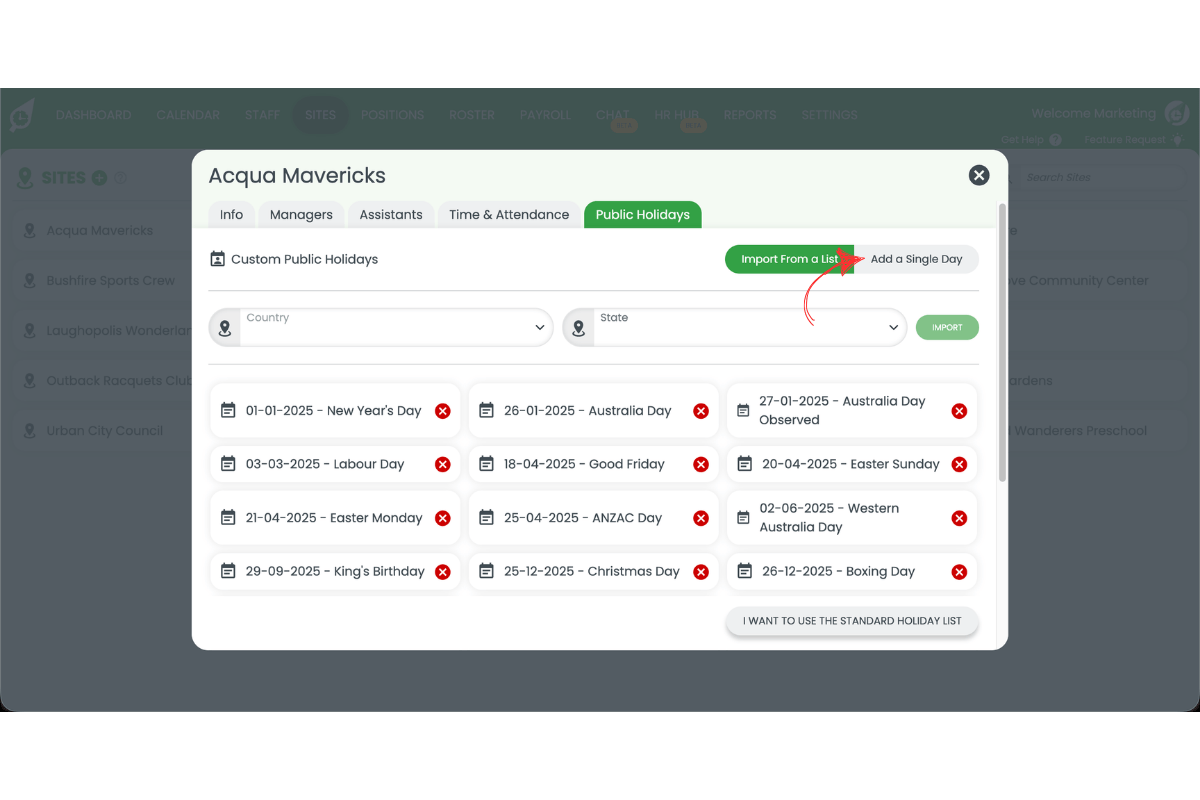
2.1.3 Enter the holiday name and date in the fields provided.

2.1.4 Click Add to save the new public holiday.
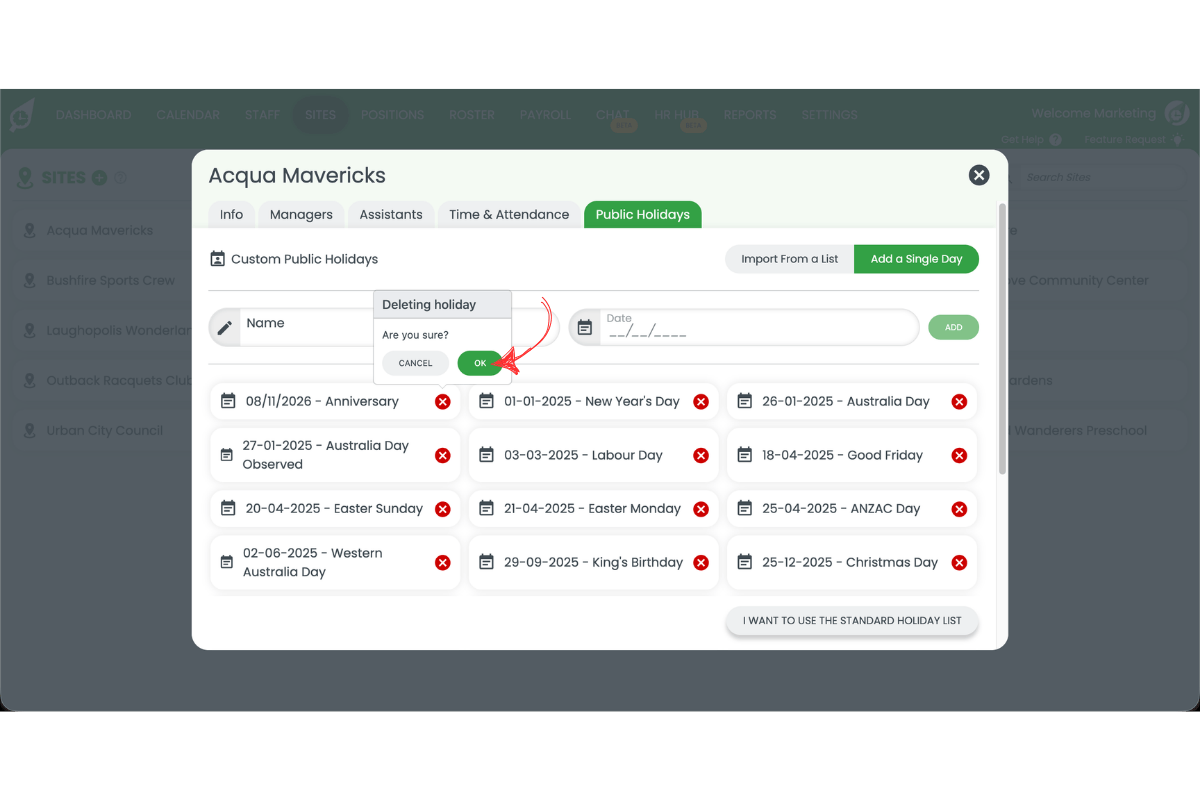
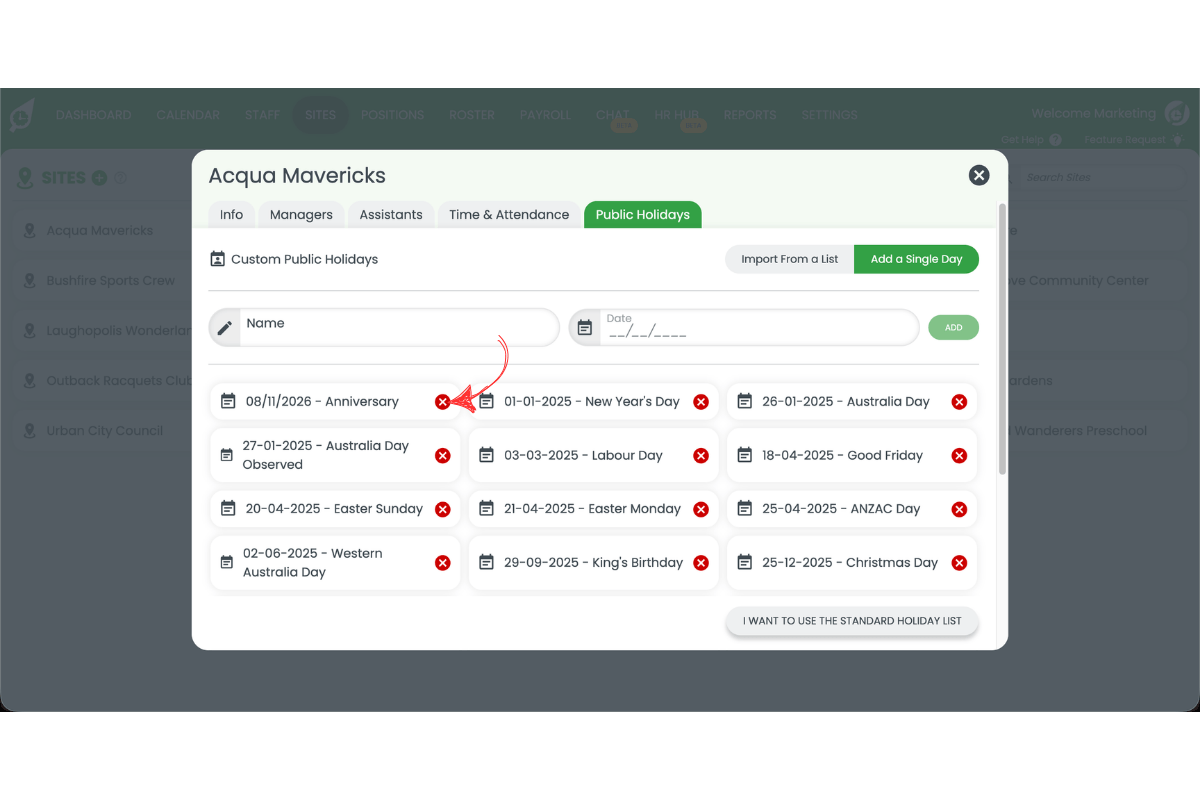
2.2 Remove a public holiday
2.2.1 Find the holiday you want to remove in the Public Holidays list.
2.2.2 Click the Remove (×) button next to the holiday.
Frequently asked questions
1. How do I access the public holiday settings in RosterElf?
To access the public holiday settings, log in to your RosterElf account, navigate to the Sites tab in the main menu, select your site, and open the Public Holidays tab from the site settings panel.
2. How do I add a custom public holiday to my site?
Go to the Public Holidays tab and click “I want to customise my public holidays”. Then select “Add a single day” or “Import from a list”, enter the holiday name and date, and click Add to confirm.
3. How do I remove a public holiday from my site settings?
To remove a public holiday, open the Public Holidays tab in your site settings, locate the holiday in the list, click the Remove (×) button next to it, and confirm the removal when prompted.
4. Why should I configure public holiday settings in RosterElf?
Configuring public holiday settings ensures your roster calendar and payroll calculations are accurate, preventing scheduling errors and ensuring correct public holiday pay rates are applied automatically.
5. Can I edit an existing public holiday in my site settings?
Yes. To edit an existing public holiday, open the Public Holidays tab in your site settings, locate the holiday in the list, click on it to make changes, then save your updates.