


1. Opening the sites list
A site is a place your staff work. Every shift, timesheet and clock-in belongs to one, so a site is the first thing to set up in a new account.
1.1 Open the Sites tab
1.1.1 Click SITES in the top navigation.
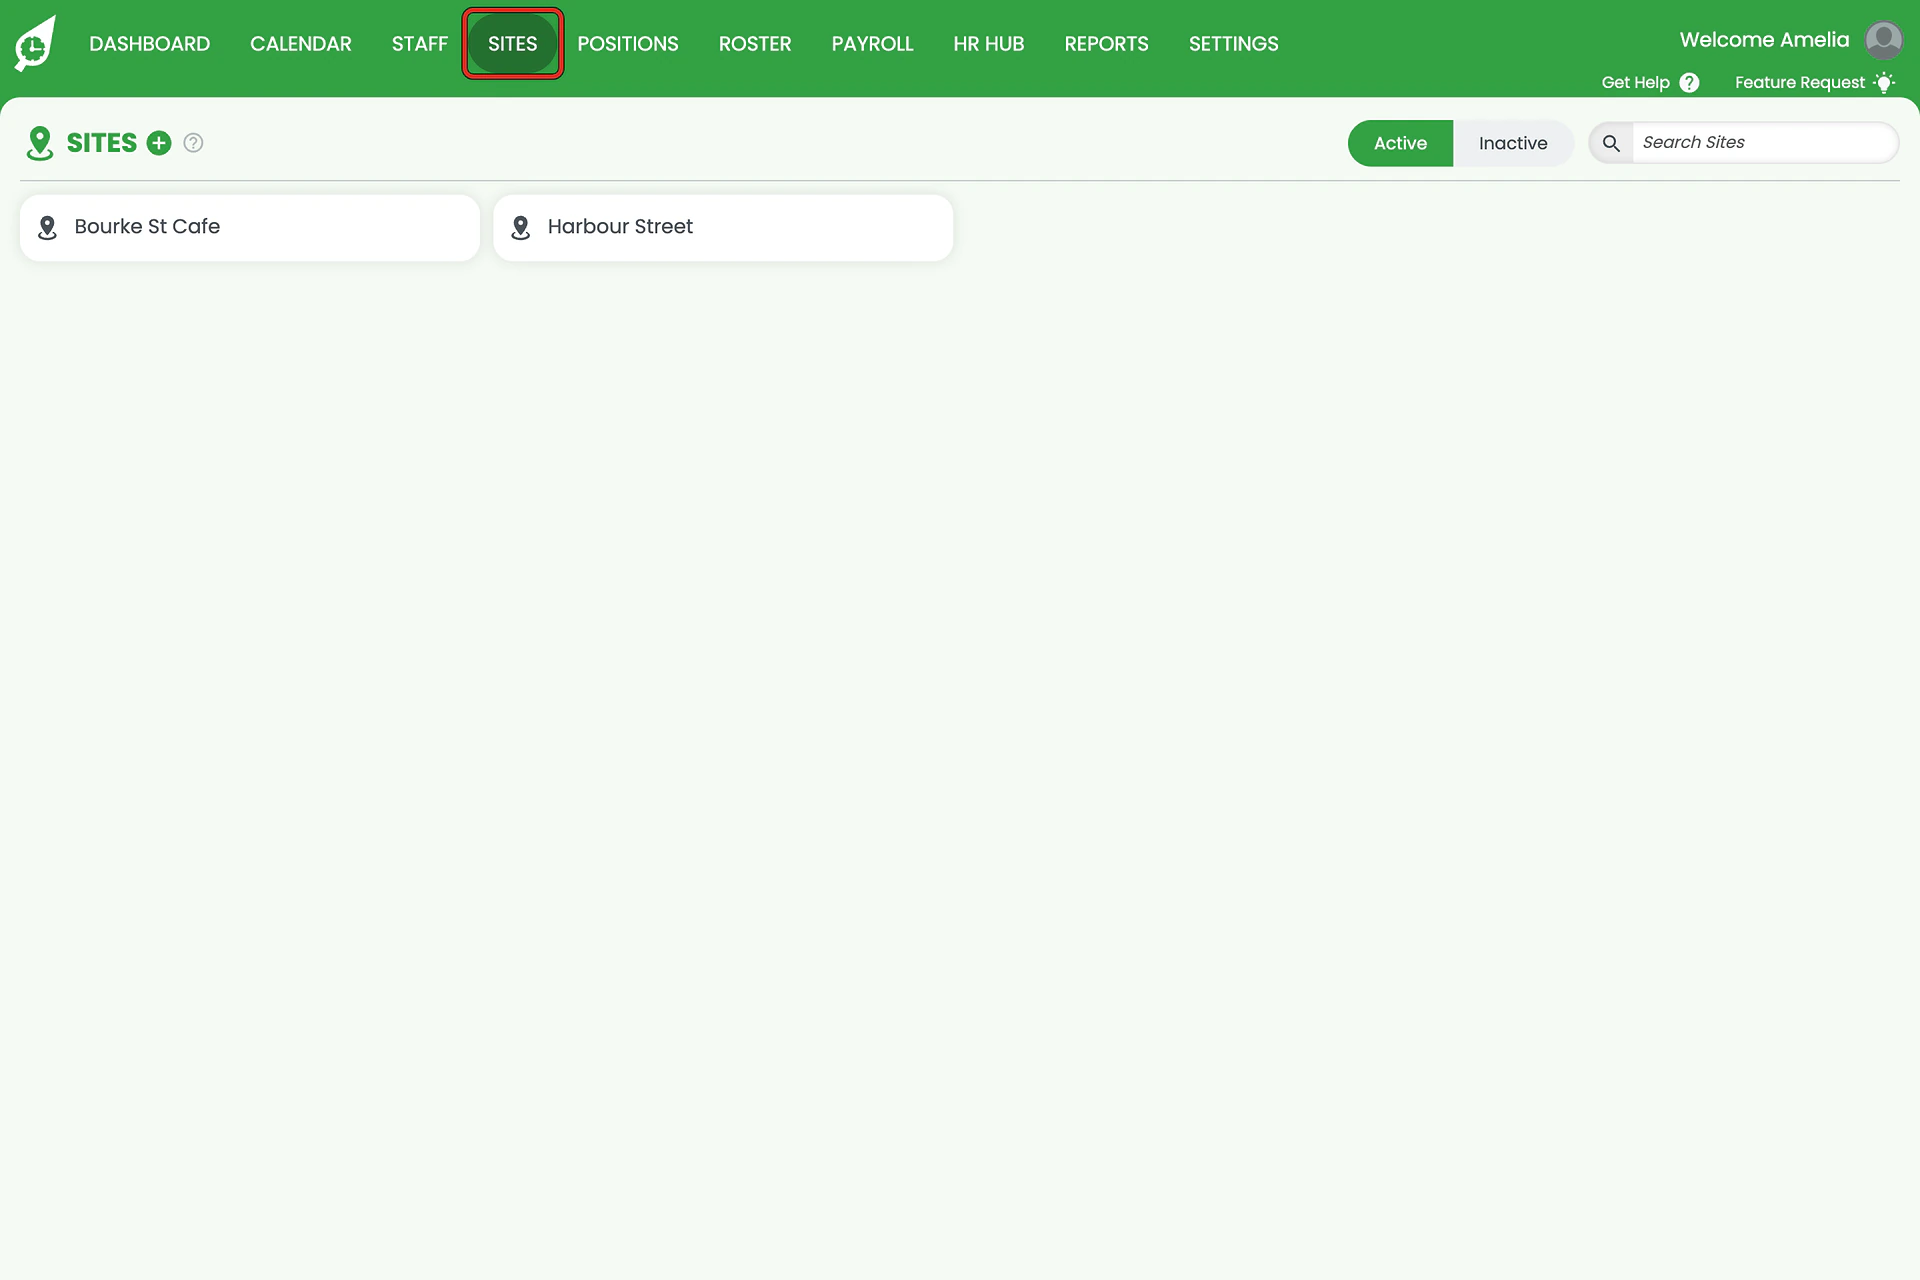
1.1.2 The list shows every active site. Click Inactive to see sites you have deactivated.
2. Adding or editing a site
2.1 Add a new site, or open an existing one
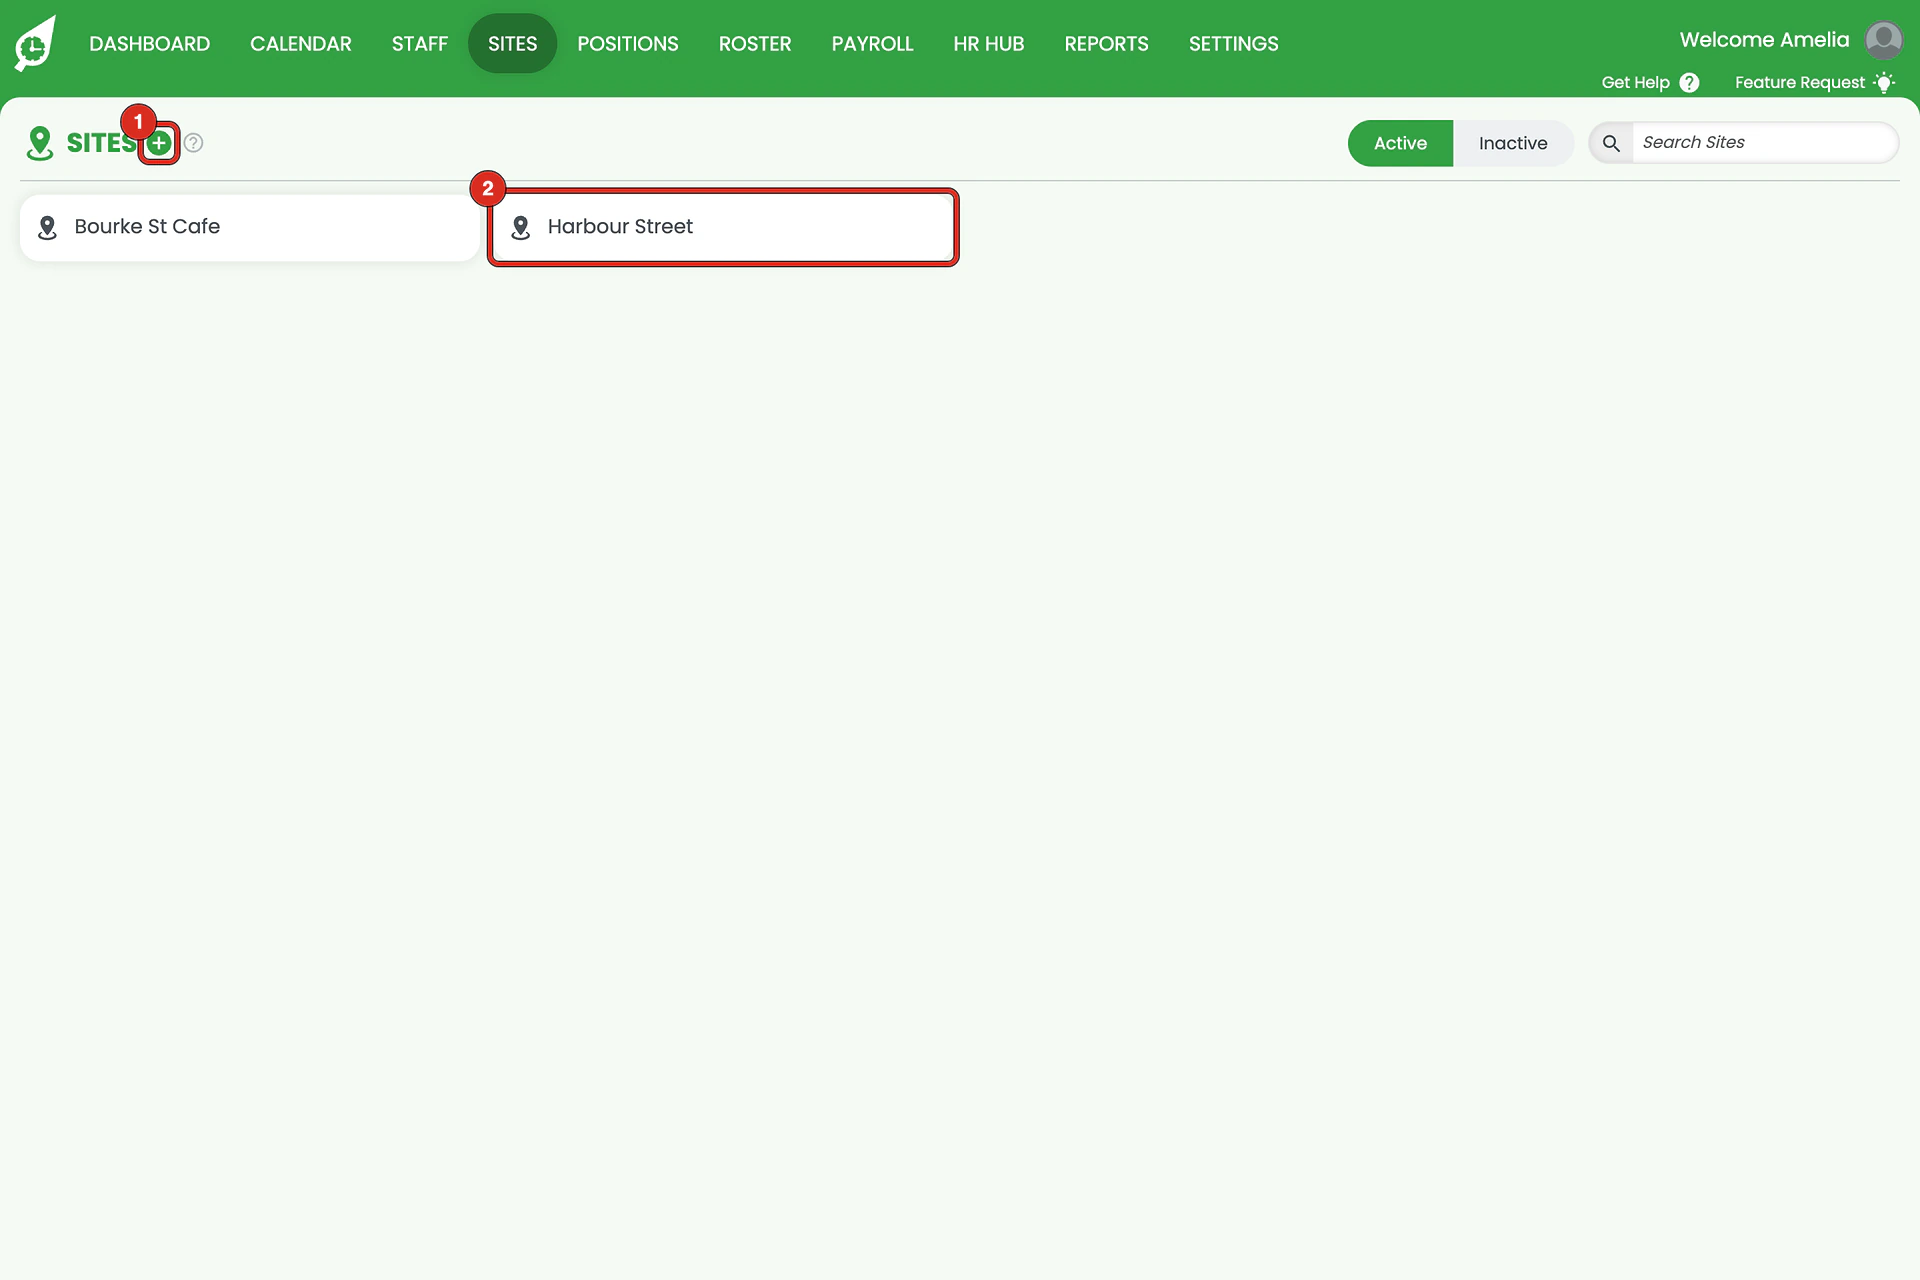
2.1.1 Click the Plus (+) button beside the SITES heading to create a site.
2.1.2 To change a site you already have, click its name in the list. Both open the same window.
3. Filling in the site details
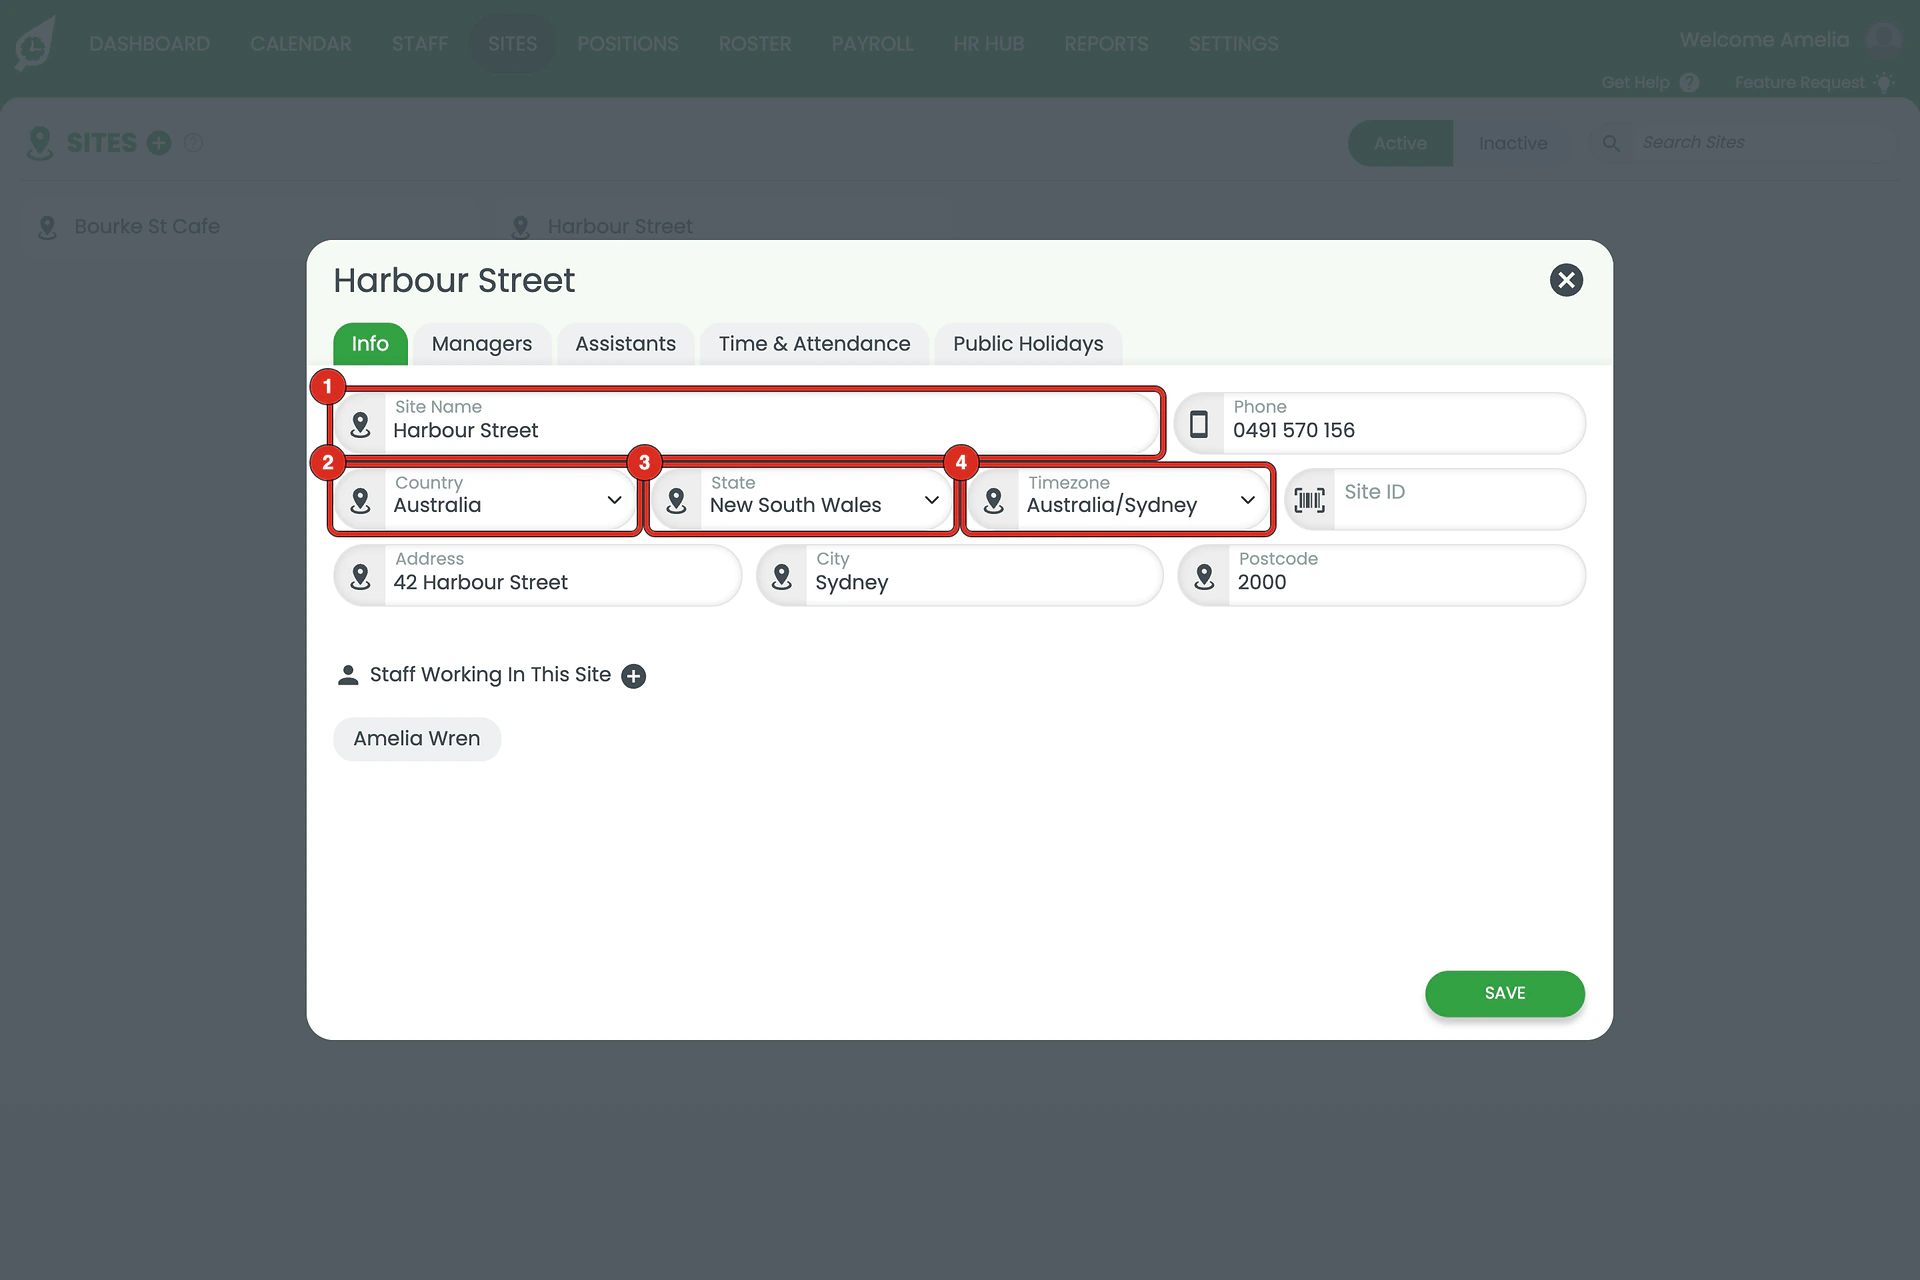
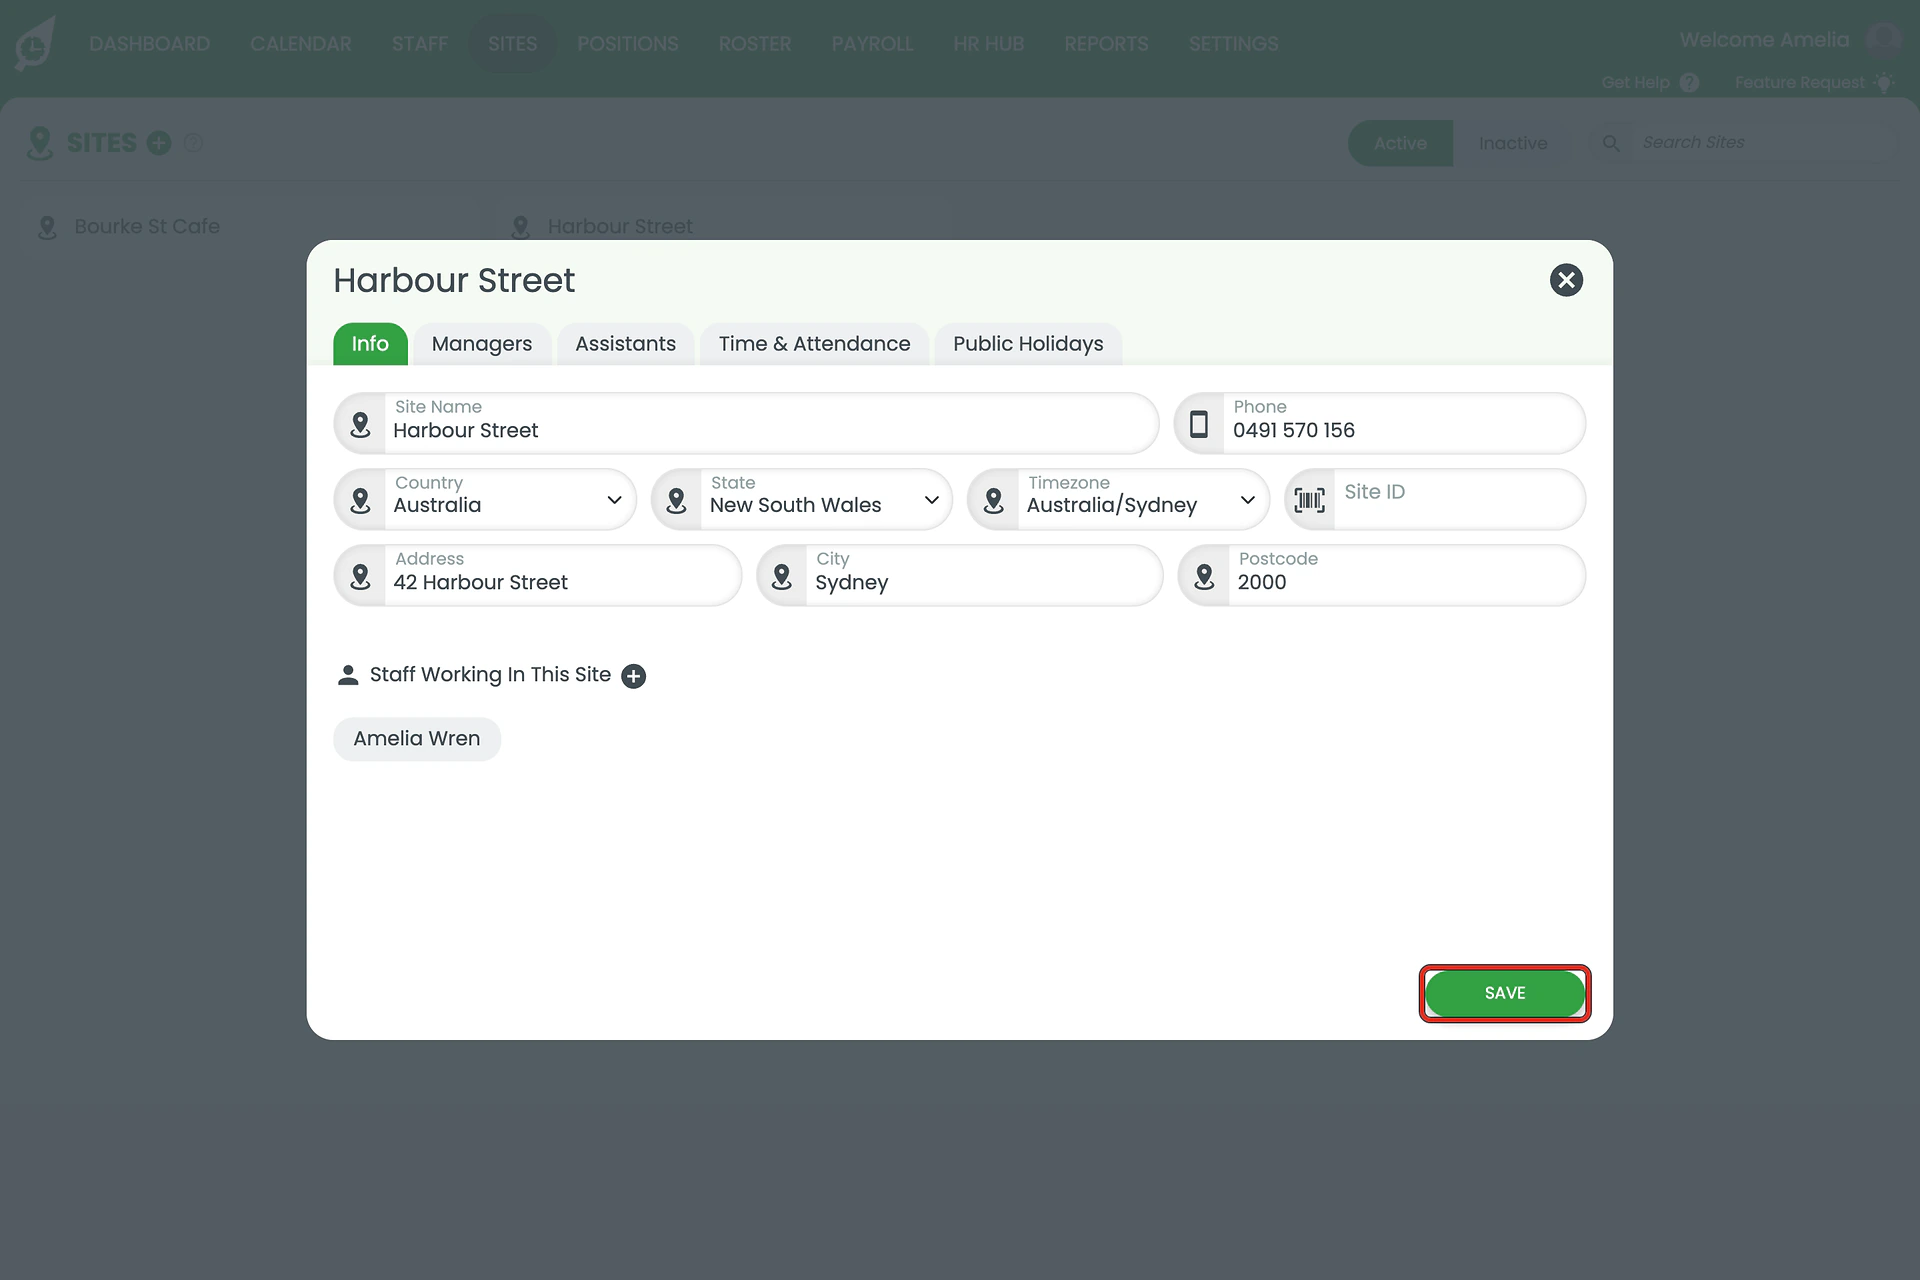
The window has five tabs — Info, Managers, Assistants, Time & Attendance and Public Holidays. It opens on Info.
3.1 Name and locate the site
3.1.1 Enter a Name. This is what appears on rosters, timesheets and reports, so use the name your team says out loud.
3.1.2 Fill in the Address, City, Postcode and Phone. The address is what staff see when they clock in on site.
3.1.3 Choose the Country and State. Together these set the site’s public holiday list.
3.1.4 Choose the Timezone. It controls how shift times and clock-in records are read — see how site timezones affect rosters and payroll.
Changing the country does not change the timezone
Pick a new Country and the State list reloads, but the Timezone keeps whatever it had. A site set up from a United Kingdom default will sit on Europe/London until you change it yourself, and every shift time will be wrong. Check the timezone whenever you change the country.
3.1.5 The Tracking Code field maps this site to a Xero tracking category, so labour cost lands against the right location in your accounts.
3.1.6 Site ID is RosterElf’s own reference for the site. It is filled in for you and you rarely need it, but support may ask.
3.2 Add staff to the site
3.2.1 Scroll to Staff Working In This Site at the foot of the Info tab, click the Plus (+), select the people who work here, then click Update.
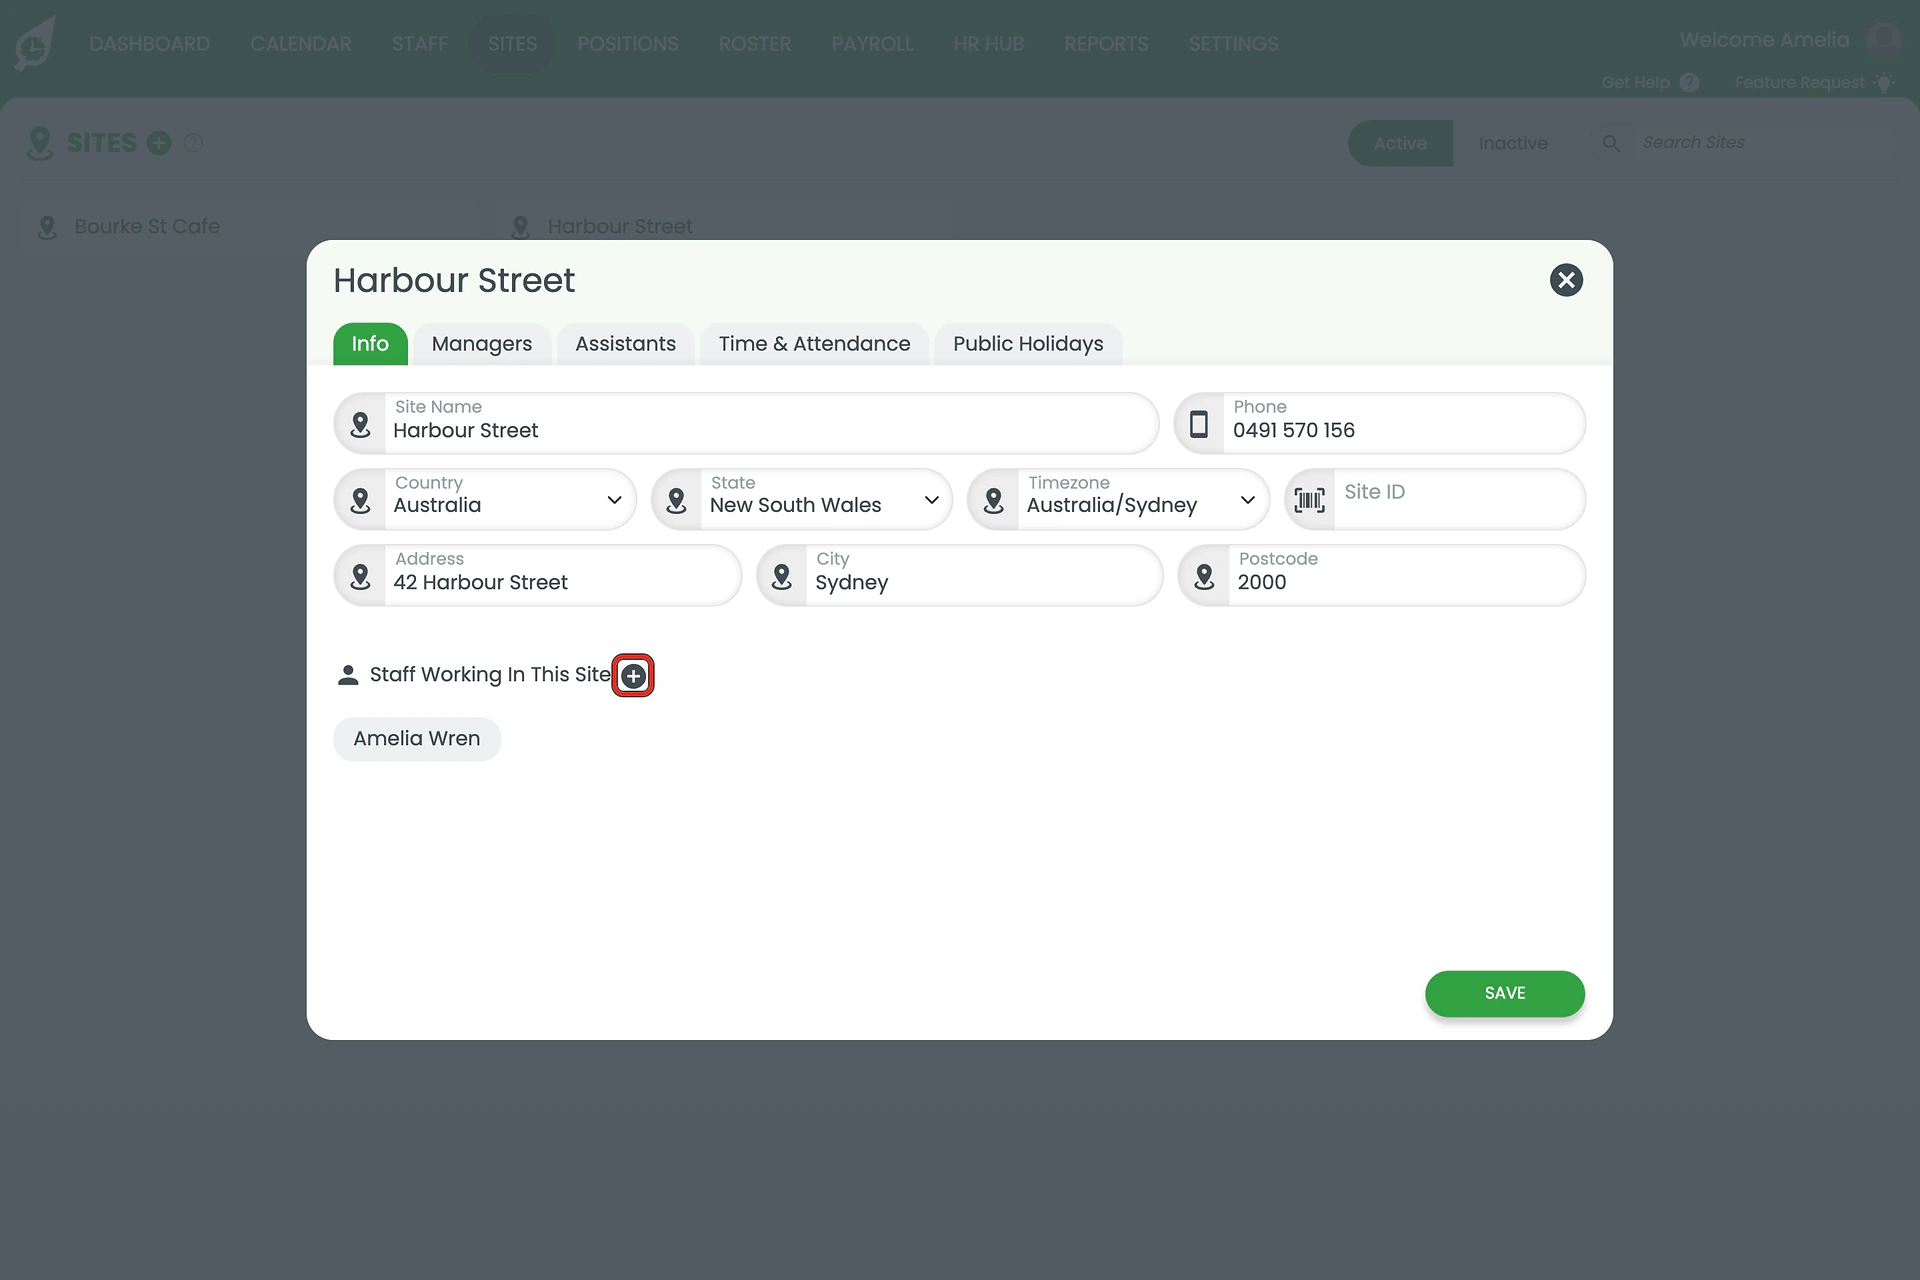
3.2.2 Only staff attached to a site can be rostered at it. You can also do this from the other direction — see assigning an employee to a site.
4. Assigning managers and assistants
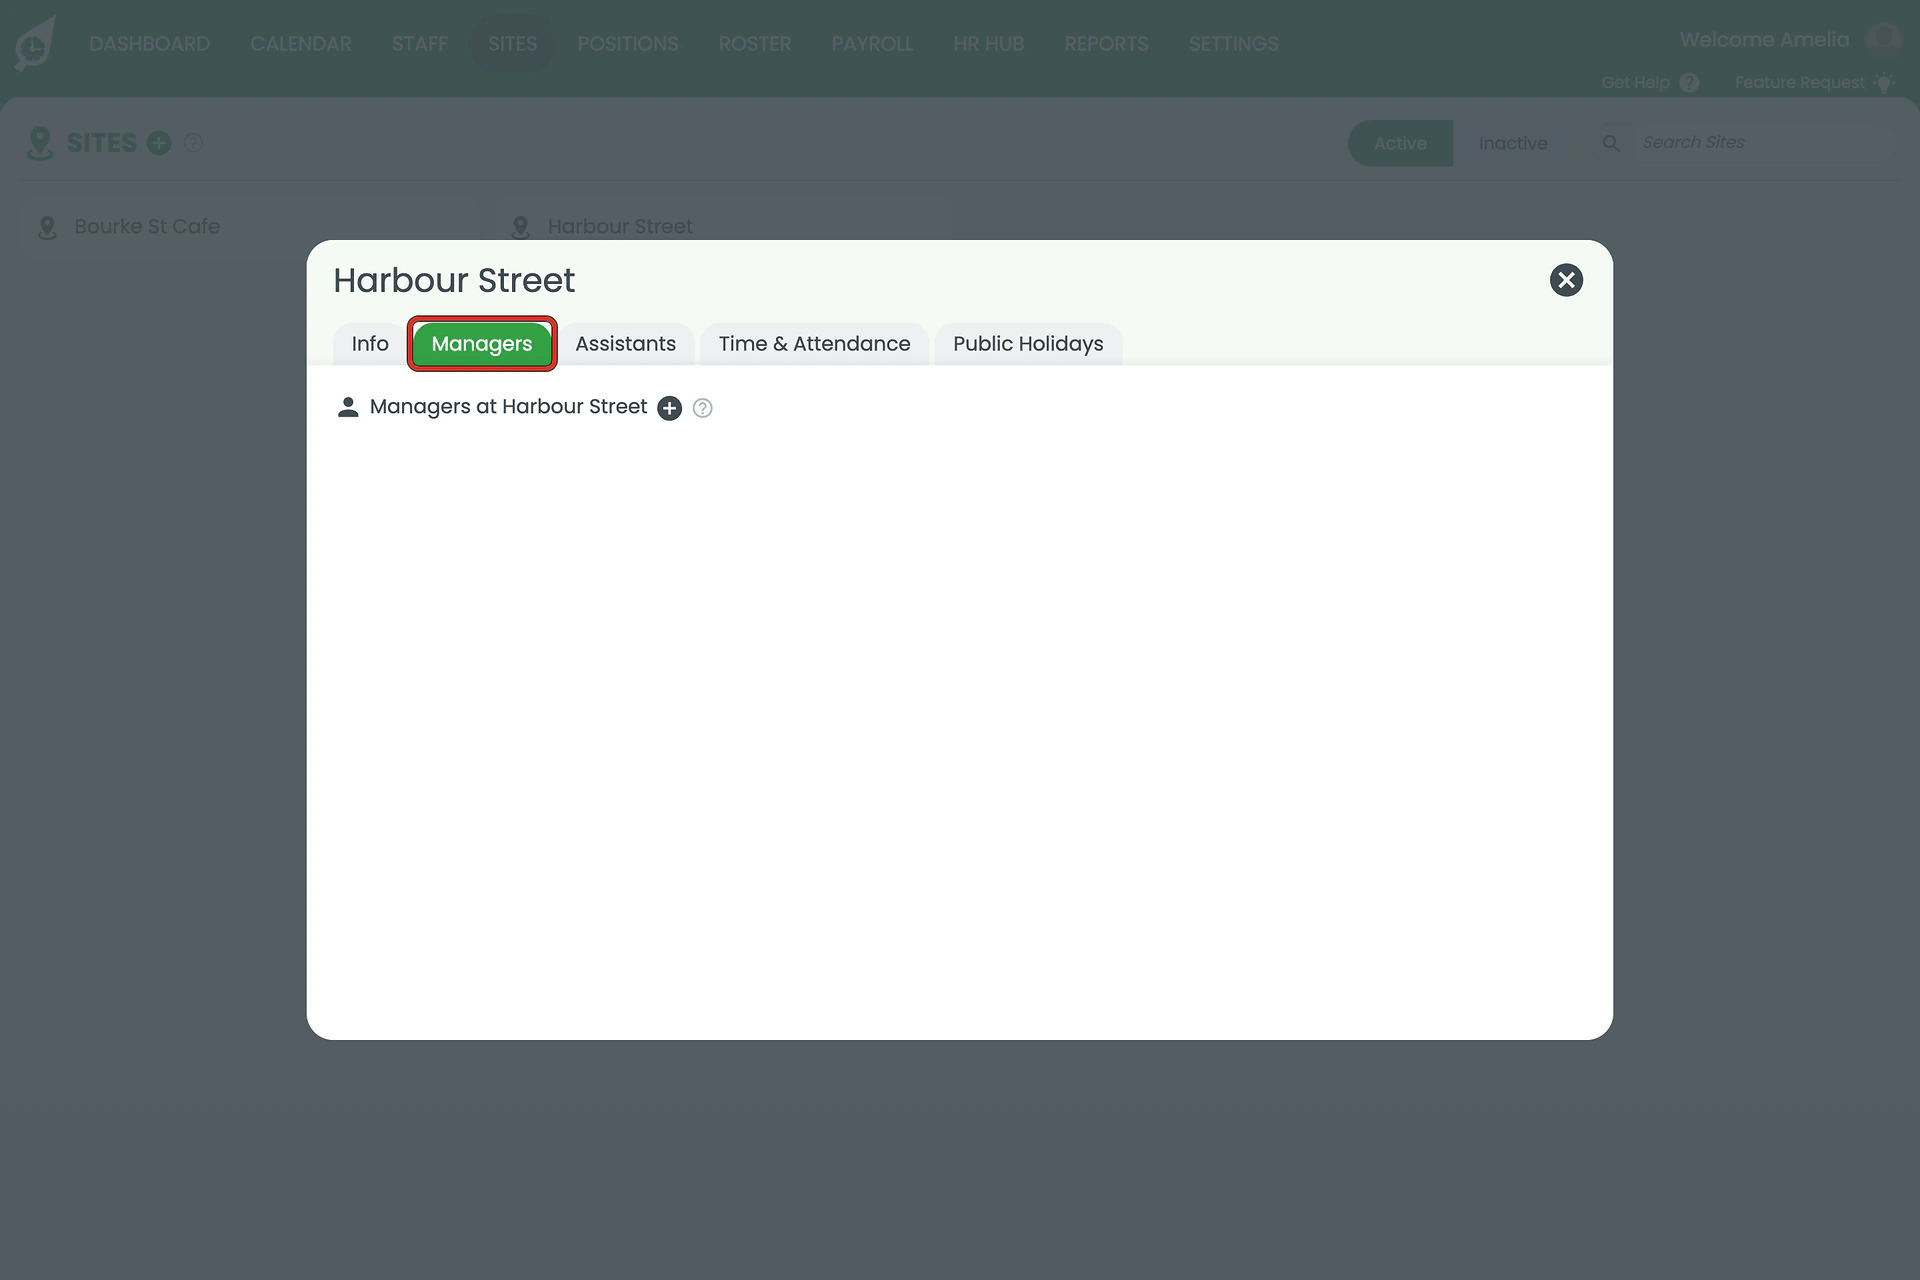
4.1.1 Open the Managers tab and add the people who run this site. They can build rosters and approve changes for it.
4.1.2 The tab starts empty. Click the plus beside Managers at
4.1.3 Before you assign anyone, check what each level can do in the permission level summary, or read adding staff and managers.
5. Time and attendance
5.1.1 Open the Time & Attendance tab to control how staff clock in and out at this site.
5.1.2 The settings here are GPS tolerance (how far from the site a clock-in is accepted), time tolerance (how early or late a shift may start), a site PIN, photo proof, and phone clock in/out. Some are account-wide and some apply only to this site.
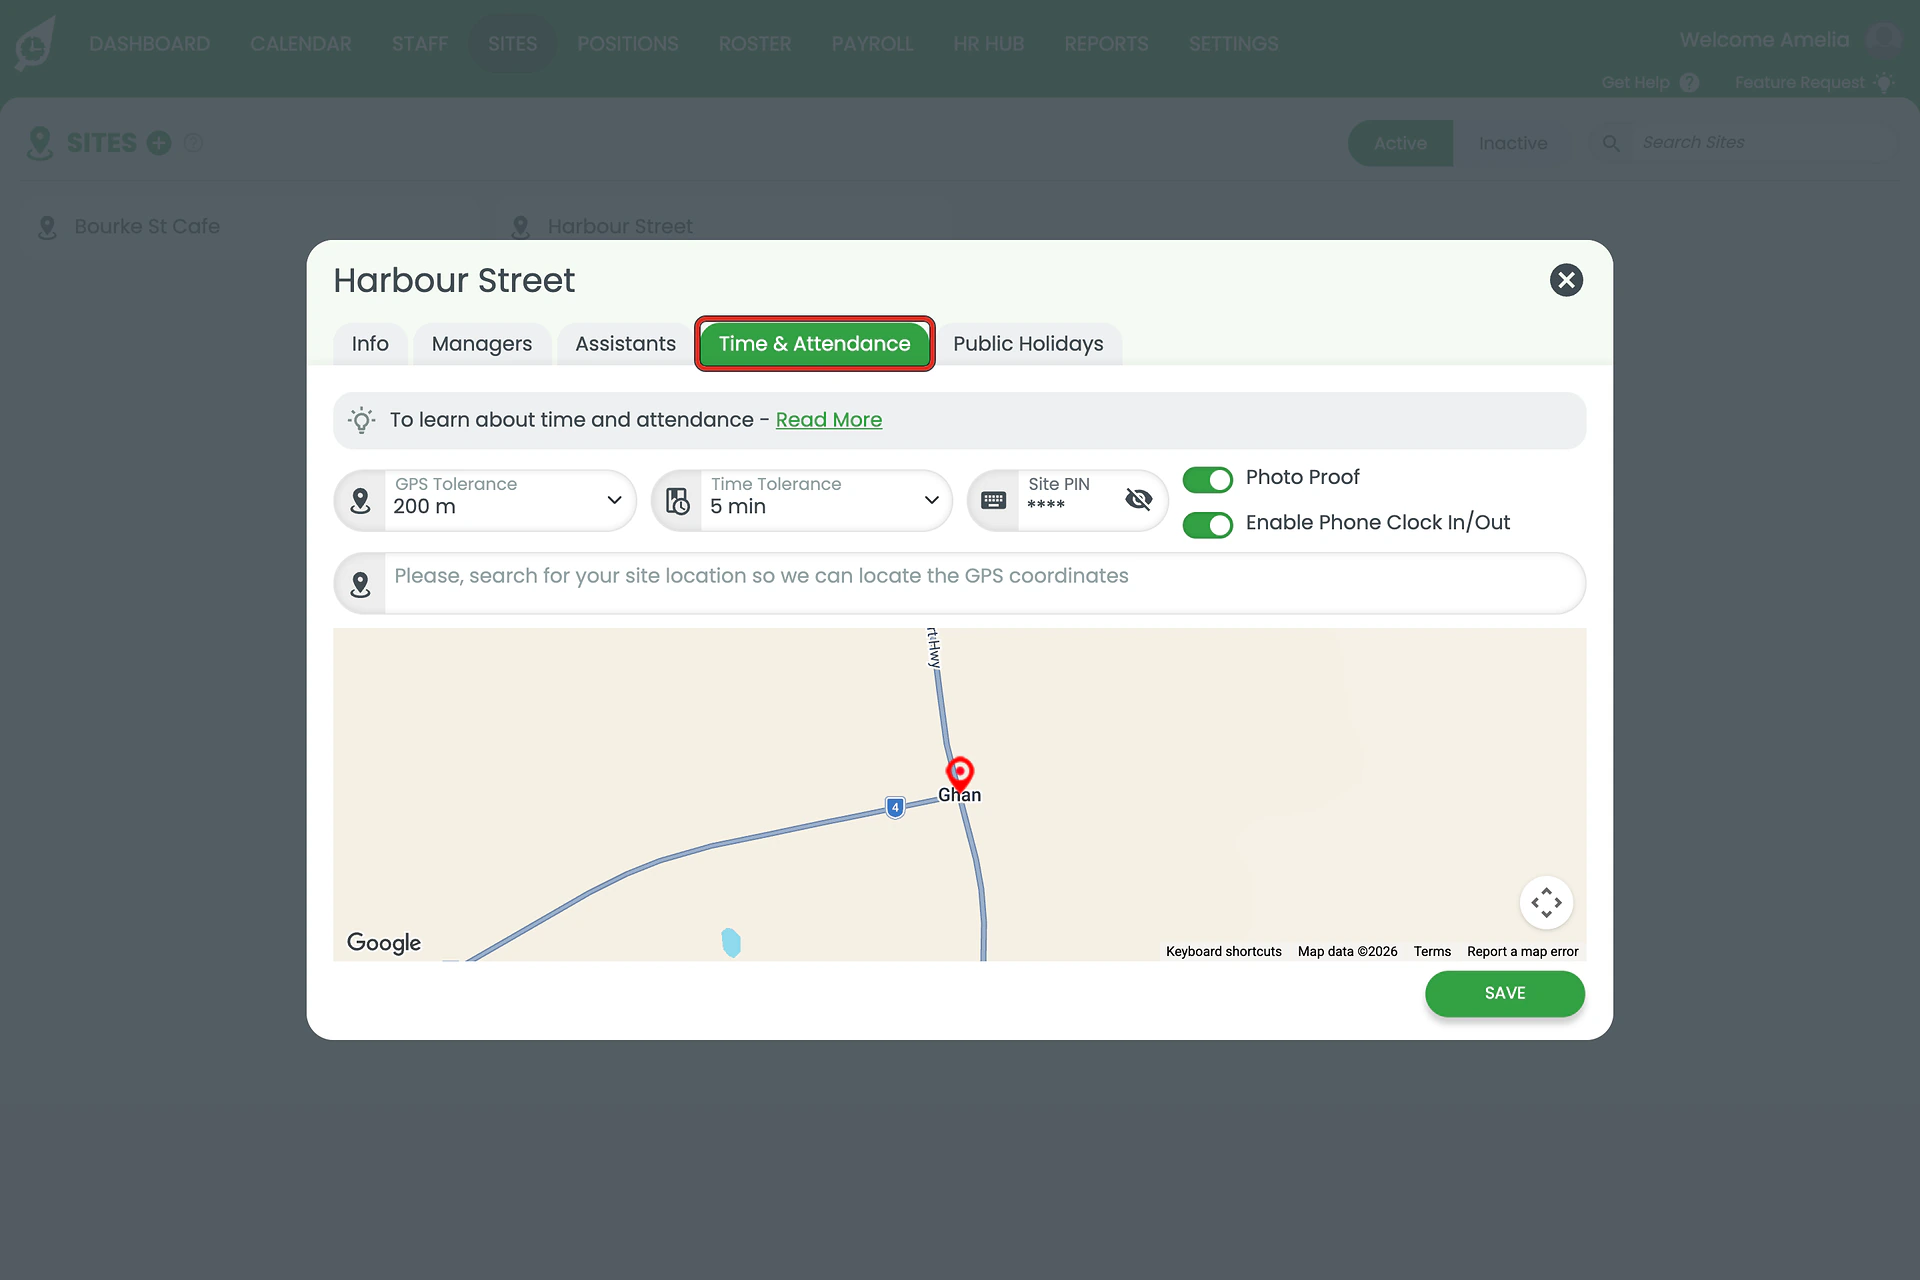
5.1.3 For what each setting does, read an overview of time and attendance settings and understanding time tolerance settings in sites.
6. Public holidays
6.1.1 Open the Public Holidays tab. RosterElf fills this in for you from the Country and State on the Info tab.
6.1.2 Every date the site will treat as a public holiday is listed, so you can check it before it affects a pay run. The list runs from last year into the next, so scroll it to reach the dates still ahead.
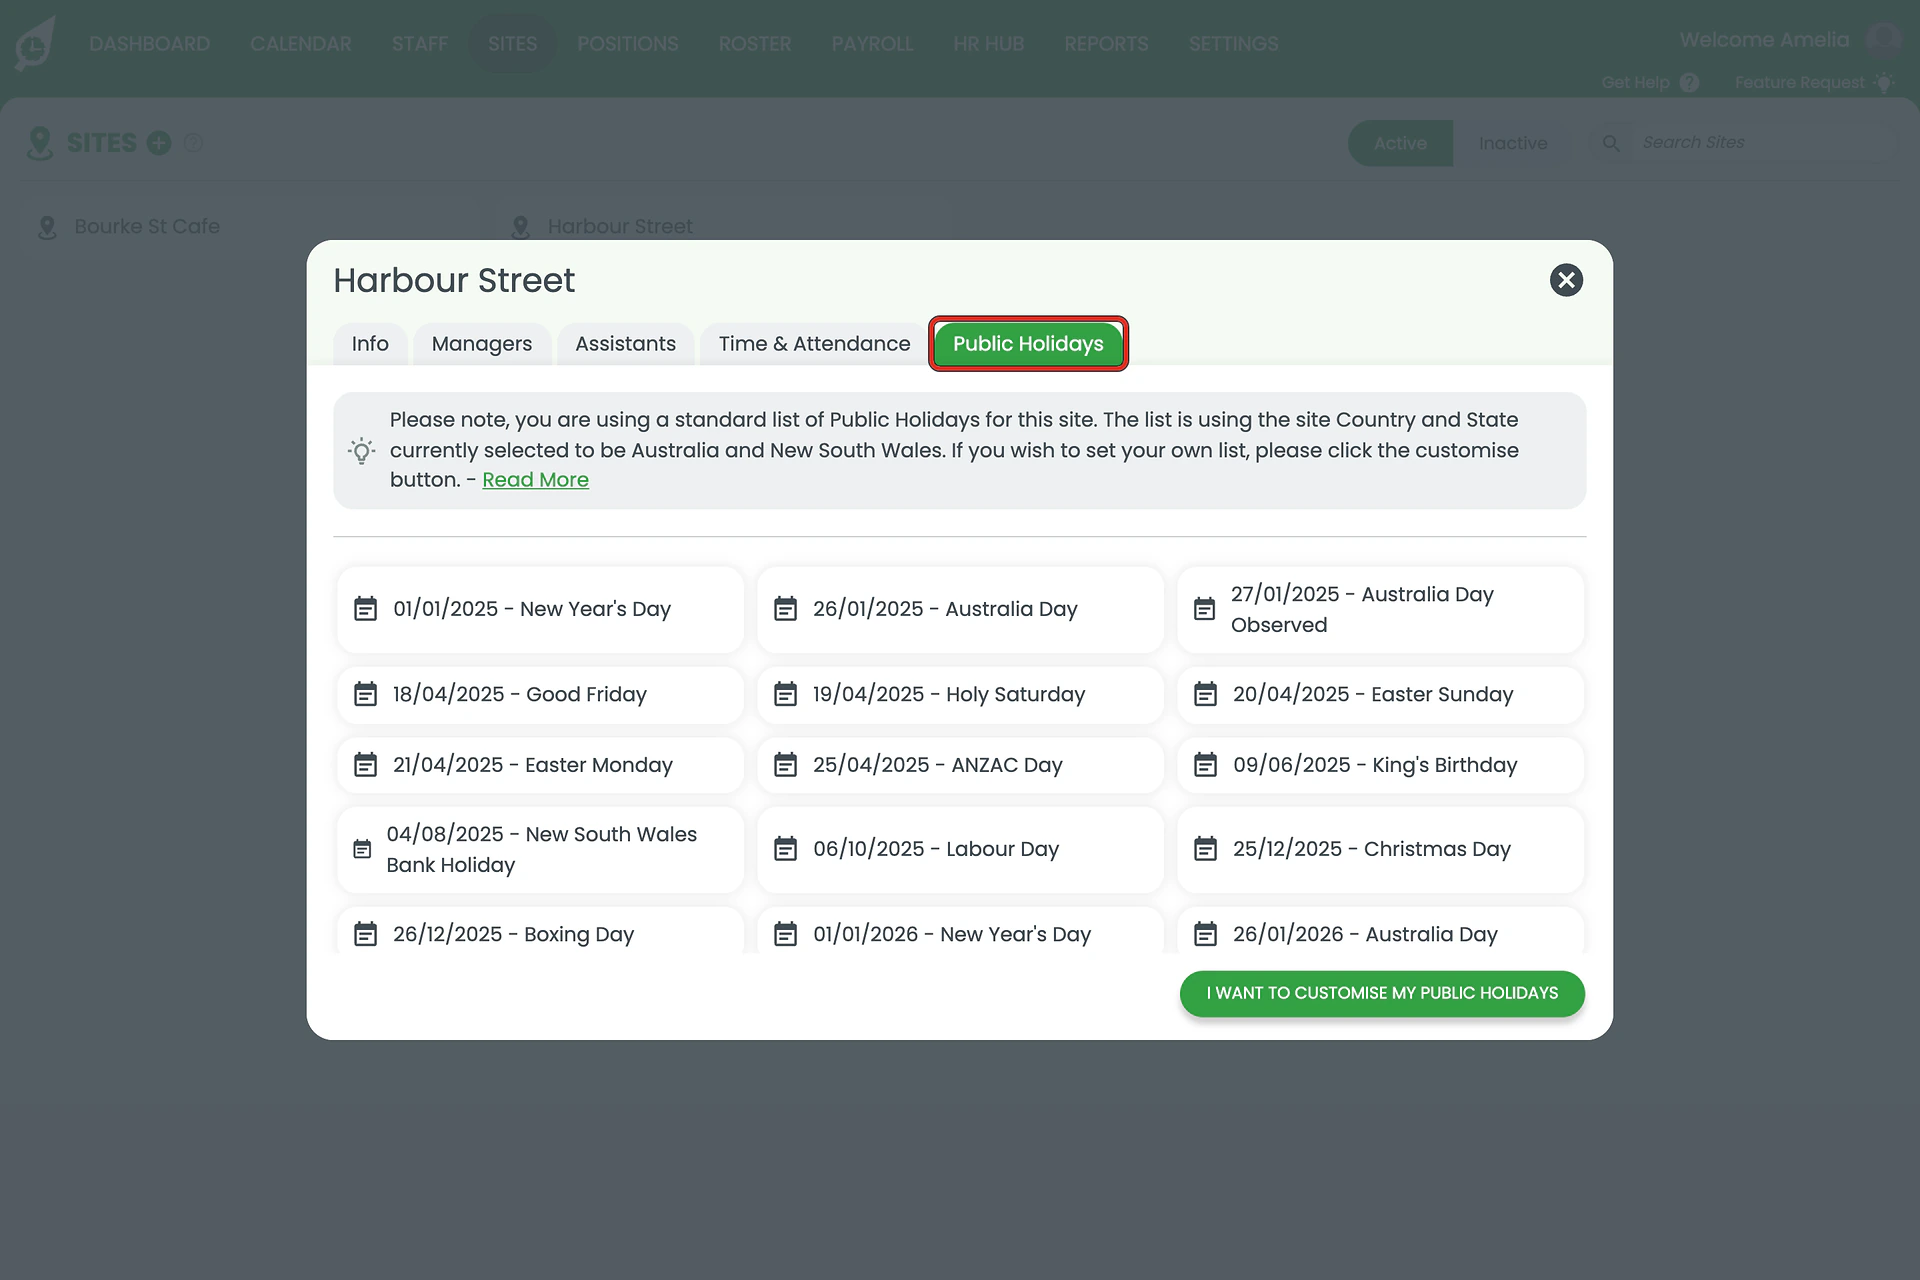
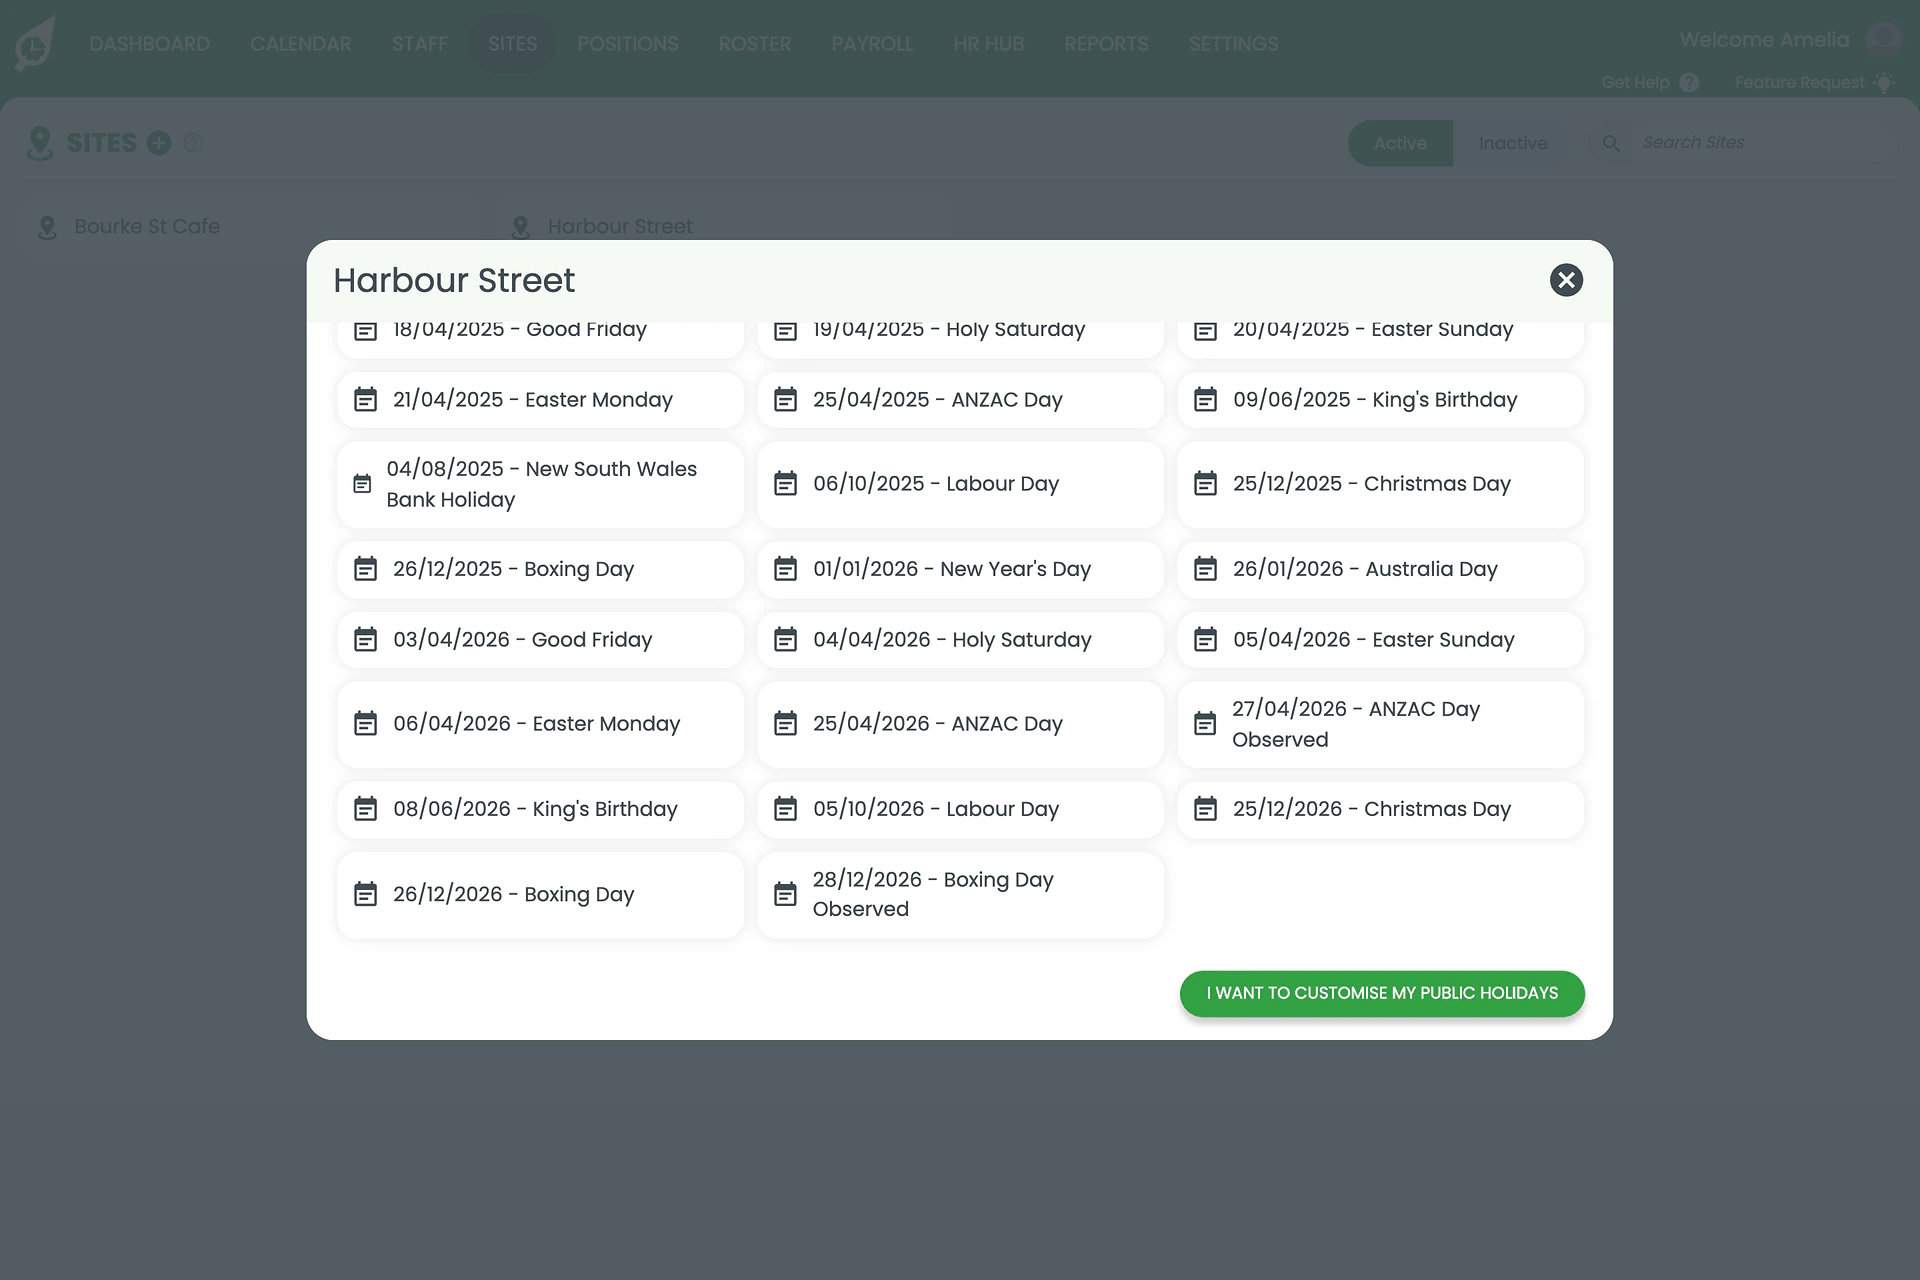
6.1.3 Click I want to customise my public holidays to set your own list instead — useful where a site does not observe a regional holiday.
7. Saving the site
7.1.1 Click SAVE at the bottom right. Nothing on any tab is kept until you do.
Related guides: Sites introduction, assigning an employee to a site, and deleting and reactivating a site.
Frequently asked questions
1. How do I add a new site to my account?
Click SITES in the top navigation, then click the Plus (+) button beside the SITES heading. To change a site you already have, click its name in the list — both open the same window.
2. What information is required when setting up a new site?
A name at minimum. You should also set the address, phone, country, state and timezone: the country and state build the site’s public holiday list, and the timezone controls how shift and clock-in times are read.
3. Why is the timezone setting important for a site?
It decides how shift times and clock-in records are interpreted. Changing a site’s country does not change its timezone, so a site created from a United Kingdom default stays on Europe/London until you change it — and every shift time will be an hour or more out.
4. How can I assign a manager or assistant to a site?
Open the site and use the Managers or Assistants tabs. Managers can build rosters and approve changes for that site; assistants have a narrower set of permissions.
5. How do I configure time and attendance for a site?
Open the Time & Attendance tab in the site window. Some settings there are account-wide and some apply only to that site.
6. Where do a site's public holidays come from?
RosterElf builds the list from the country and state on the Info tab, and shows every date on the Public Holidays tab. If a site does not observe a regional holiday, click ‘I want to customise my public holidays’ to set your own list.
7. What is the Tracking Code field for?
It maps the site to a Xero tracking category, so labour cost for this location lands against the right code in your accounts.